Training Overview
Train custom AI models using the Flow Editor
Overview
Train custom AI models directly in the Flow Editor using your own data. This guide walks you through the complete process of setting up, configuring, and training an AI model. A more theoretical guide on training can be found in our AI Dictionary.
Prerequisites
Before you begin, make sure you have already imported your data into the Data Module.
Required Nodes
To train an AI model, you need a minimum of three nodes:
- Select Data: Define which data you want to work with
- Train AI Model: Configure the AI model and training parameters
- Preview Output: Check if your training was successful
Add these nodes one by one and connect them in sequence.
Step-by-Step Training Process
1. Set Up Your Flow
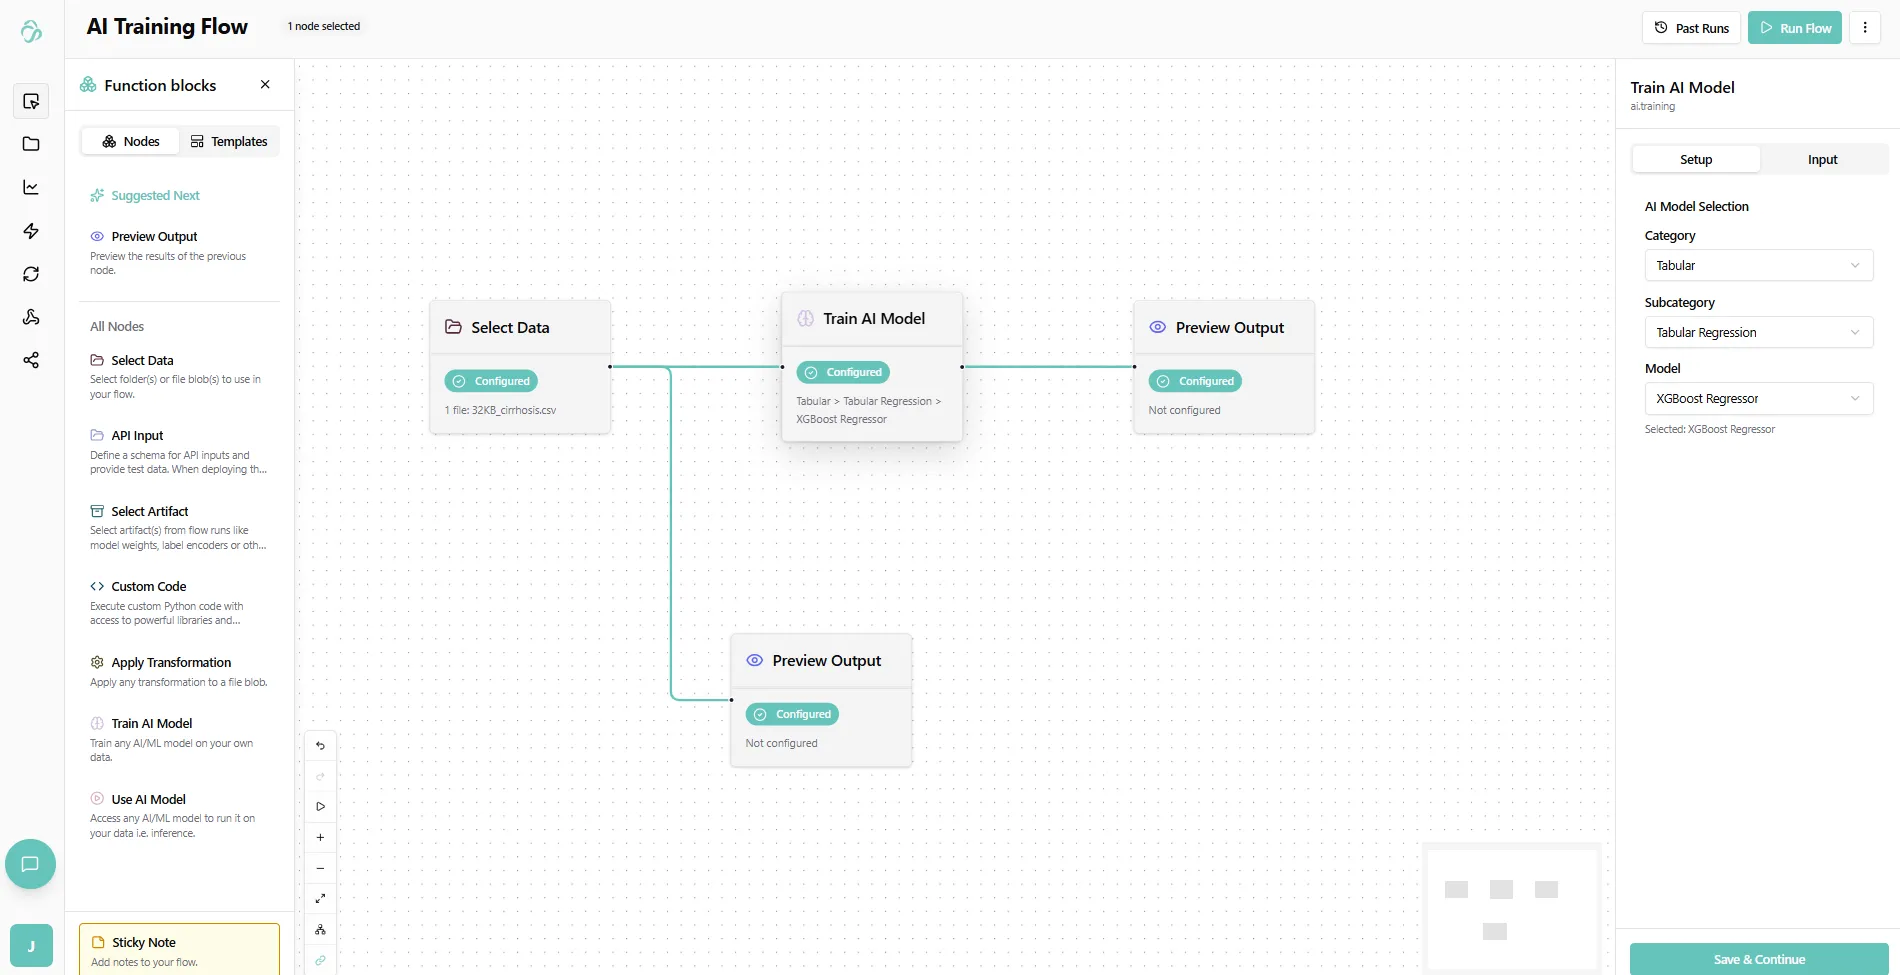
Navigate to the Flow Editor and select the Node Library. Add the three required nodes and connect them.
This is how your editor should look:


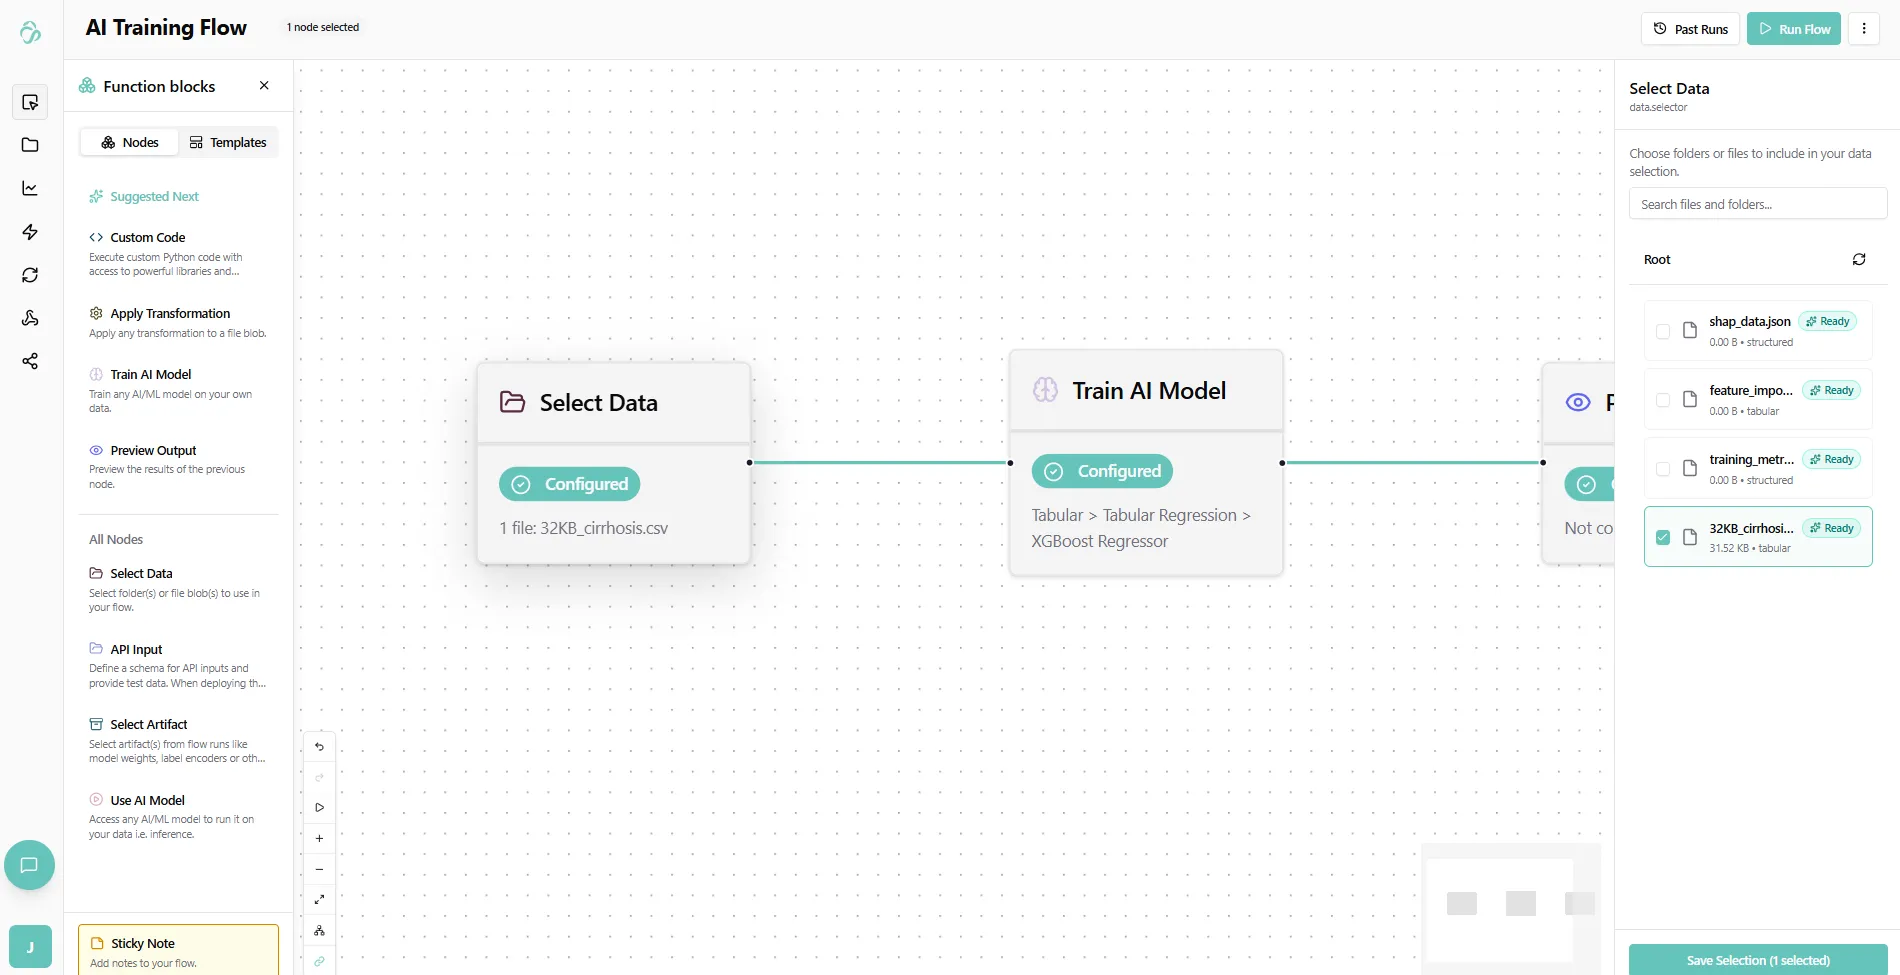
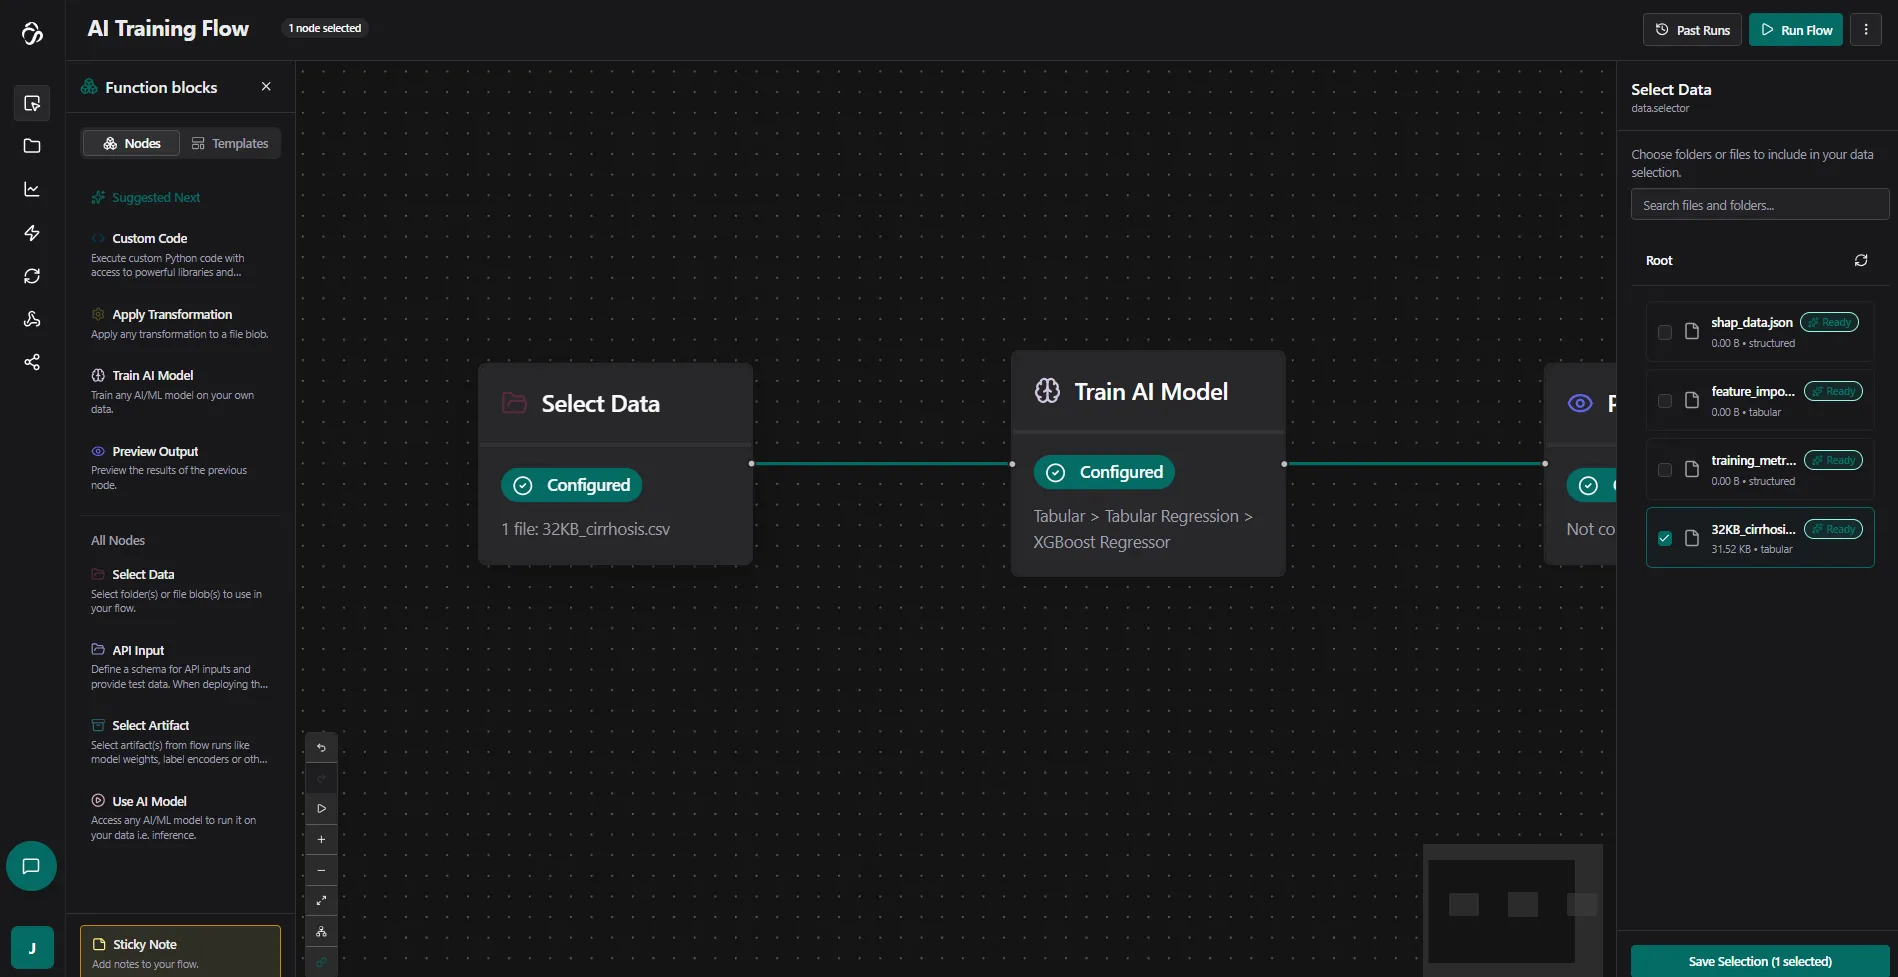
2. Select Your Data
Click on the Select Data node. Here you can see all Data that you added in the Data Management section through uploads or connections to other tools that store your data. Some of the files that you can see here can also be the results of your flow execution.
3. Verify Data Selection
To check if the file was selected successfully, attach a Preview Output node to your data selector. This will visualize the file that you just selected.
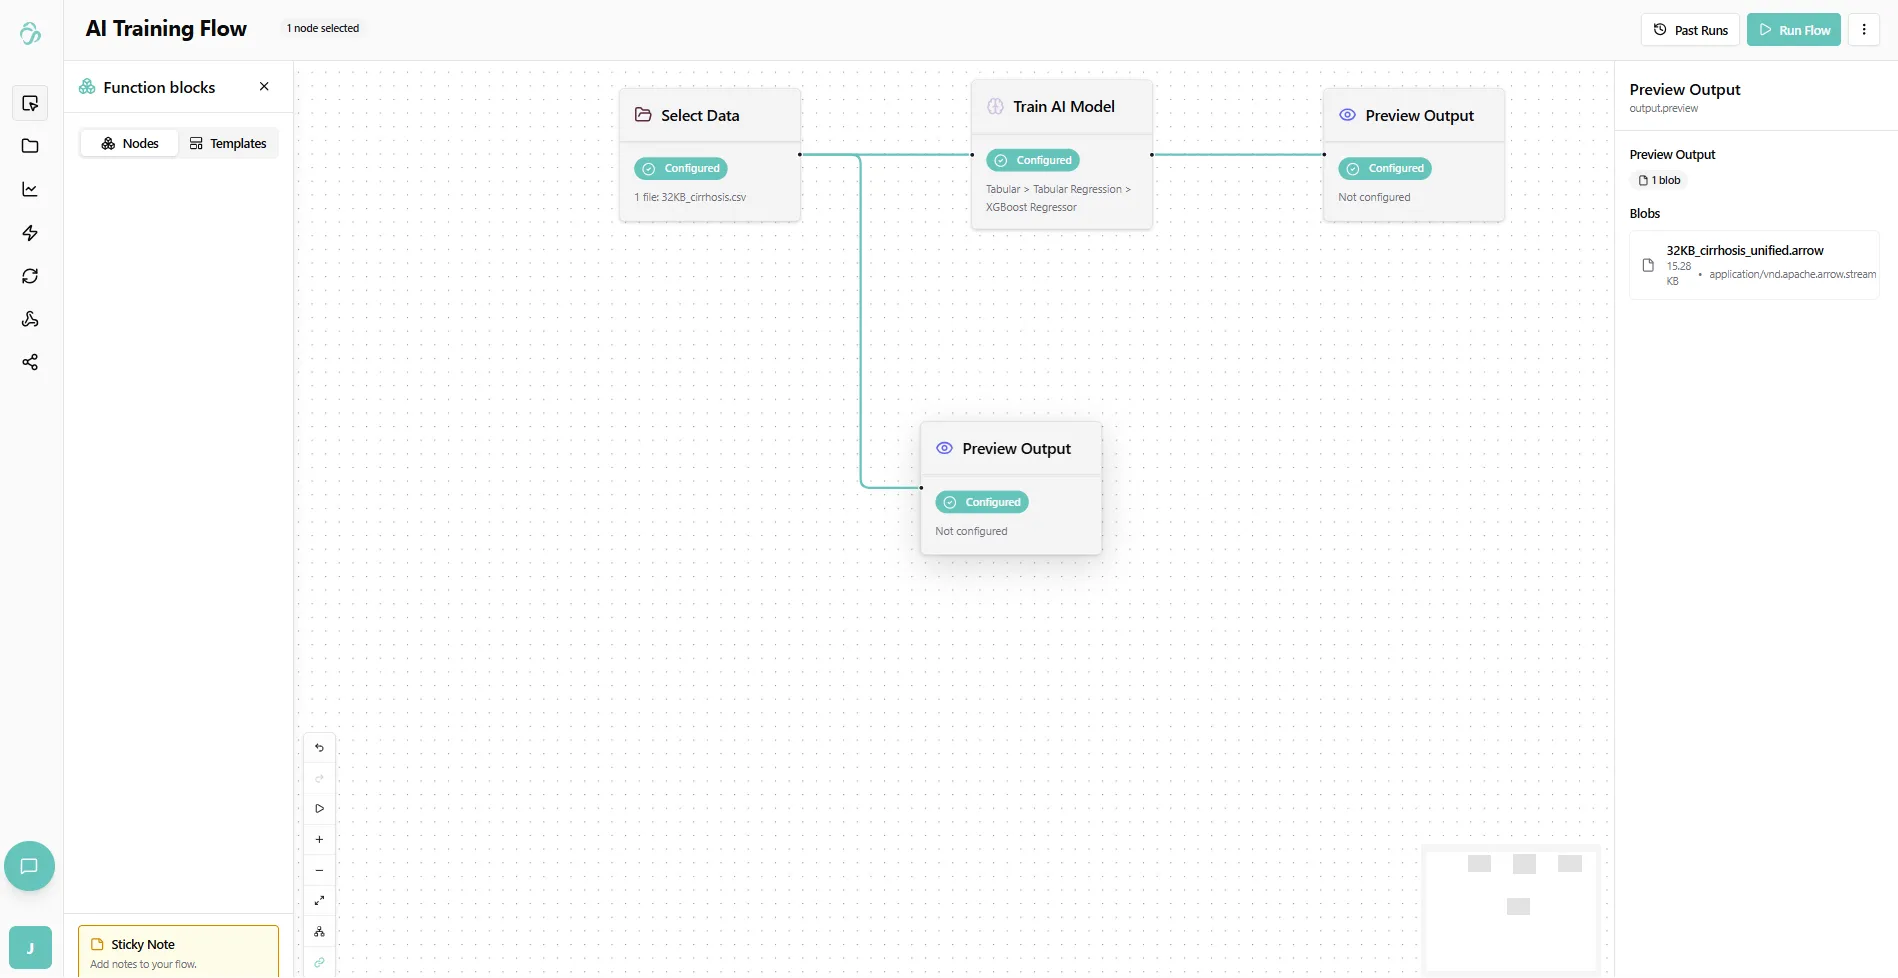
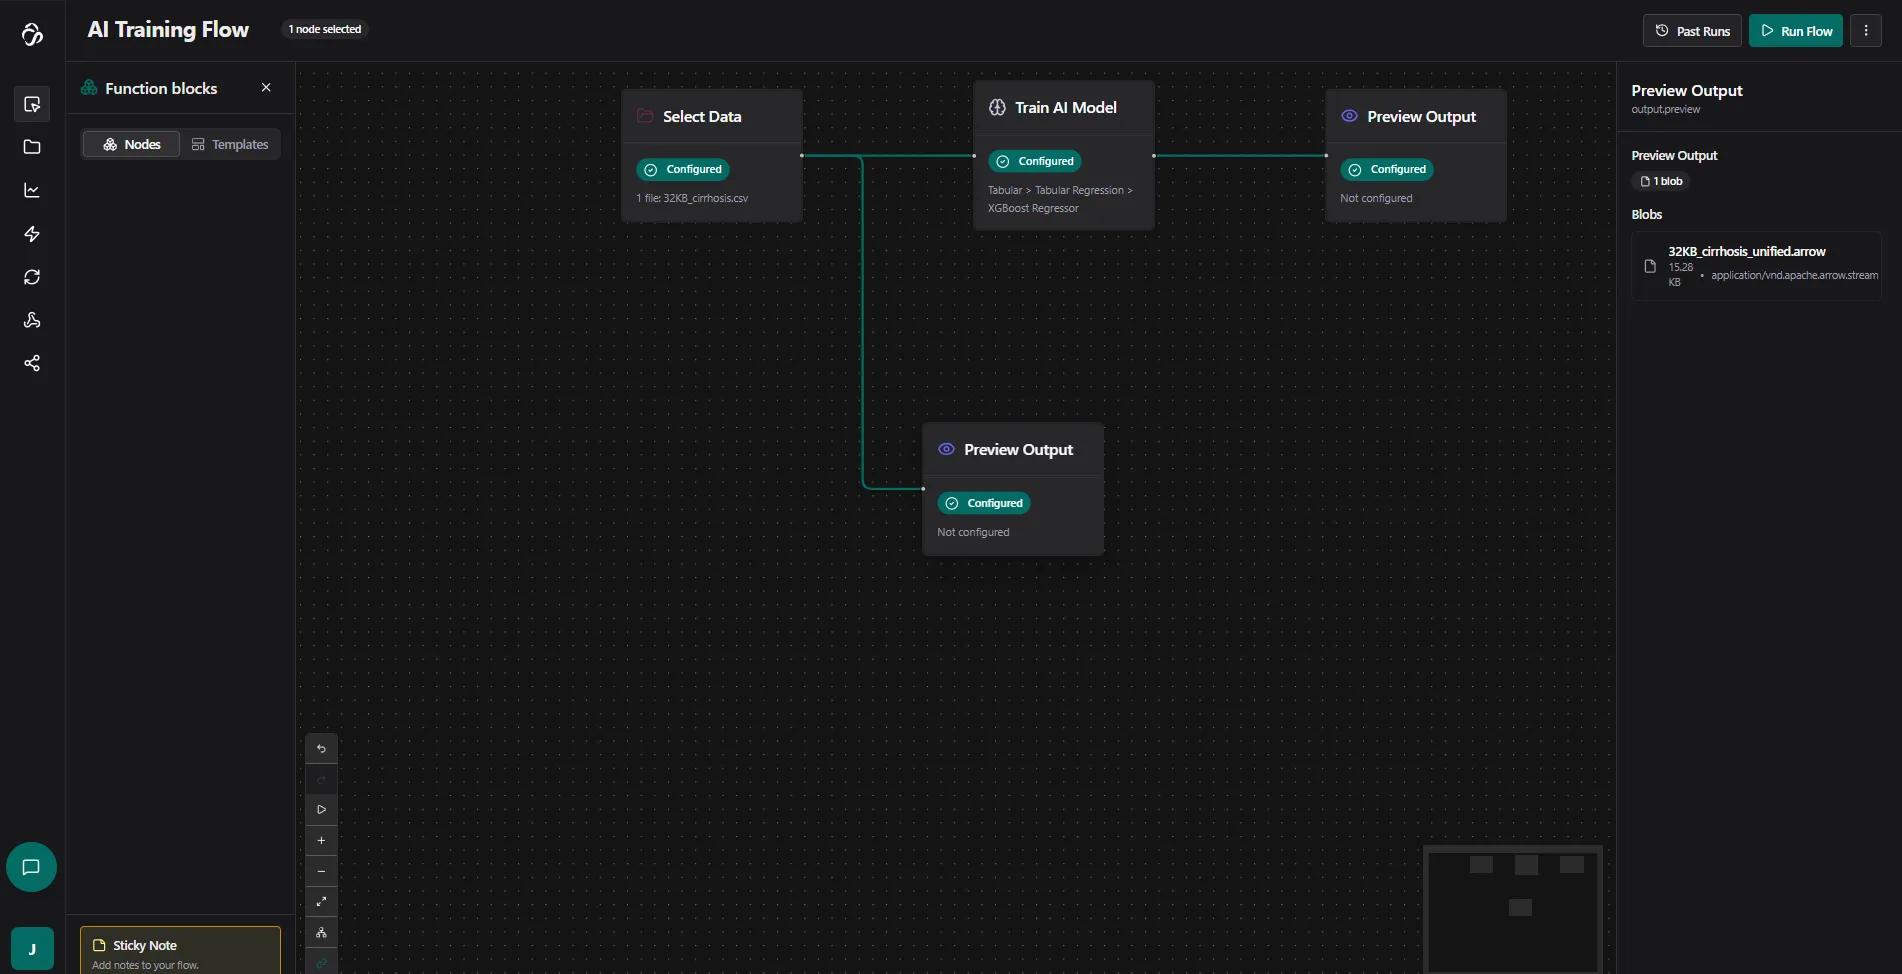
Tip: You can use Preview Output nodes anytime to see what your previous node outputs.
4. Configure the Train AI Model Node
Setup Tab
Start with the setup configuration:
- AI Category: Select the category based on your data type (e.g., Tabular, Image, Text)
- Task Type: Choose the specific task (e.g., Classification, Regression)
- AI Model: Select the model you want to use
If you cannot find the AI model you're looking for, try selecting a different task type or AI category.
For example, to perform classification on tabular data:
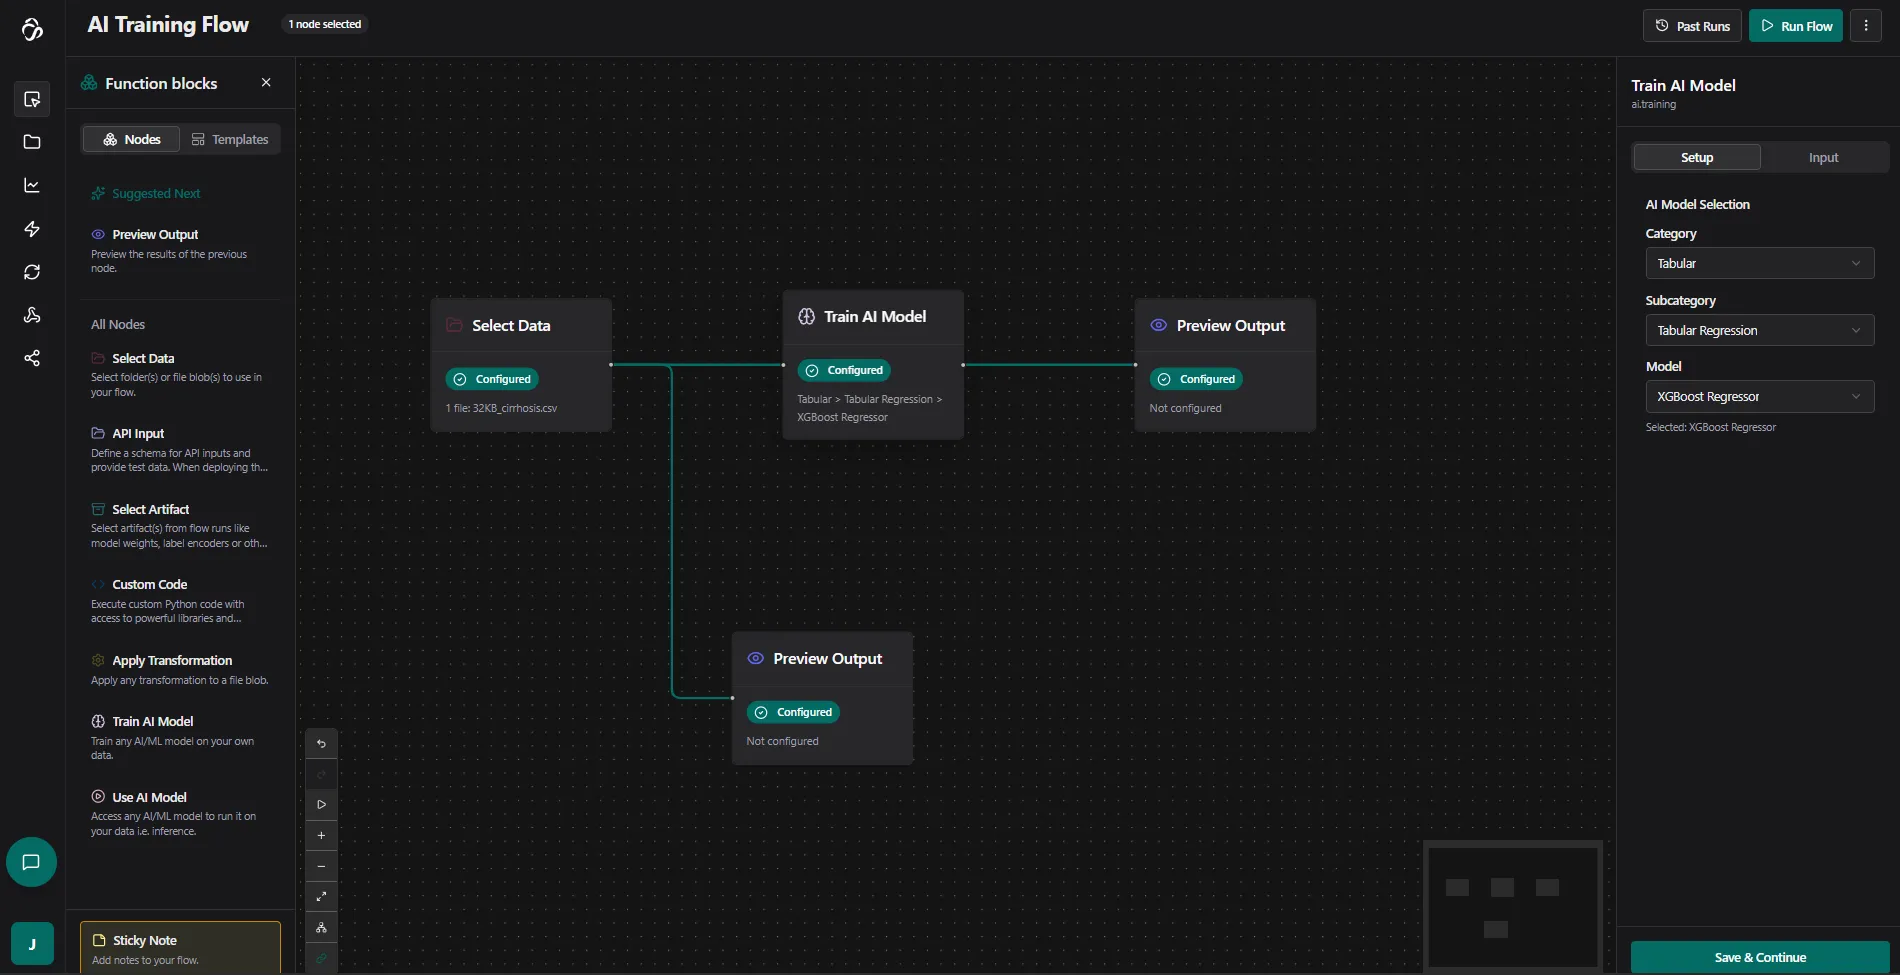
Once done, click Save Configuration and move to the Input tab.
Input Tab
The Input tab defines the model configuration and is the core of your AI model setup.
Since you selected data beforehand, you'll see automatically selected feature columns and a dropdown for the target column.
Configuration steps:
- Remove your target column from the feature columns (e.g., click the cross next to "Stage")
- Select it as the target column in the target dropdown
- Configure additional settings (optional)
Recommended: Enable hyperparameter tuning and select several settings. The system will automatically find the optimum values for you, resulting in a better model.
This is how the configuration should look:
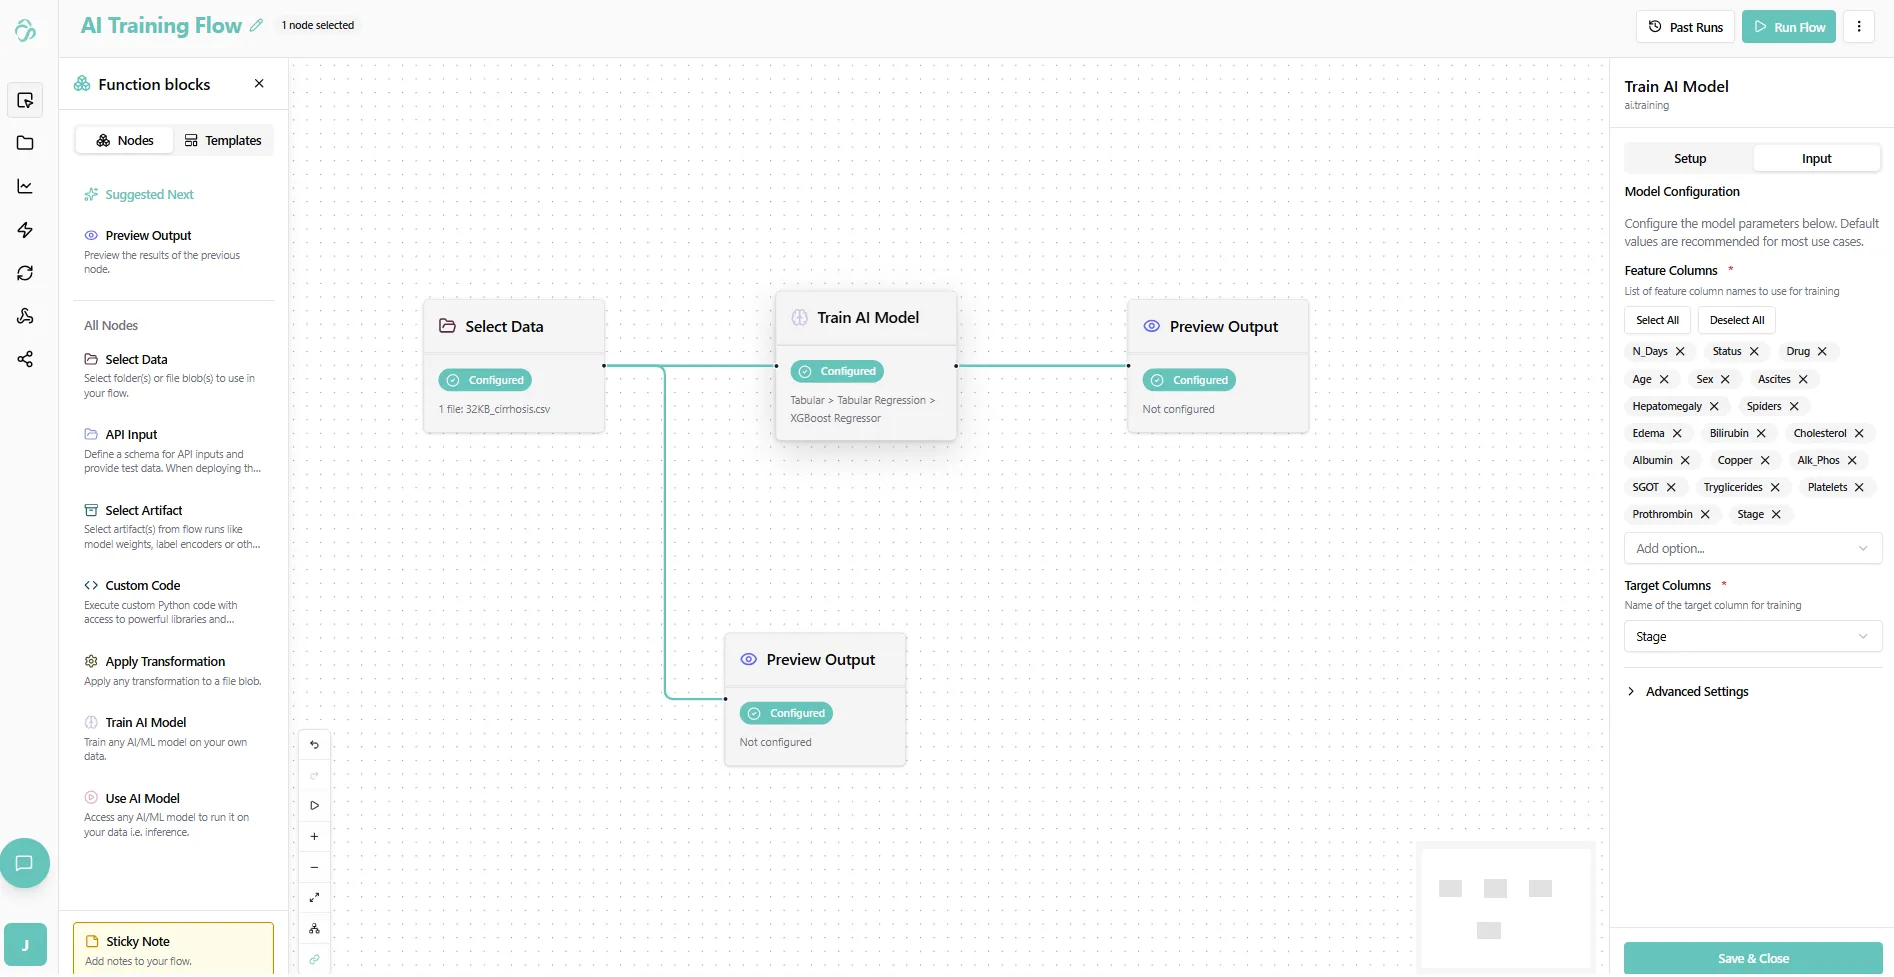
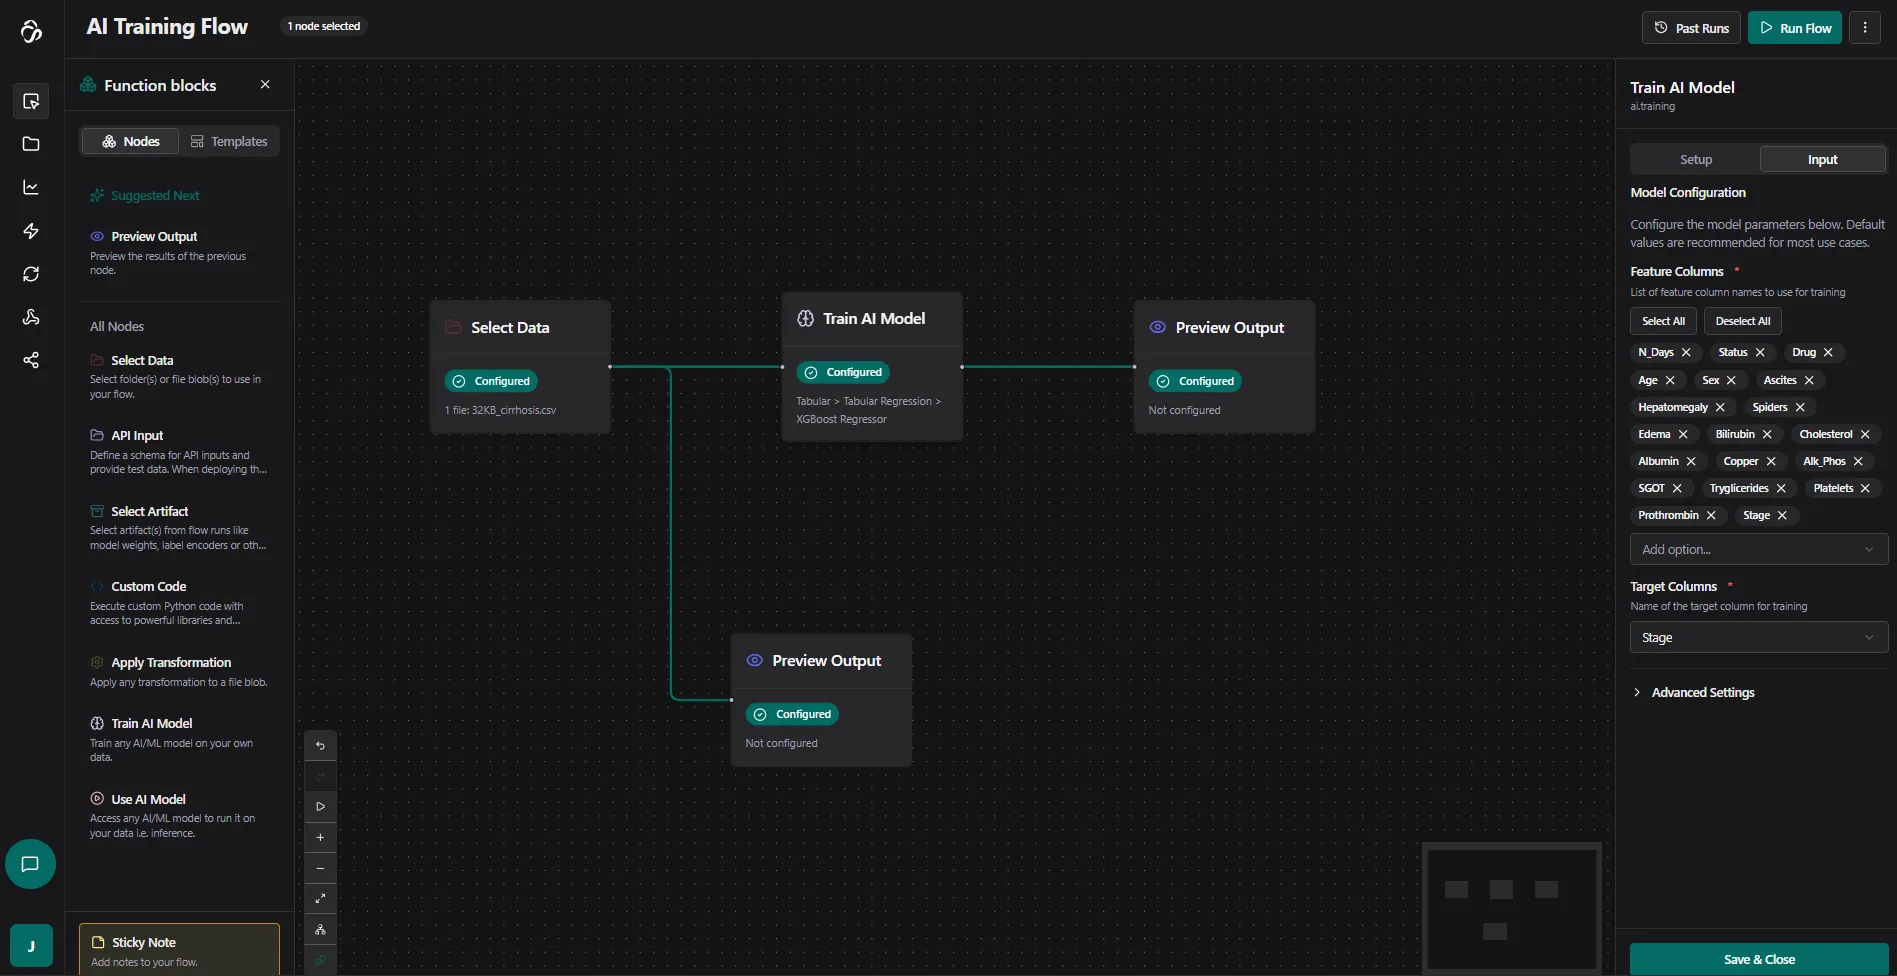
Save the configuration.
5. Run the Training
Click Run to start the training process.
Execution logs will appear showing real-time updates about your flow progress:
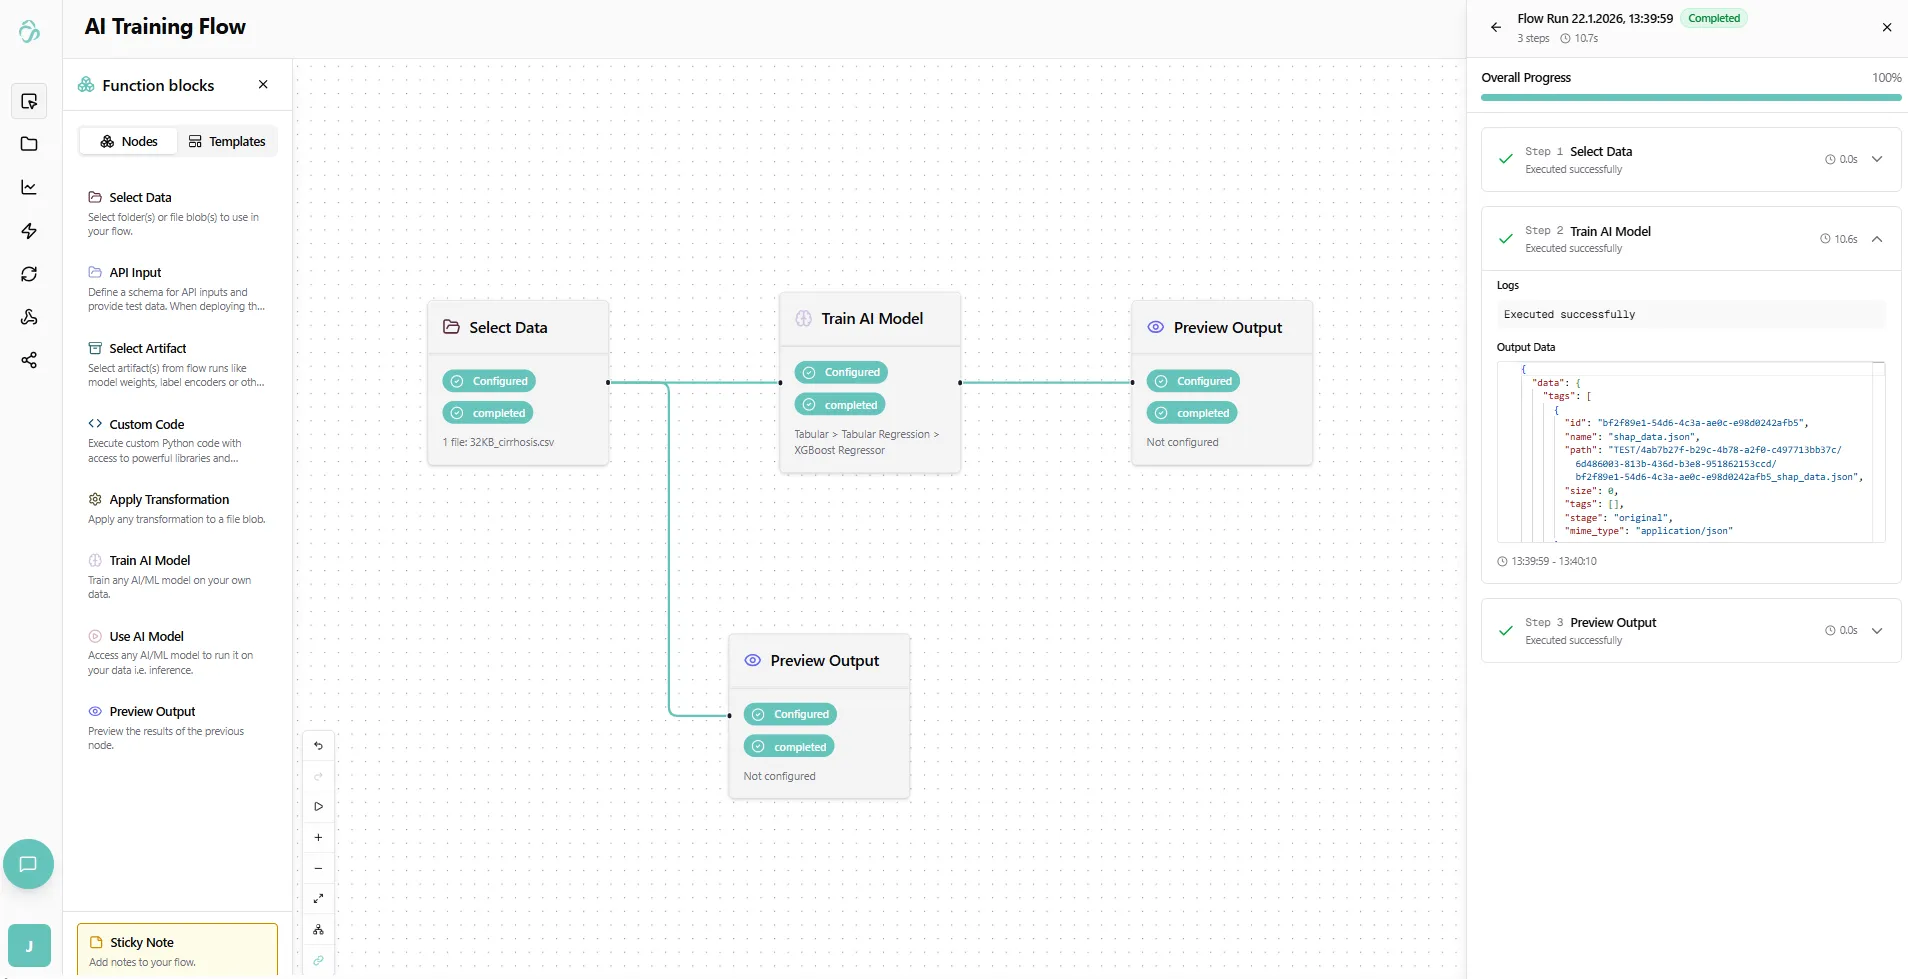
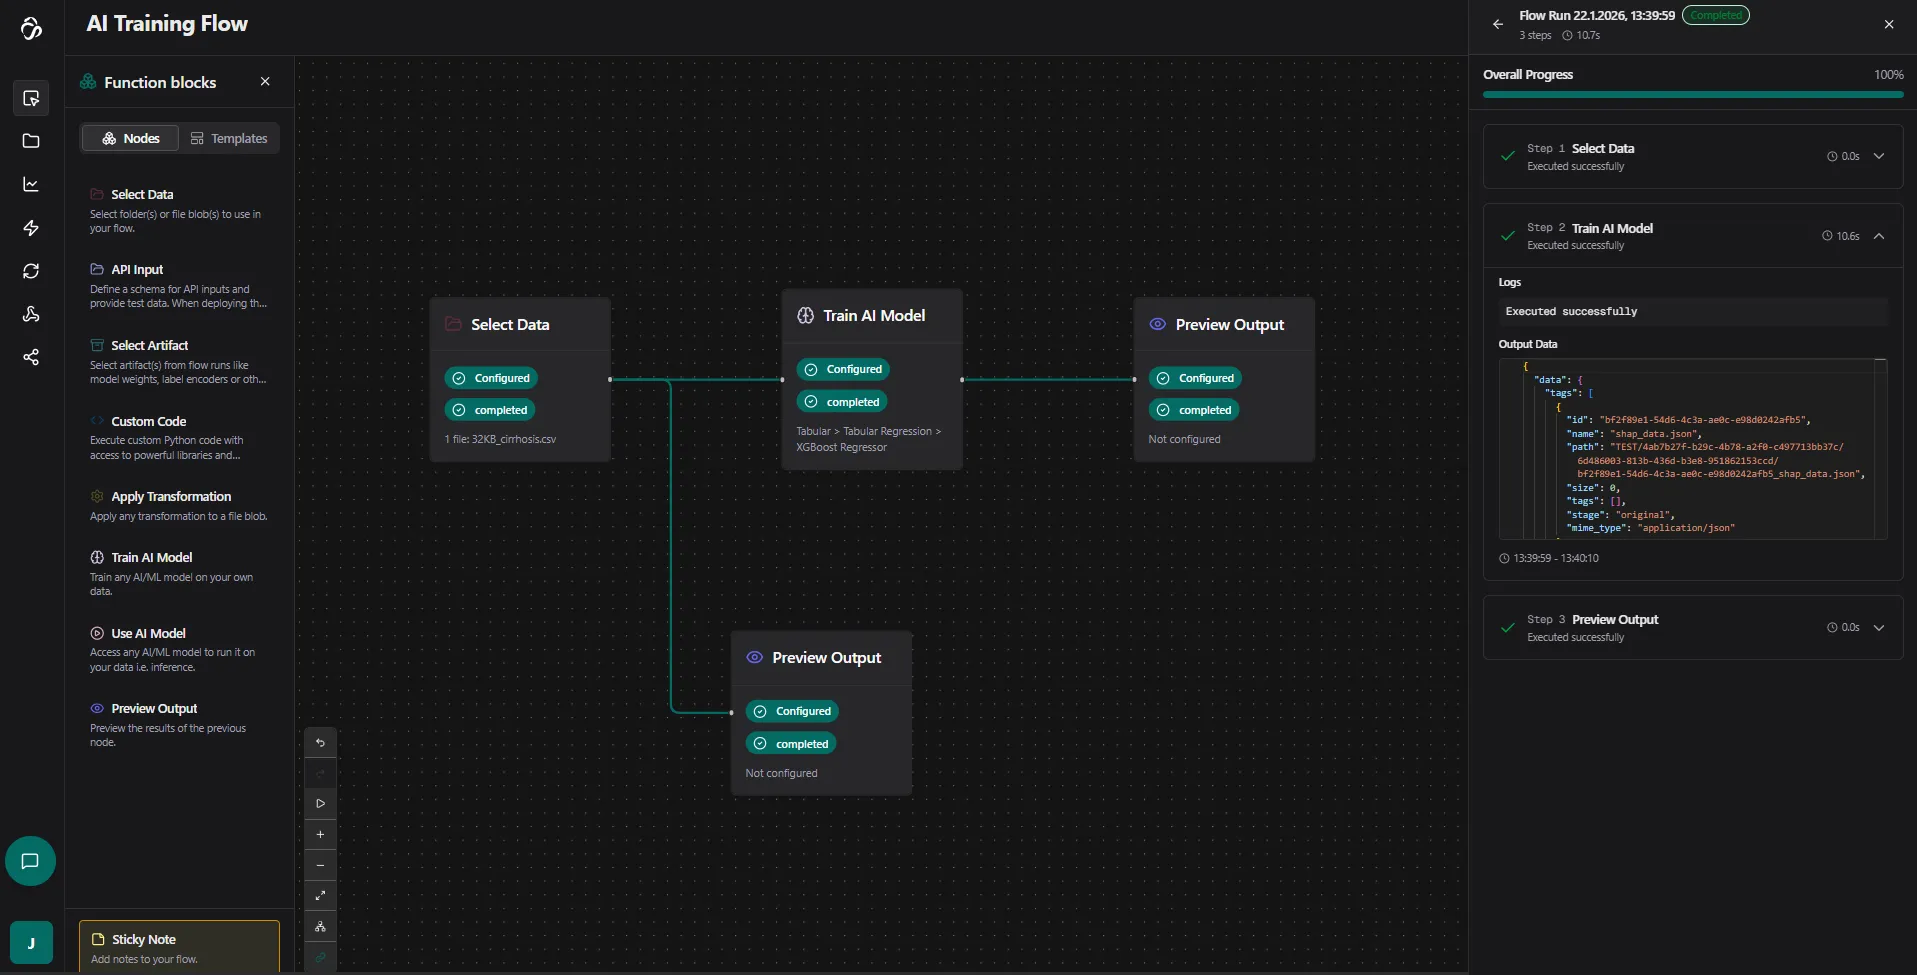
Training Time: For tabular models, this happens quite fast. Larger datasets or heavier models can take hours.
6. View Results
Once training is complete, you'll see the results not just in the logs of each node but in the preview output node. For that close the logs of the run. You can open them anytiem by selecting a flow run in past runs popup. And now click on teh preview output node that you added afte rthe train Ai model node. :
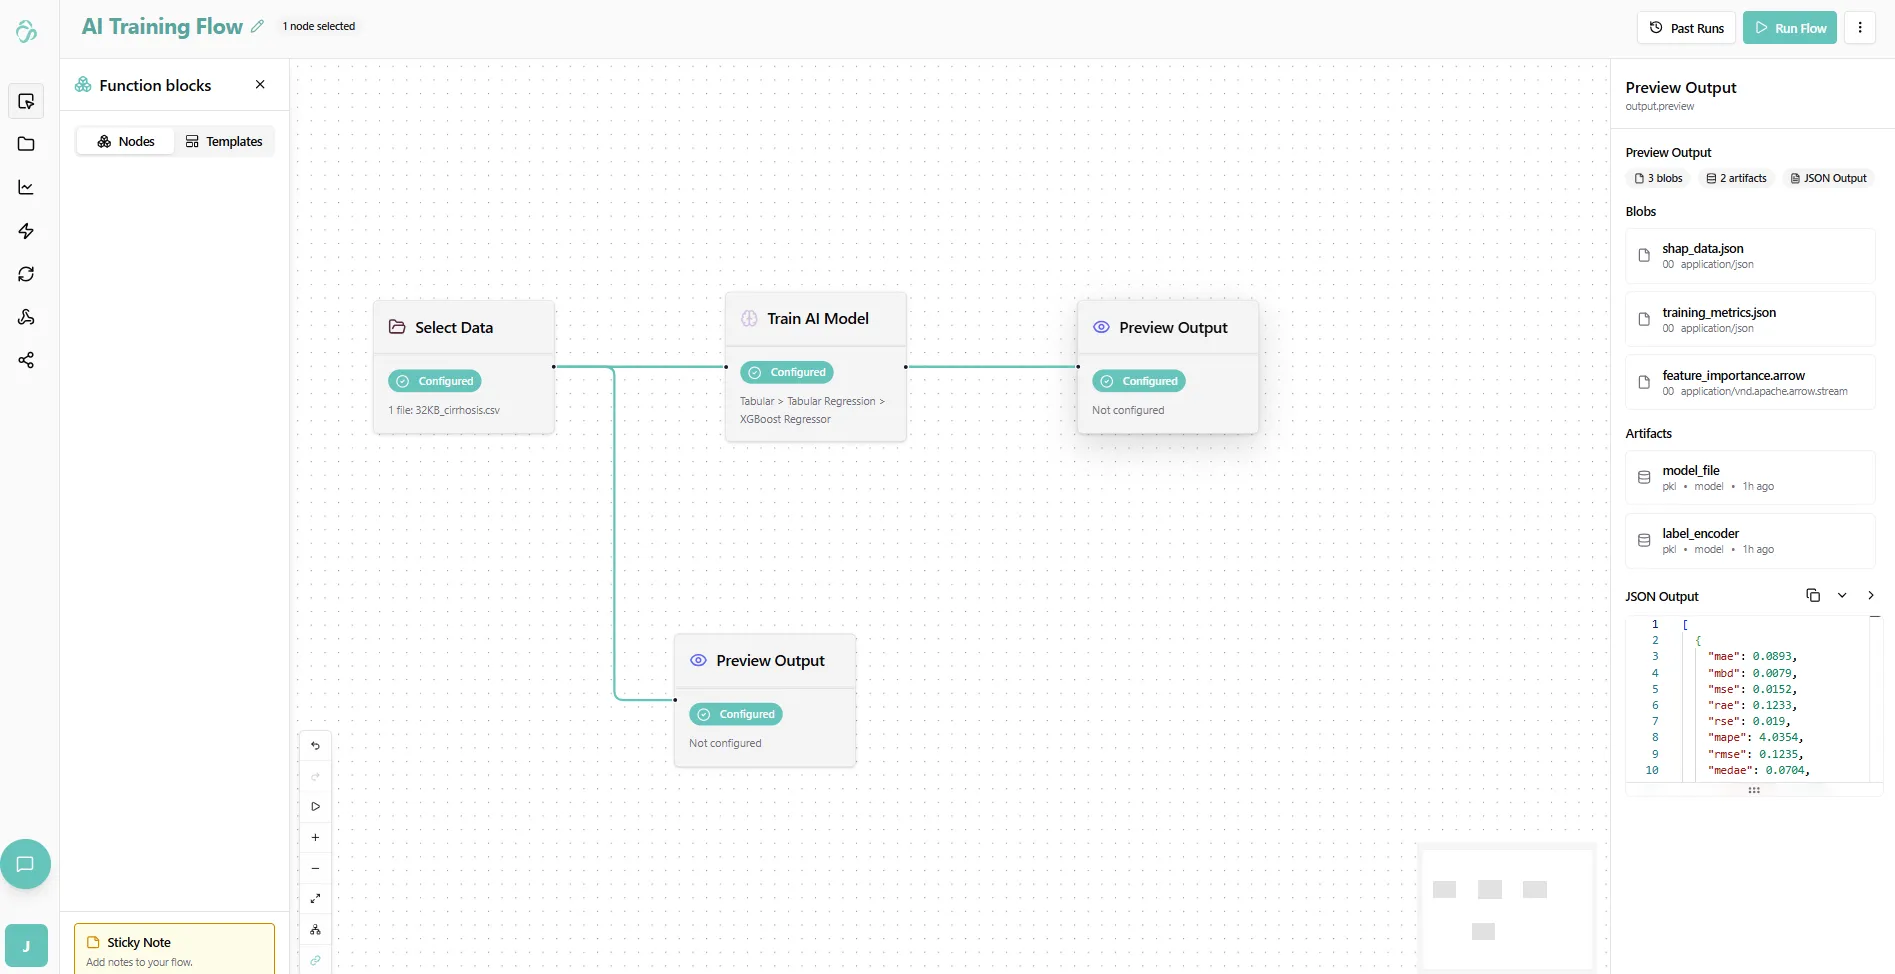
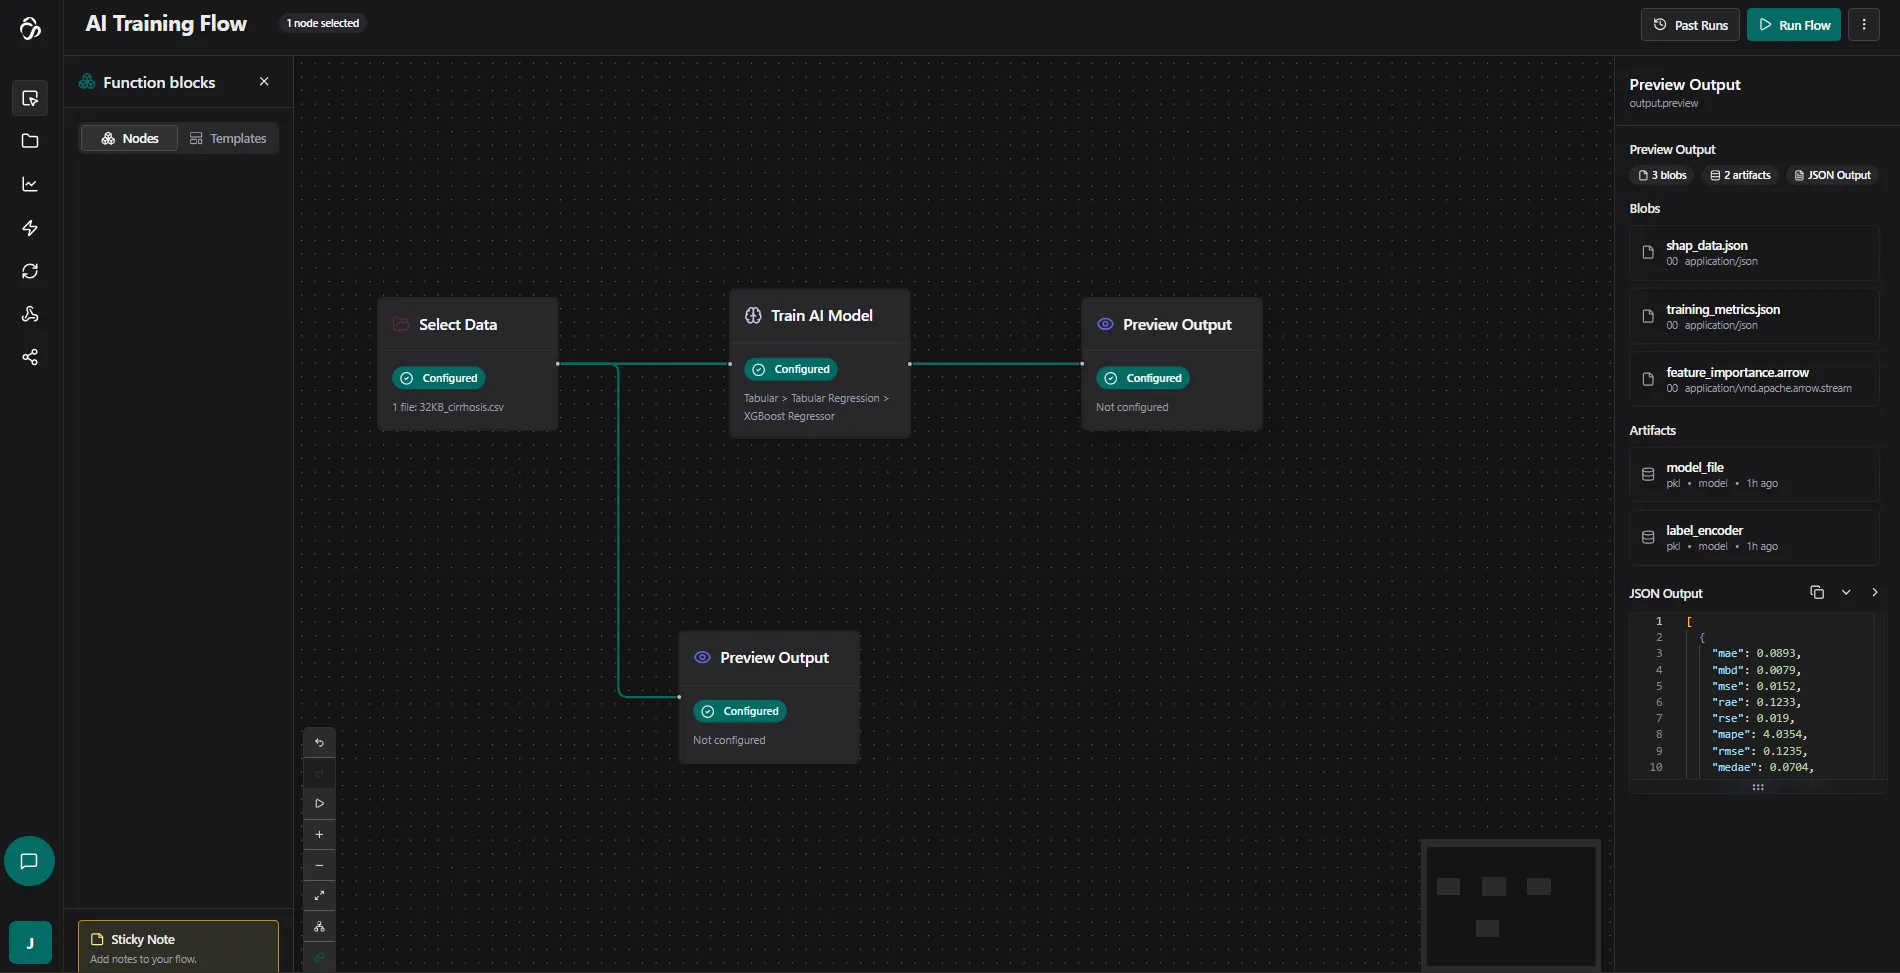
The pre-created files will now show as "ready". Click on them to view the results:
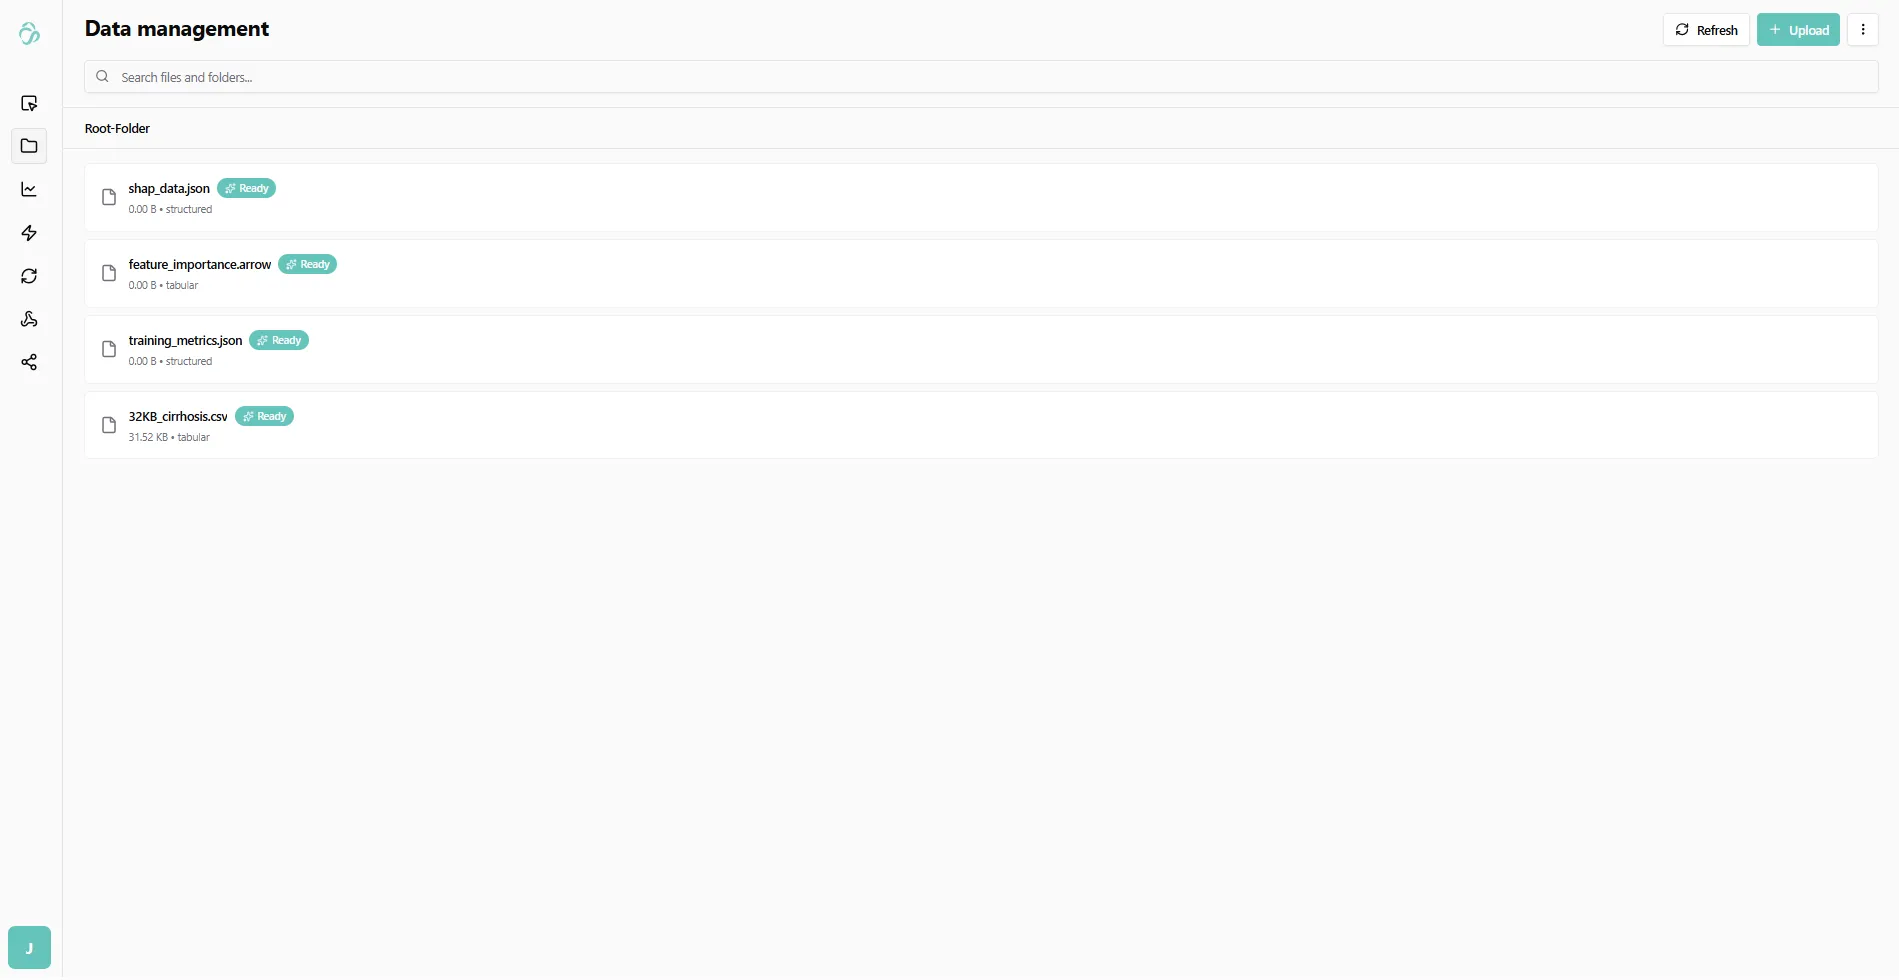
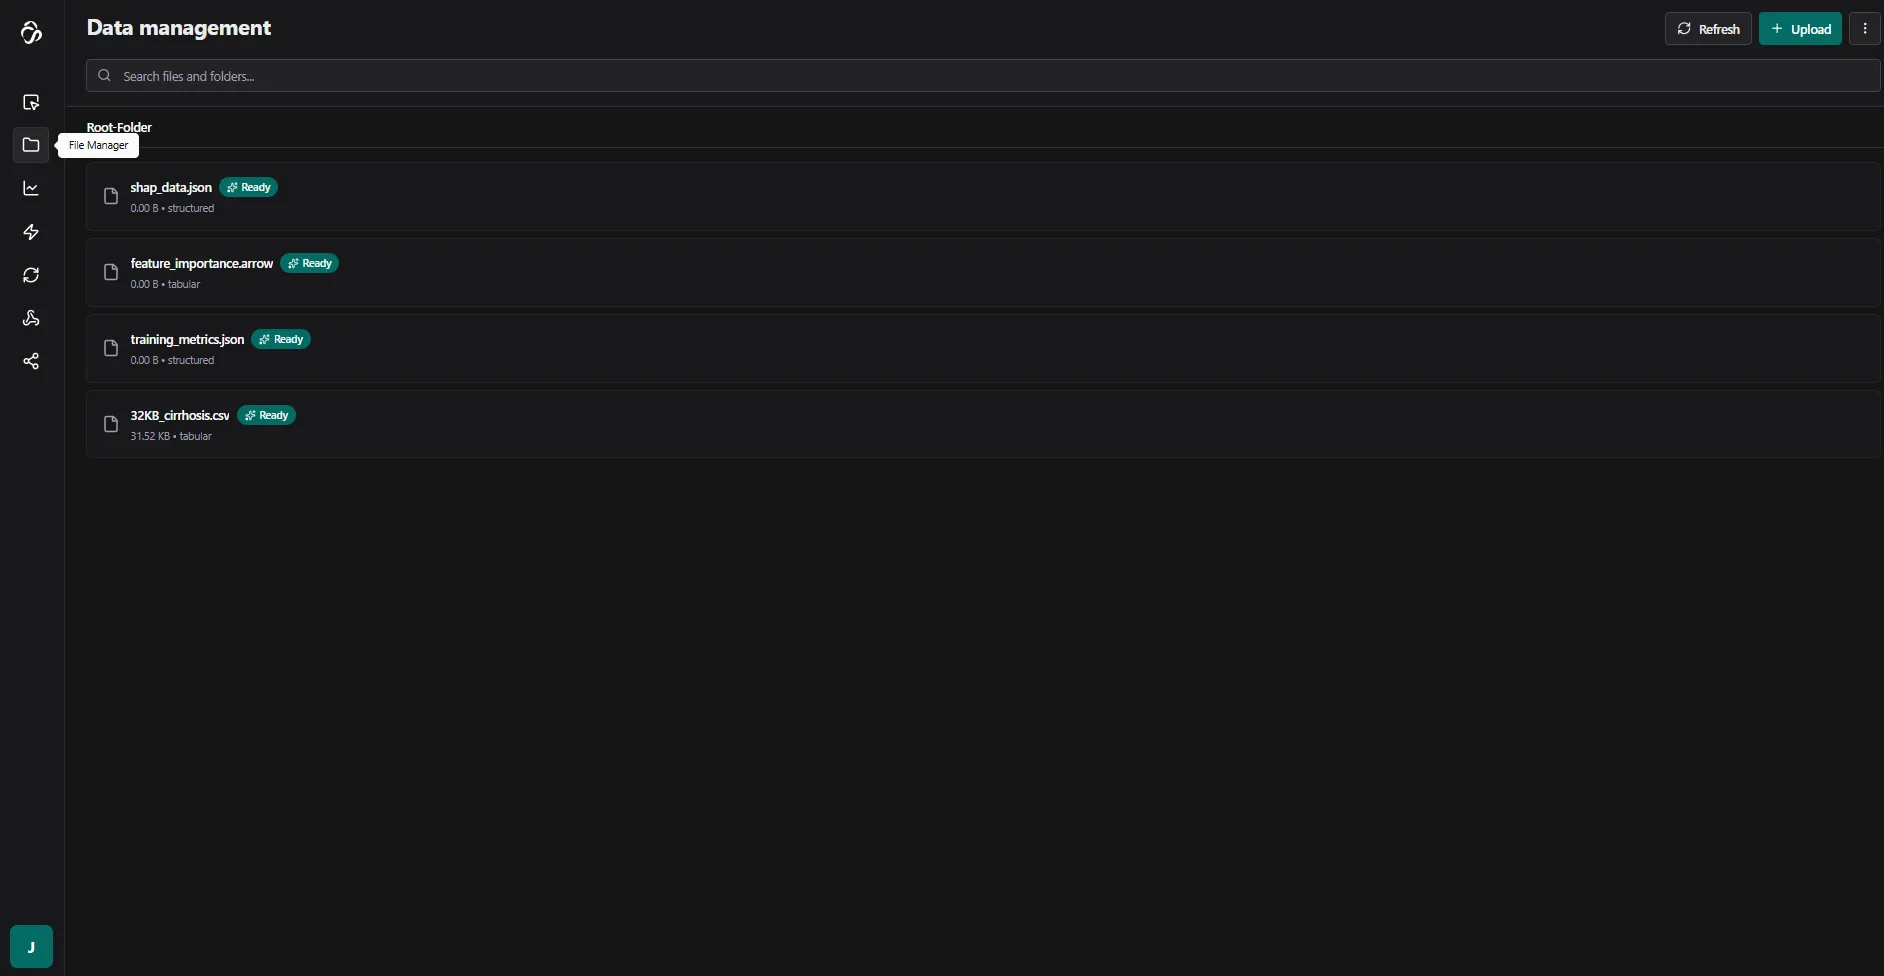
Understanding the Outputs
You will get different types of ourputs depending on the model that you select. The outputs also have different types: Either normal File Blobs or Artifcats.
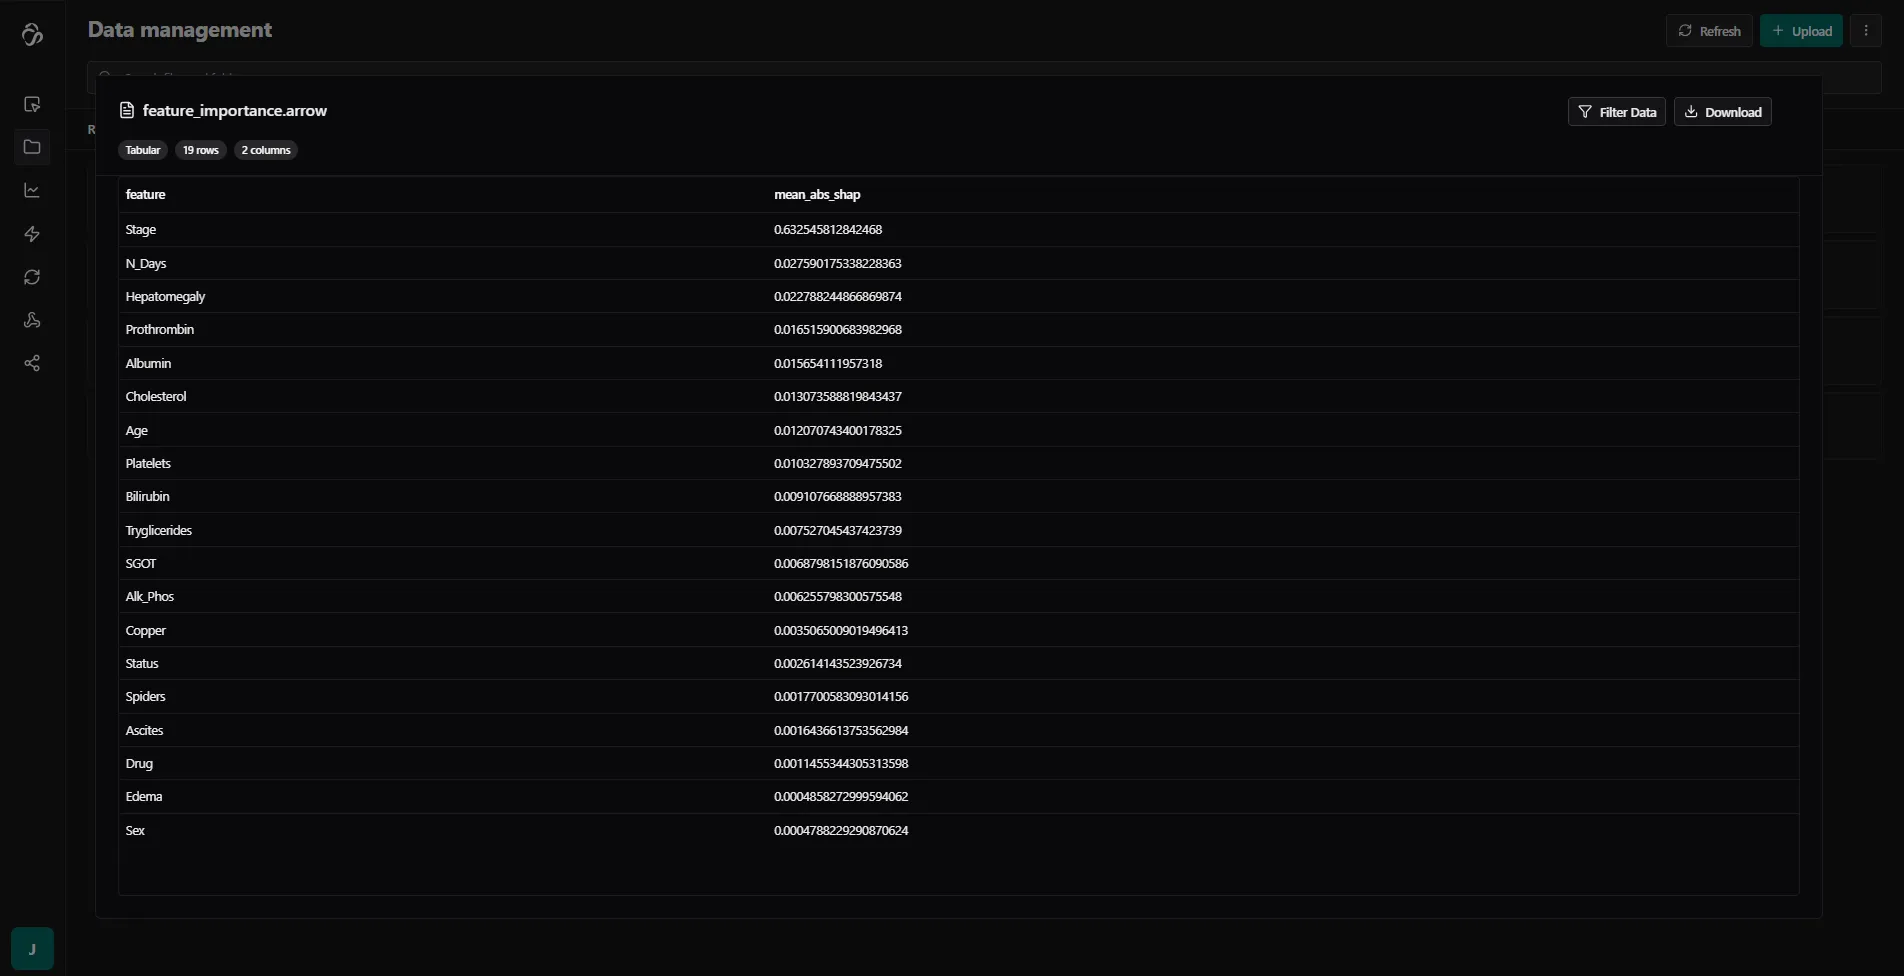
File Blobs can be json, arrow or image formatted files that give you information about e.g. trainign perofrmance or store the explanaibility values for your model. They can be used in e.g. plots to visualize the training process and model performance.
Artifacts are used in the Use AI Model Node and store the information of all "learnings" that your model had during training and make them applicable when you run infernce.
Here is an example of the median shap values that you get stored in a file. This file has an arrow format. There is also a file that stores the raw values.

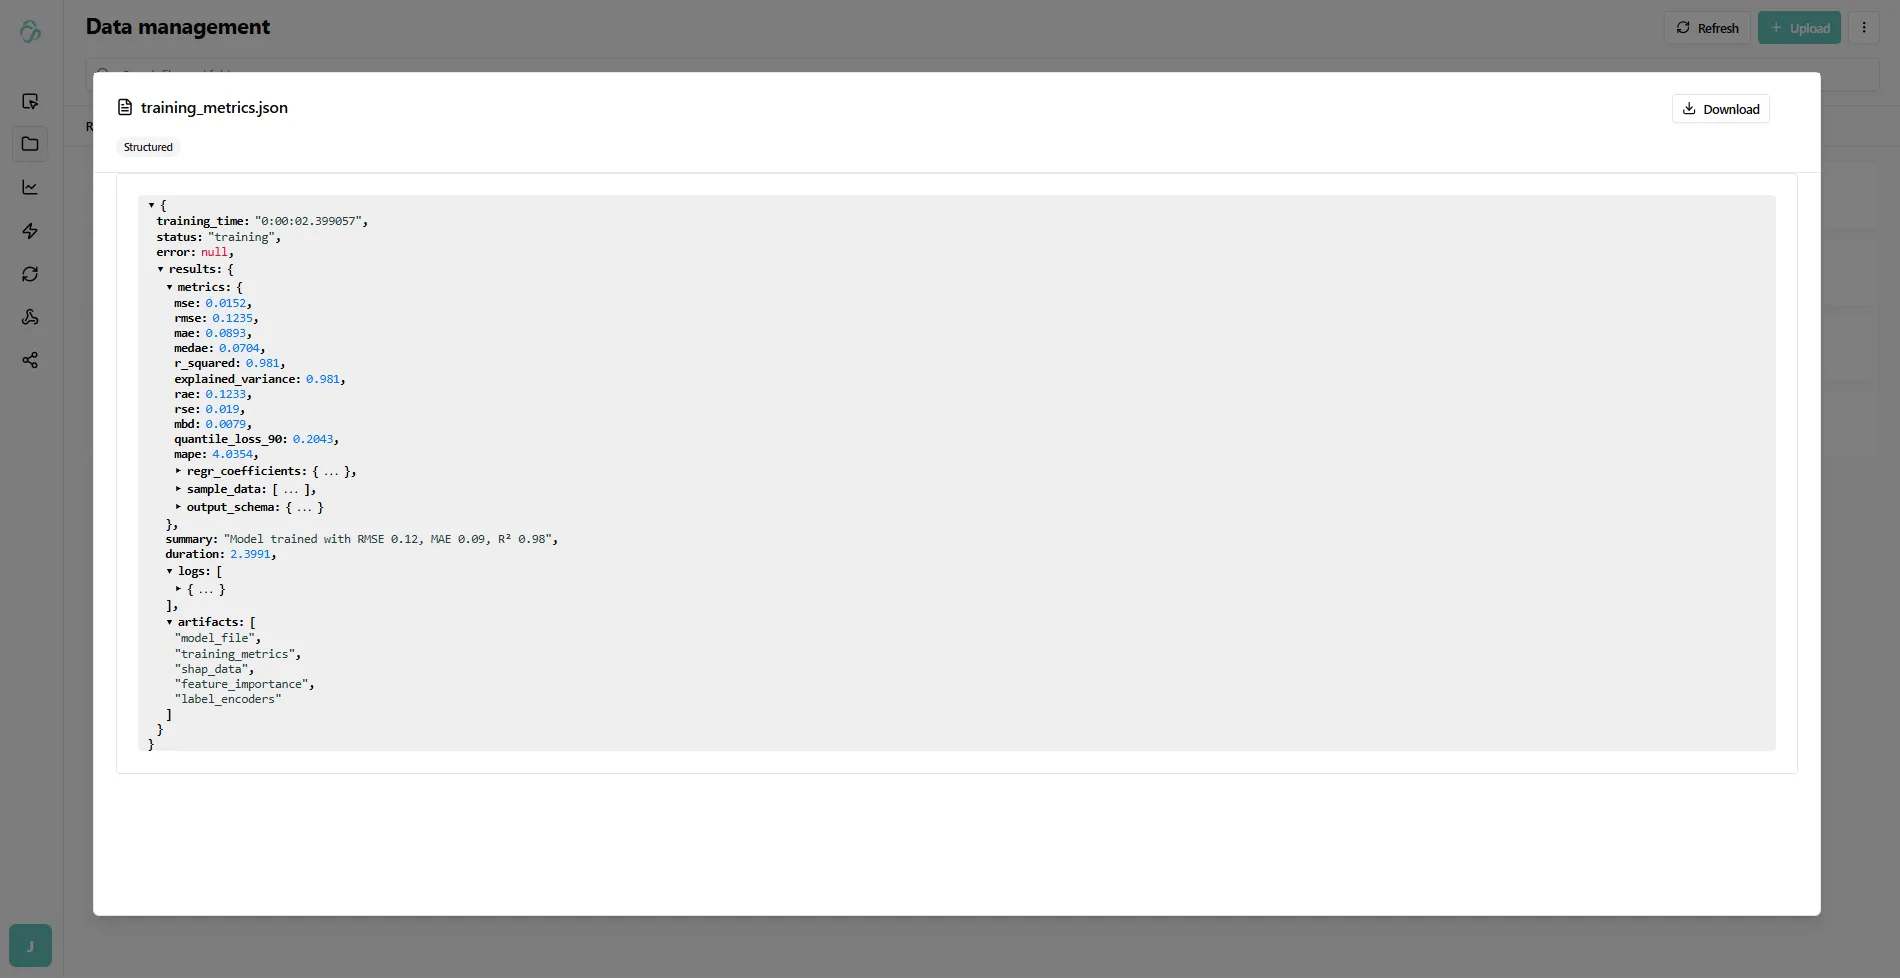
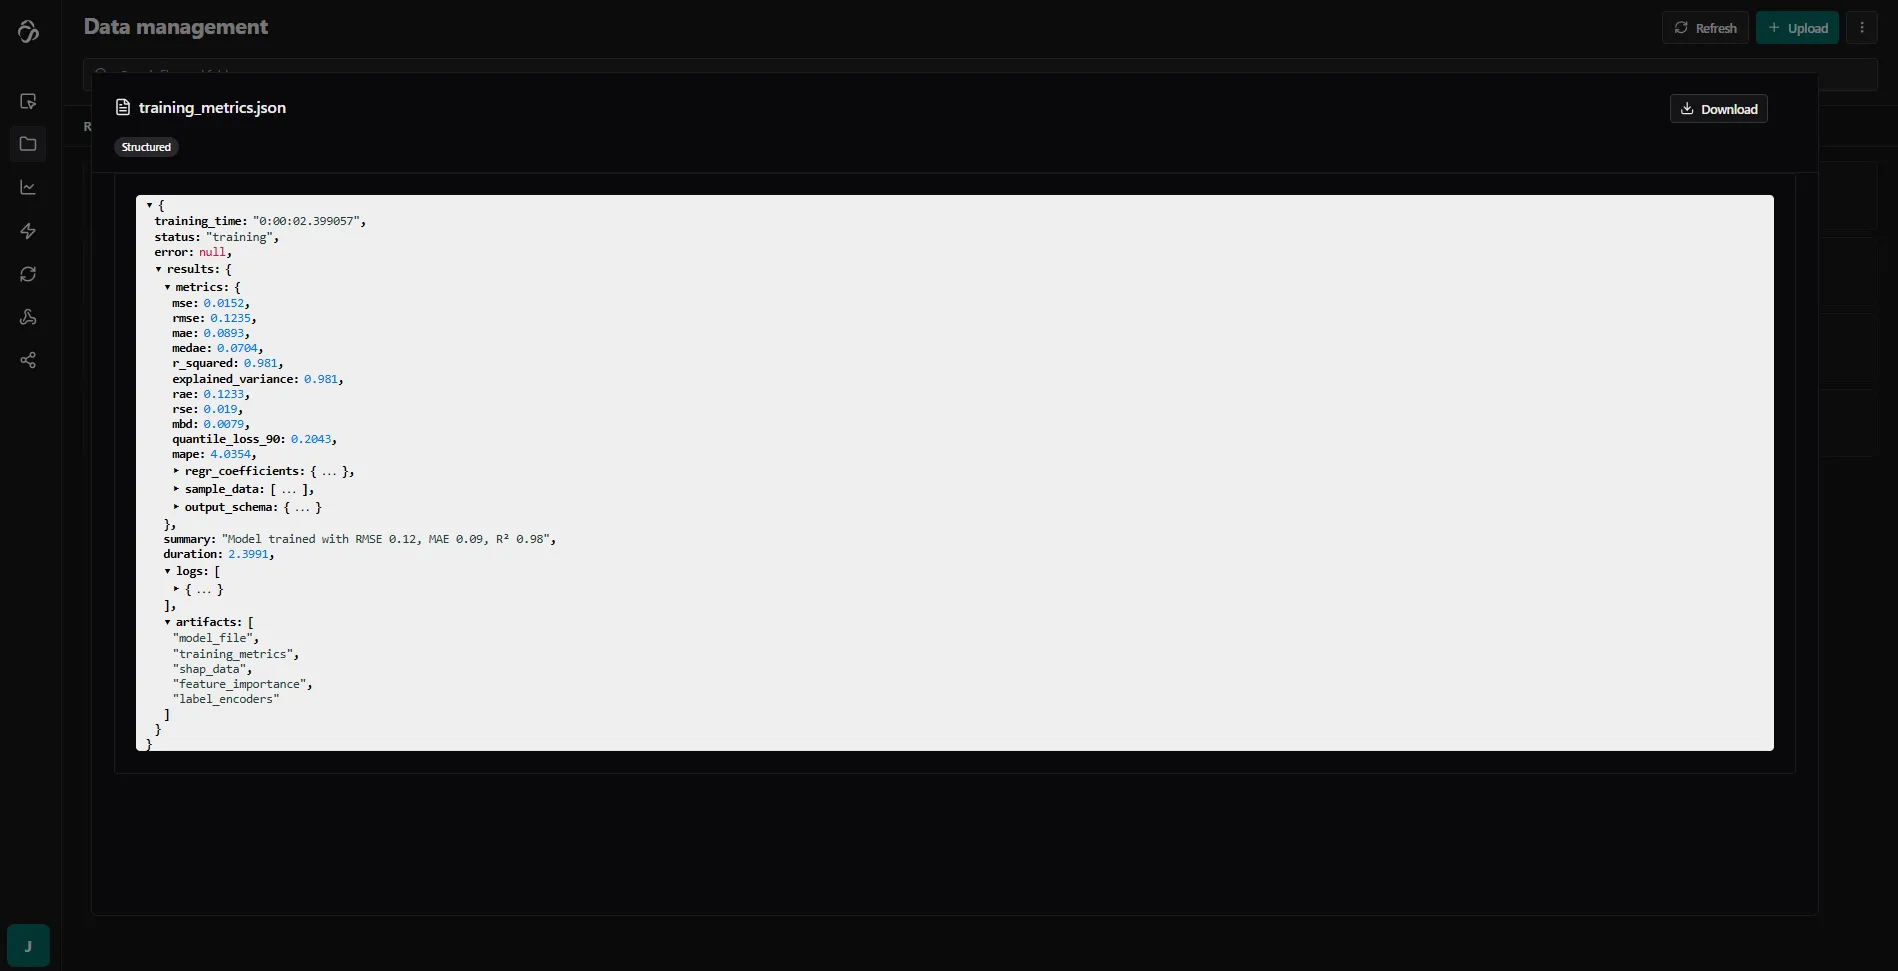
Another file that was created is the training metrics file that has a json format.
Similar like the other one you can simply preview its content by clicking on it and selecting it for plots in the dashboard section
Artifacts
The training creates artifacts - files that are generated to use the model later. In this example:
- label_encoder: Encodes categorical labels
- model_weights: Contains the trained model parameters
Metrics and Analysis
You can use files like training metrics or feature importance to:
- Create plots in the Plots Module dashboard
- Analyze model performance
- Understand feature contributions
Next Steps
Use Your Trained Model
Use the artifacts in a separate inference flow to make predictions with your trained model.
Deploy as API
To trigger the training from outside the aicuflow tool, deploy the training flow to get an API endpoint.
Monitor Performance
Track your model's performance over time and retrain when necessary to maintain accuracy.