File Manager
Store, preview, sync data securely with big data capabilities. The file manager module is where you upload your data before feeding it into your data flow.
Module Overview
The Data Module manages your data so it can be used in flows and AI models. It stores, syncs, and prepares data in a standardized way.
Getting Started
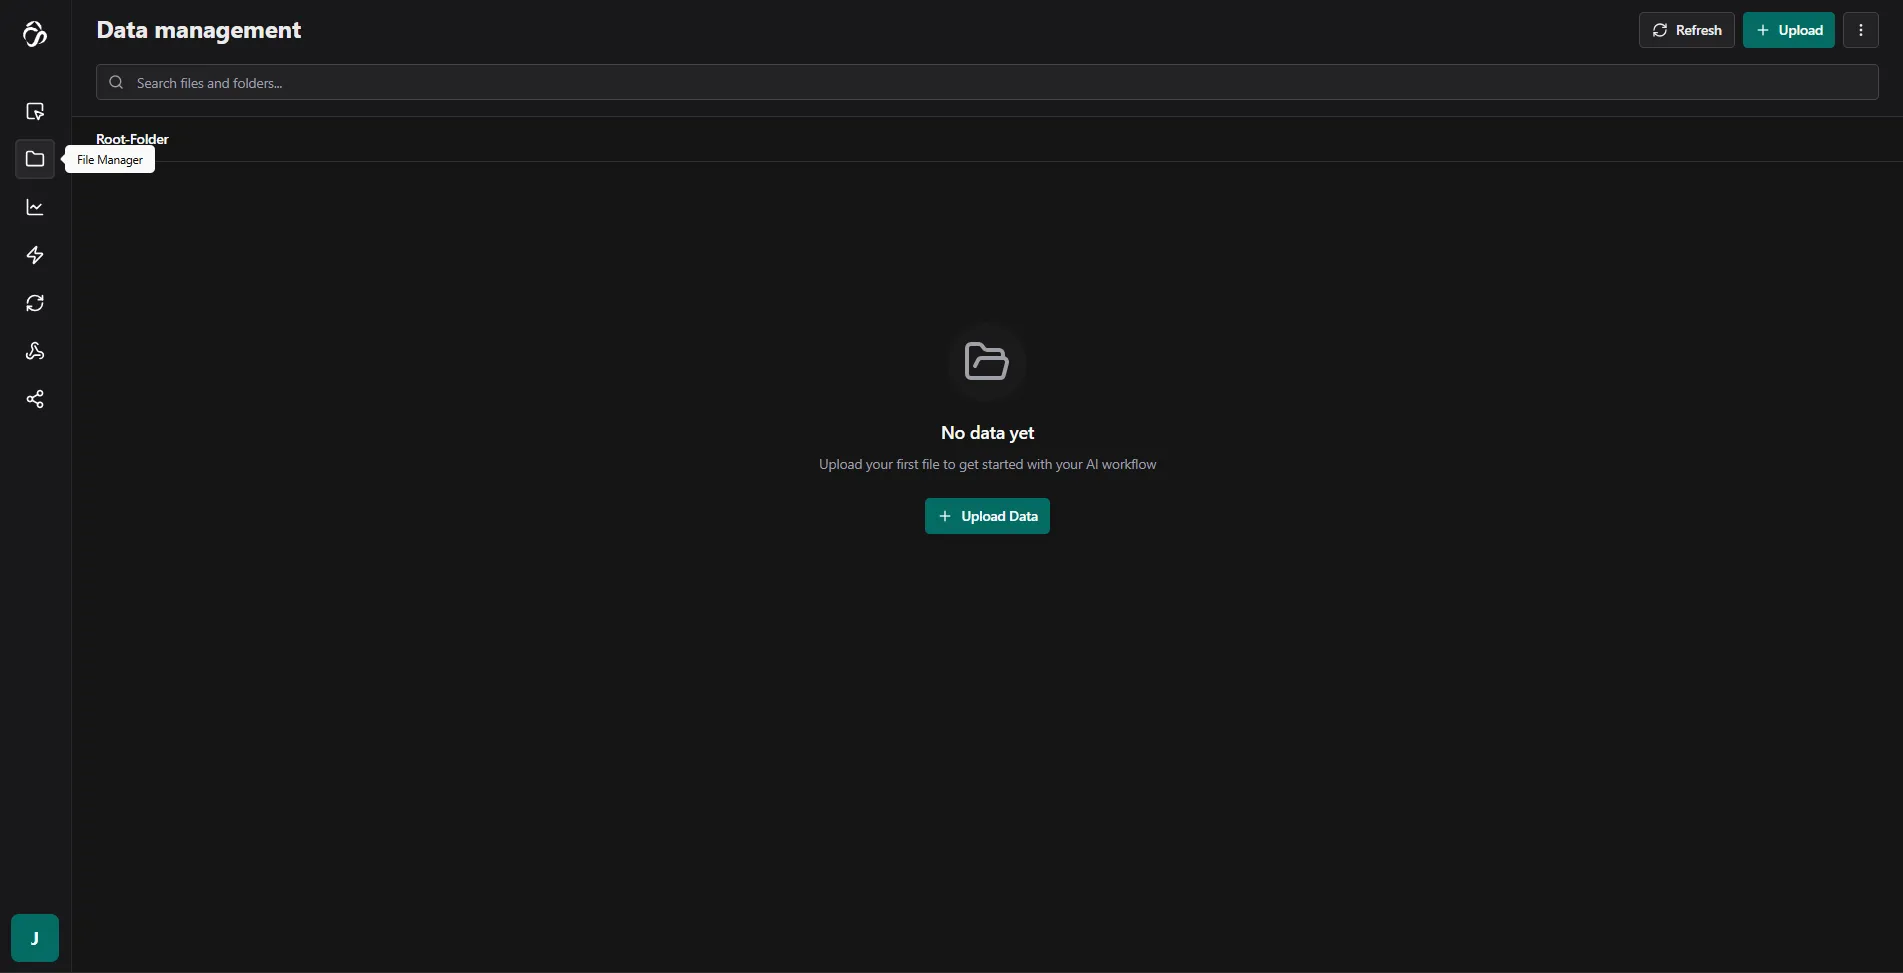
1. Add Your First Data
Click on Add Data to begin uploading your data.

2. Upload Files or Folders
Click Select File and drag it into the drop area, or click Select File to choose from the file explorer menu. You can also upload an entire folder by selecting Select Folder.
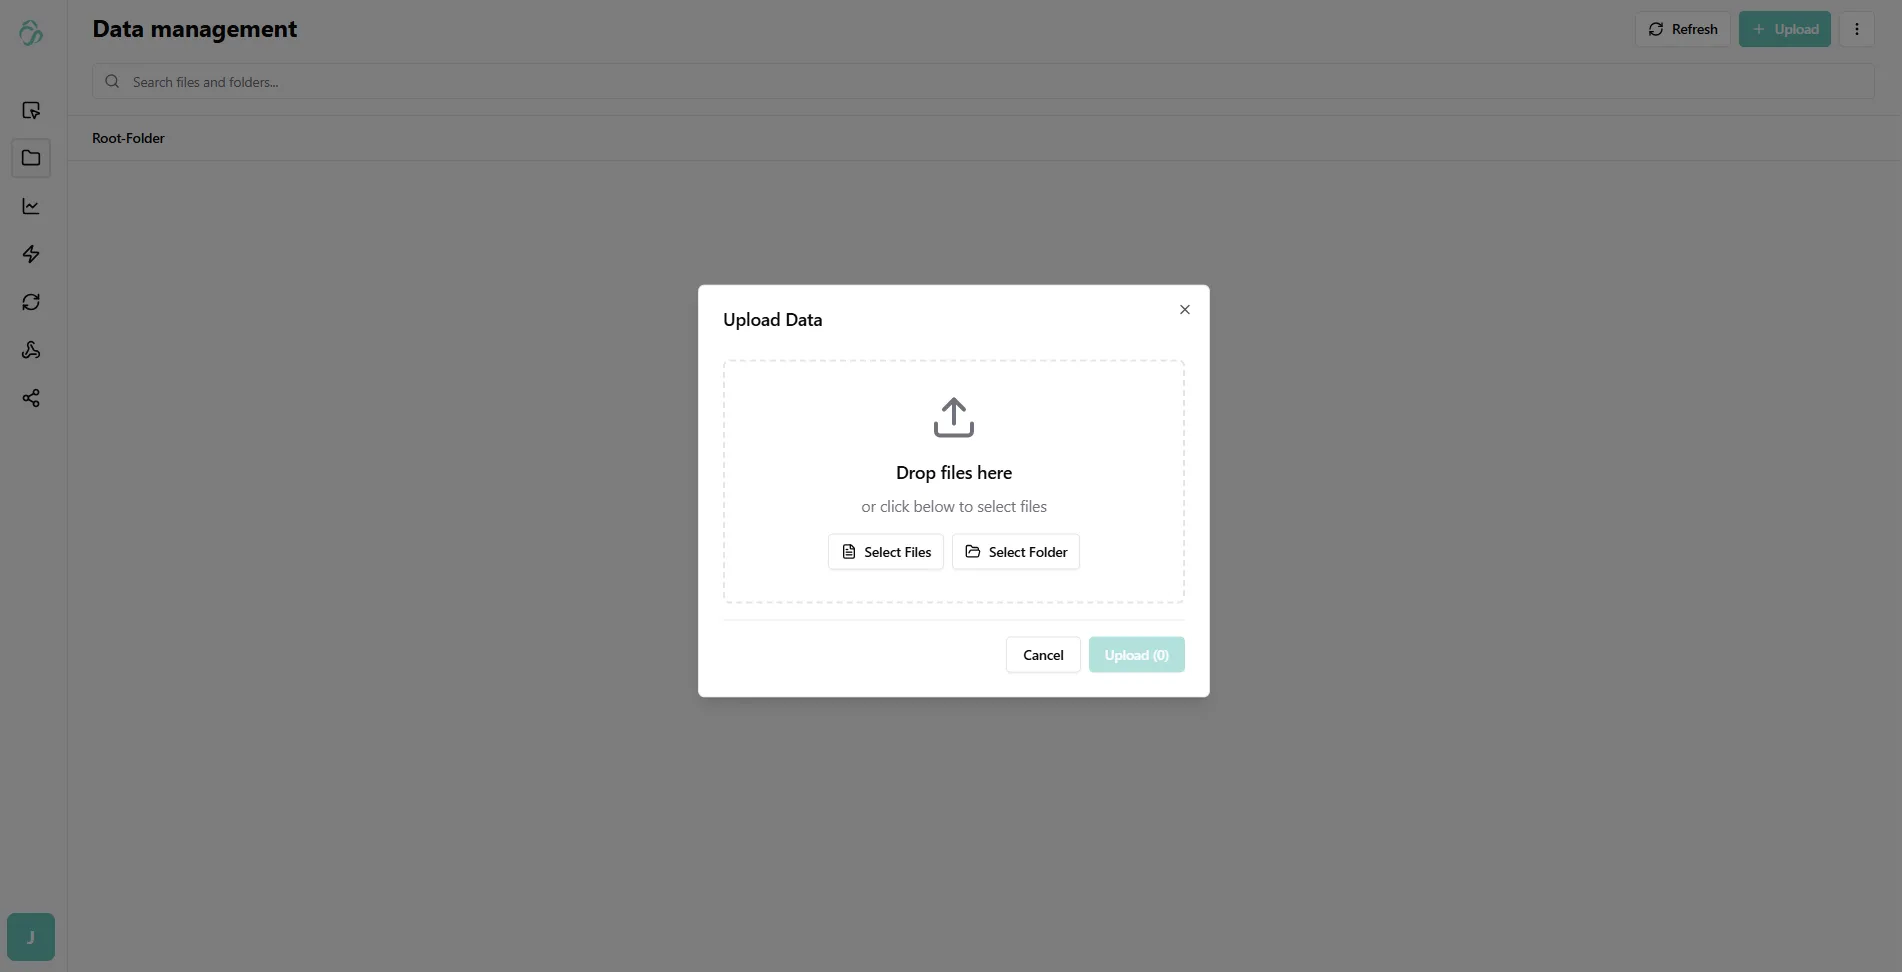
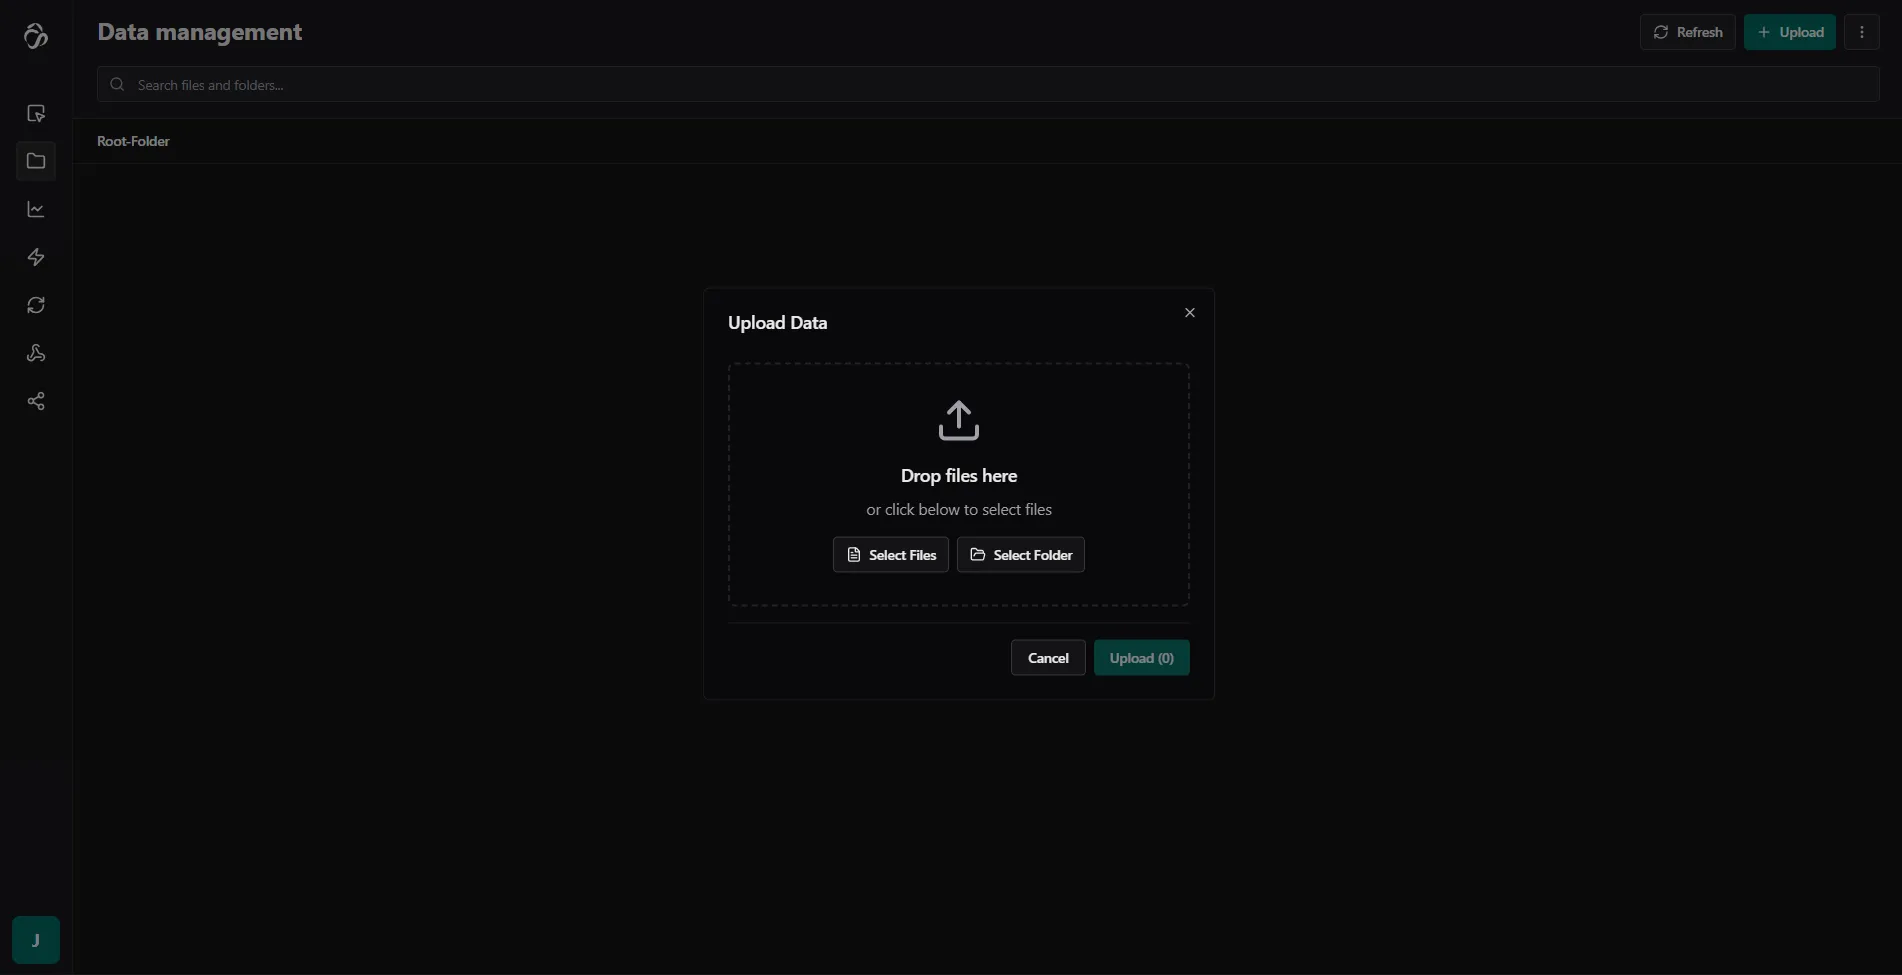
Click Done to upload your files.
Important:
- Larger files take longer to upload
- Do not reload your page during uploads
- Common formats supported: tables, images, PDFs, and more
3. Data Processing and Indexing
After upload, data processing and indexing begins automatically. You'll see real-time updates of what stage your data is currently in.
What happens during processing:
- Unified Storage: Data is stored in a standardized format for consistent use across flows and AI models
- Semantic Indexing: All data is indexed using embeddings, enabling semantic search based on meaning rather than keywords
- Metadata Generation: Structured metadata is automatically generated, allowing AI models, AI agents, and automation flows to understand and work with the data
Note: For large datasets, this processing (called "UNIFICATION") can take some time.
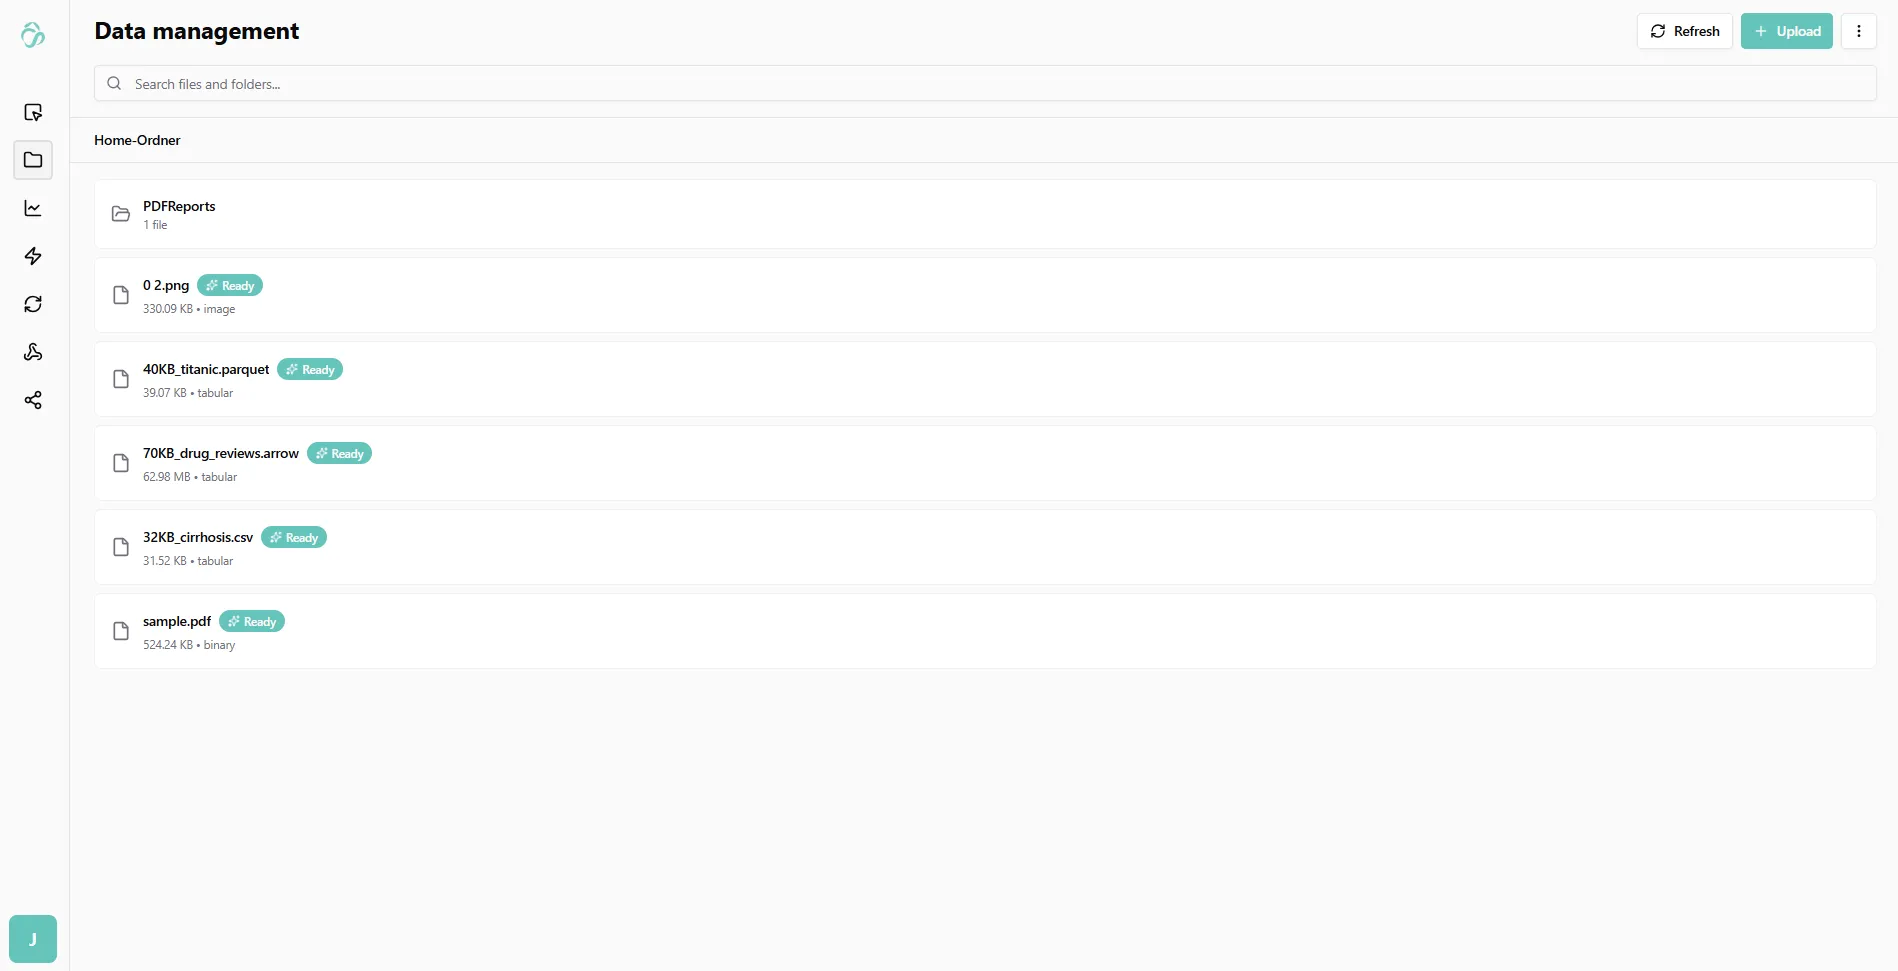
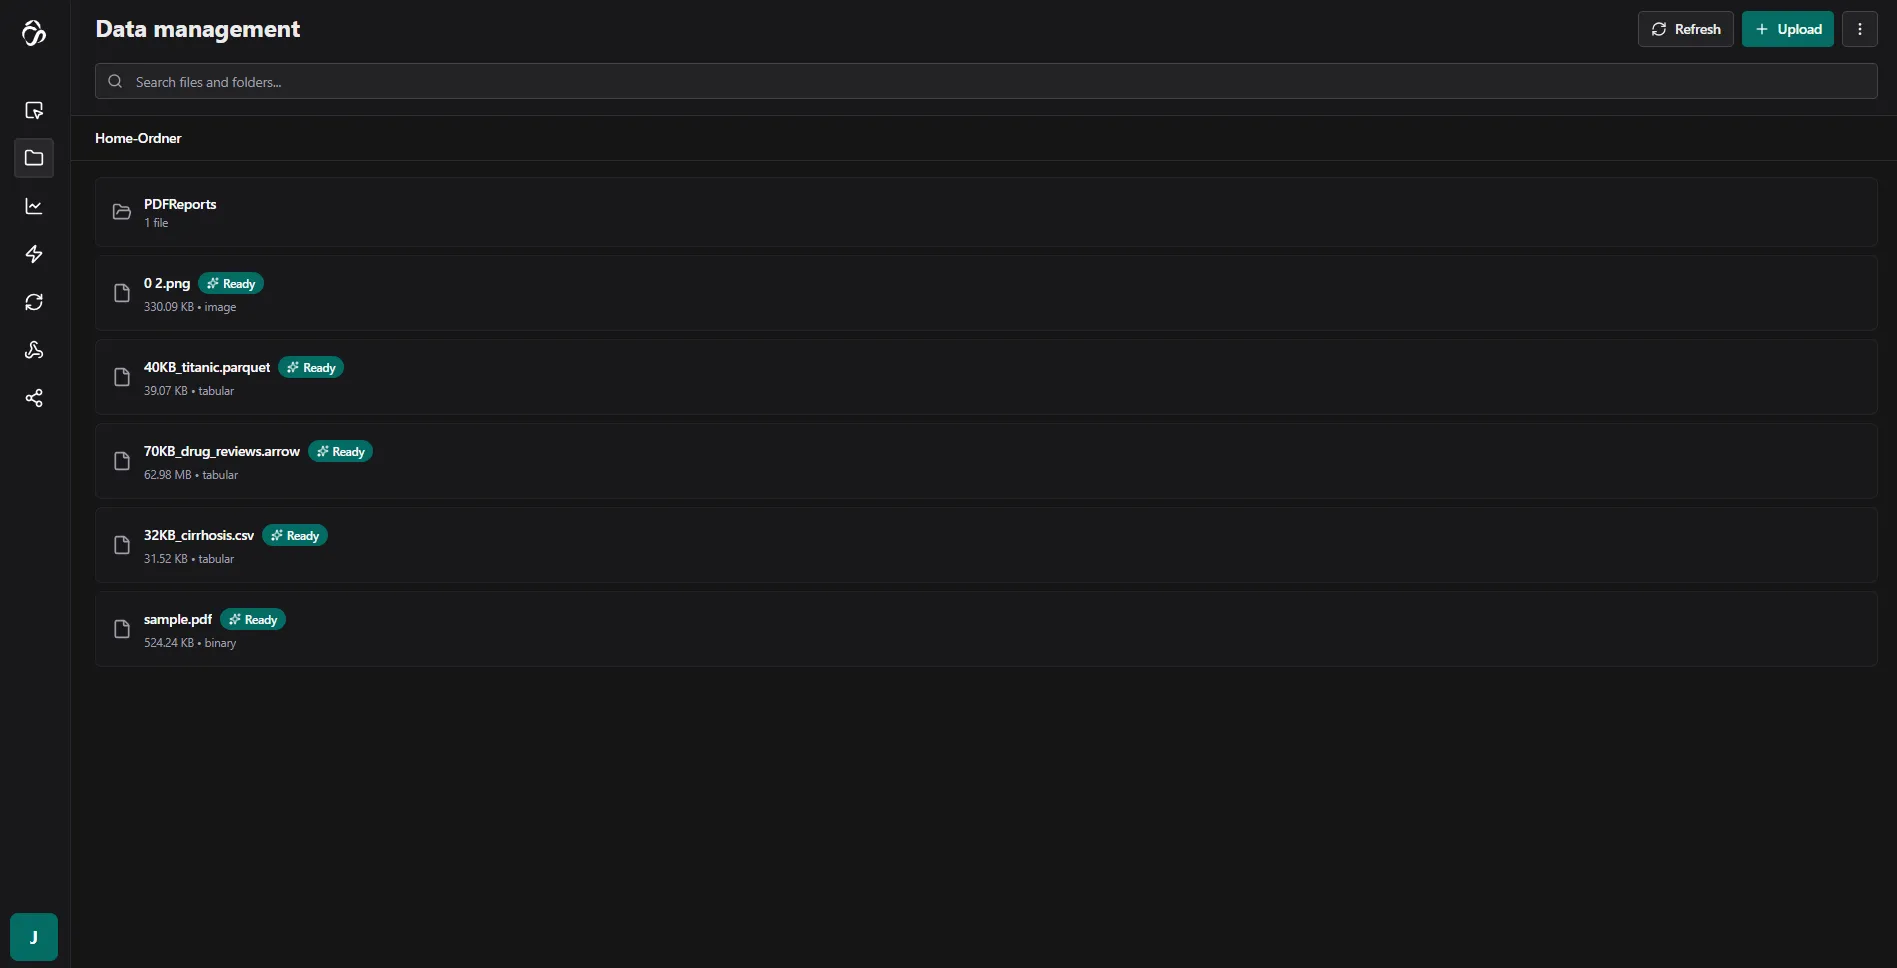
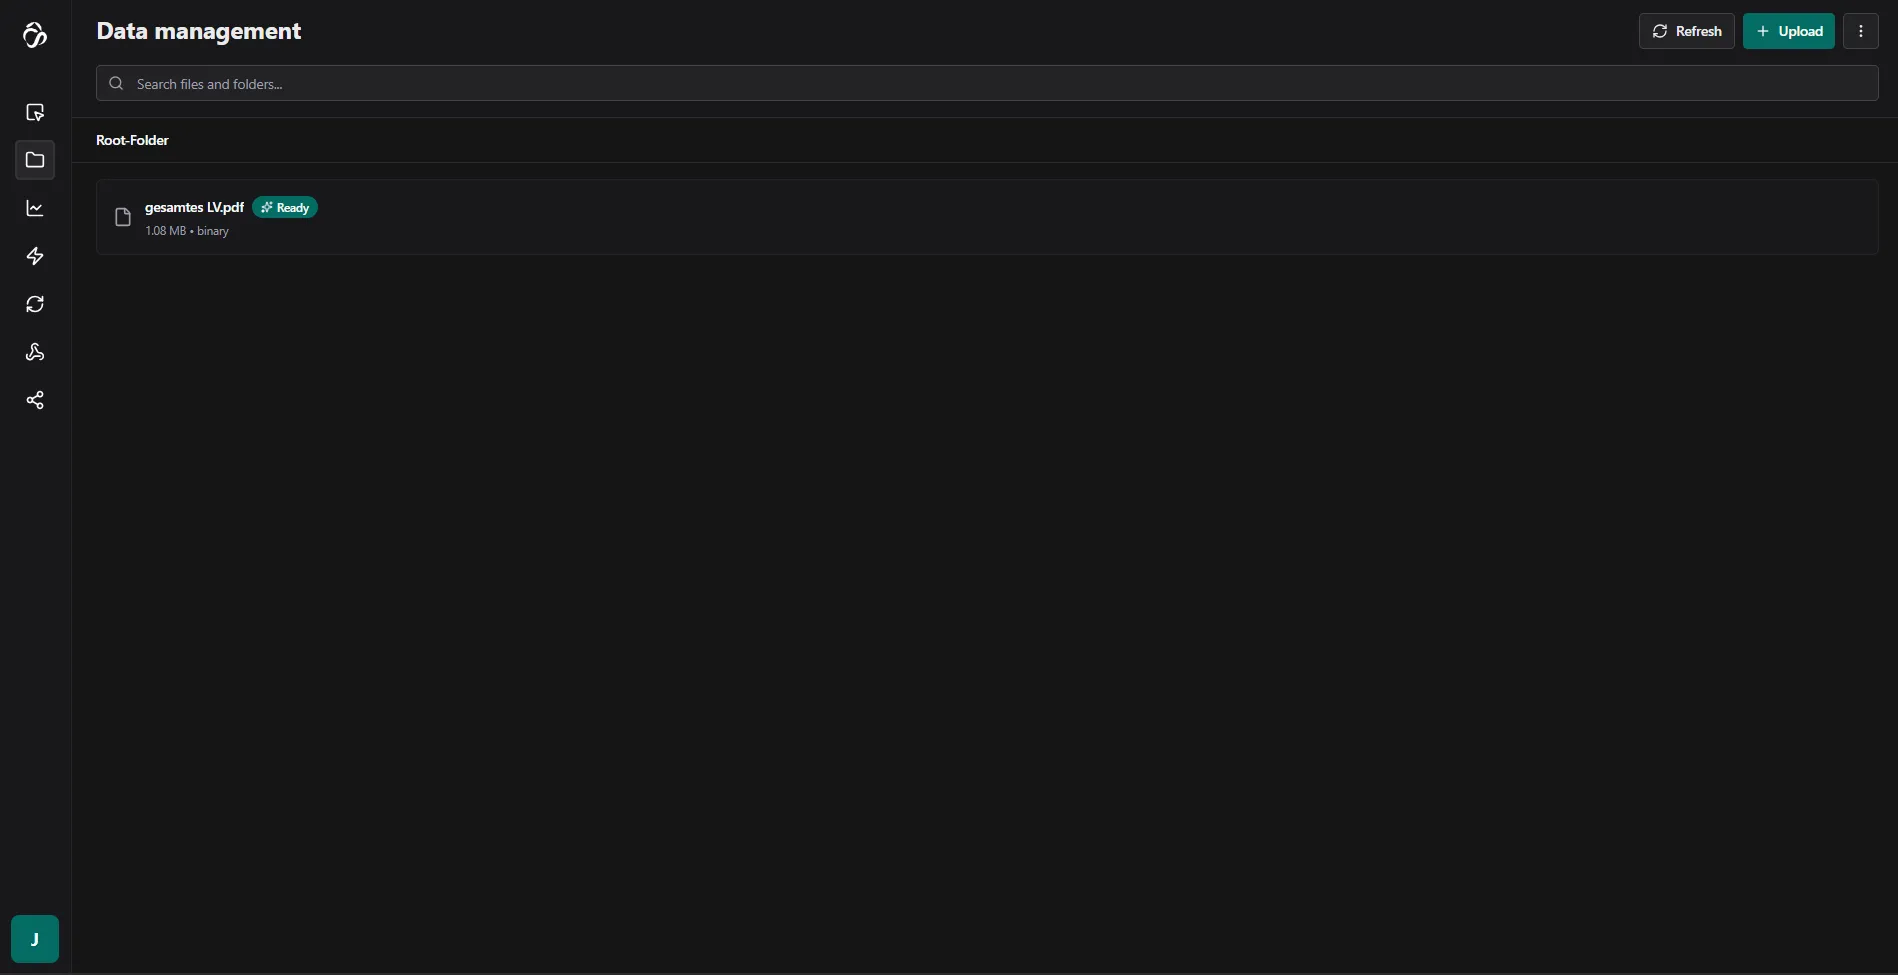
4. Access Your Data
Once processing is complete, you'll see the status as "ready". The file will now be available for selection throughout the tool - in plots, flows, and for previewing.
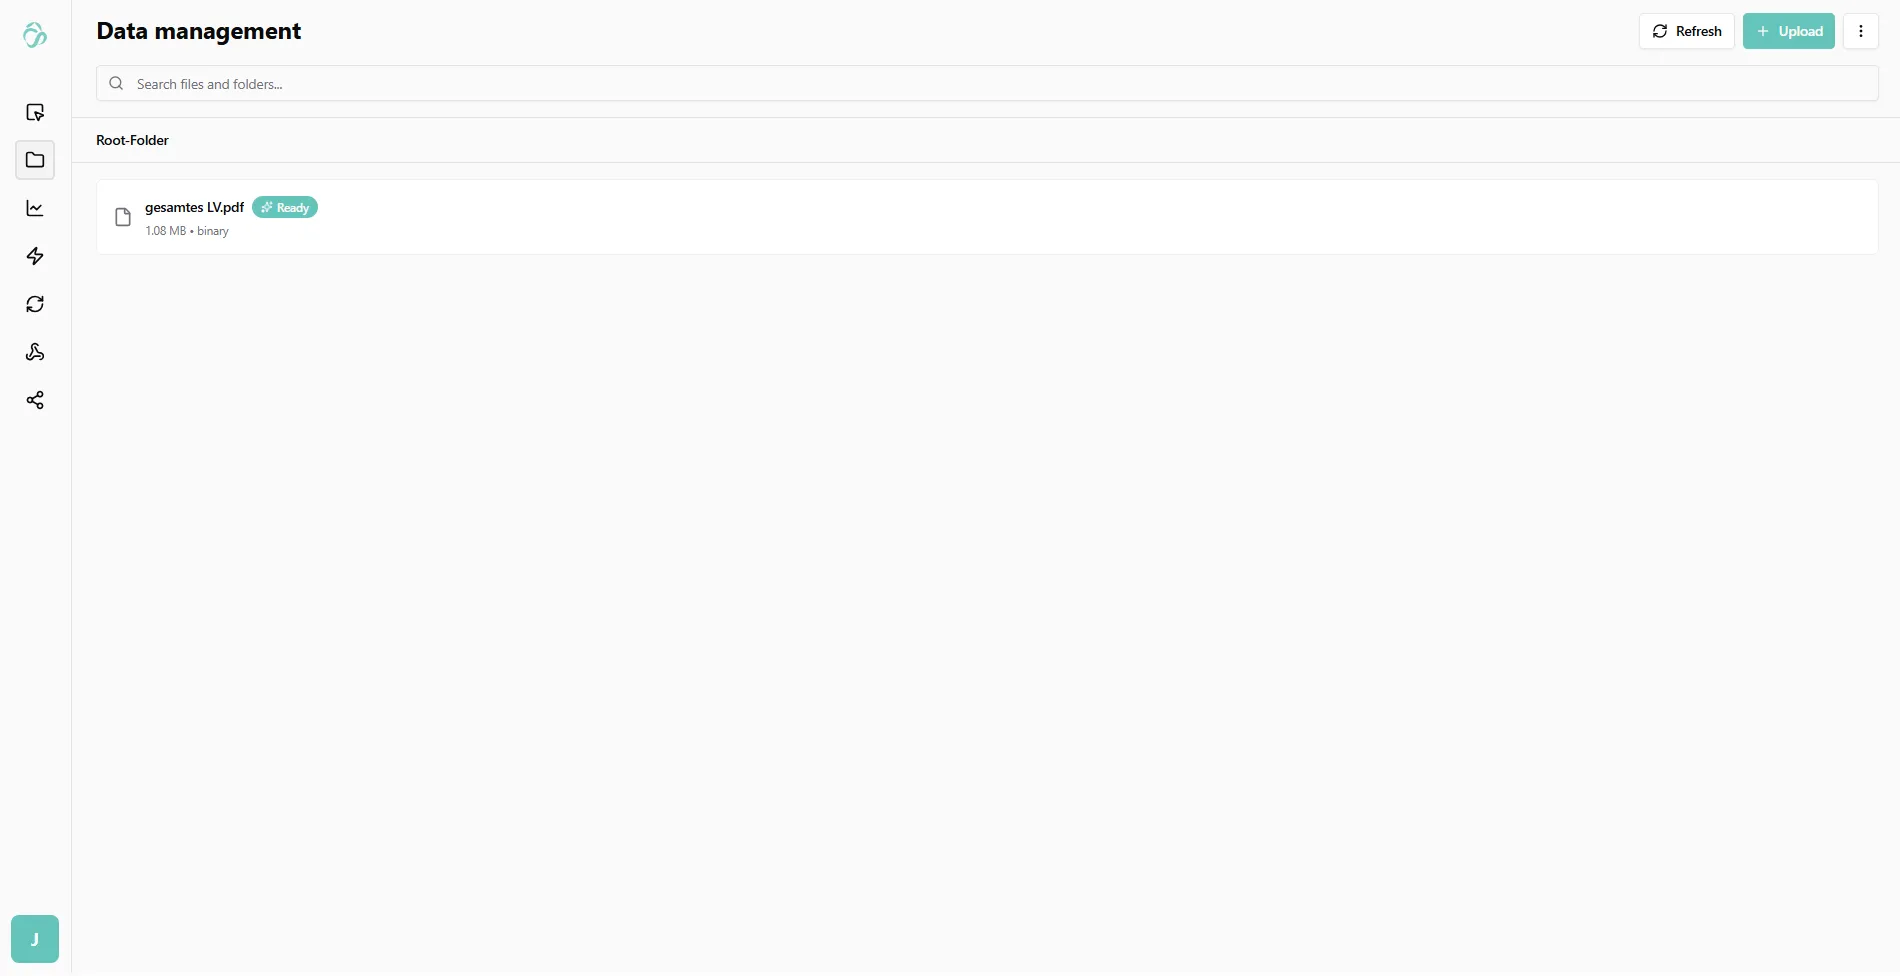
5. Preview Your Data
Click on the file to preview it. Hover over it to rename.
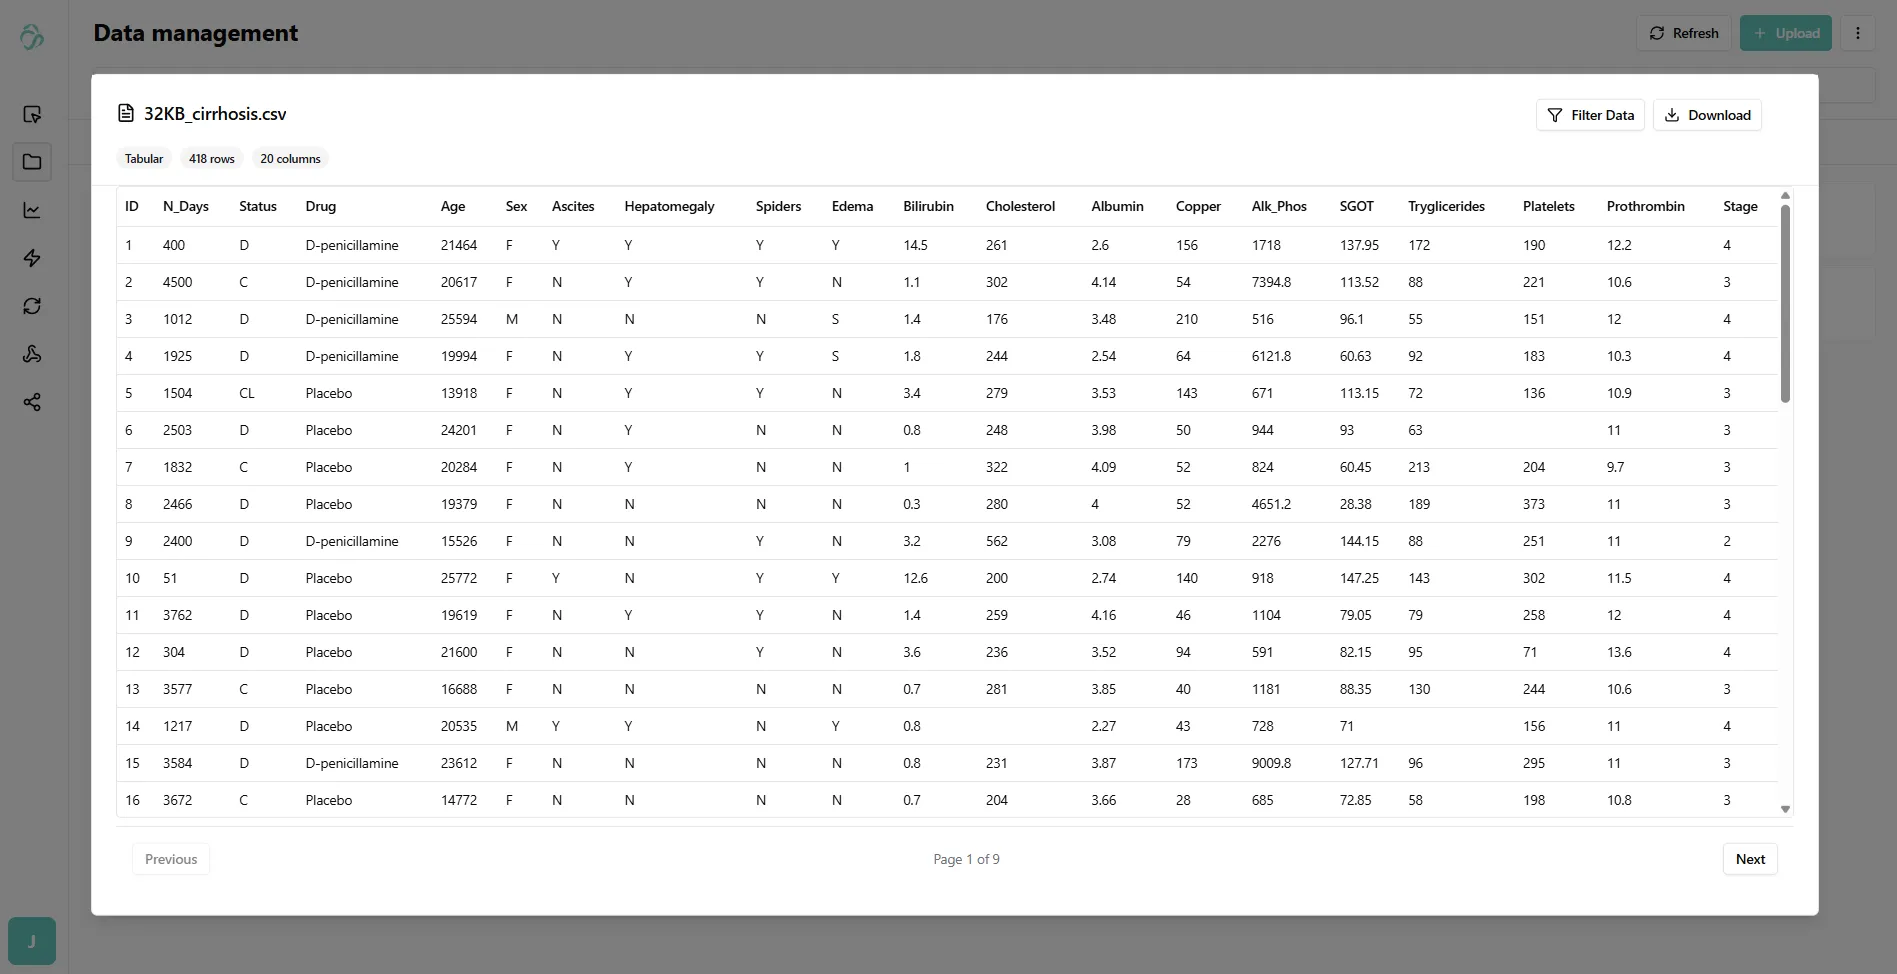
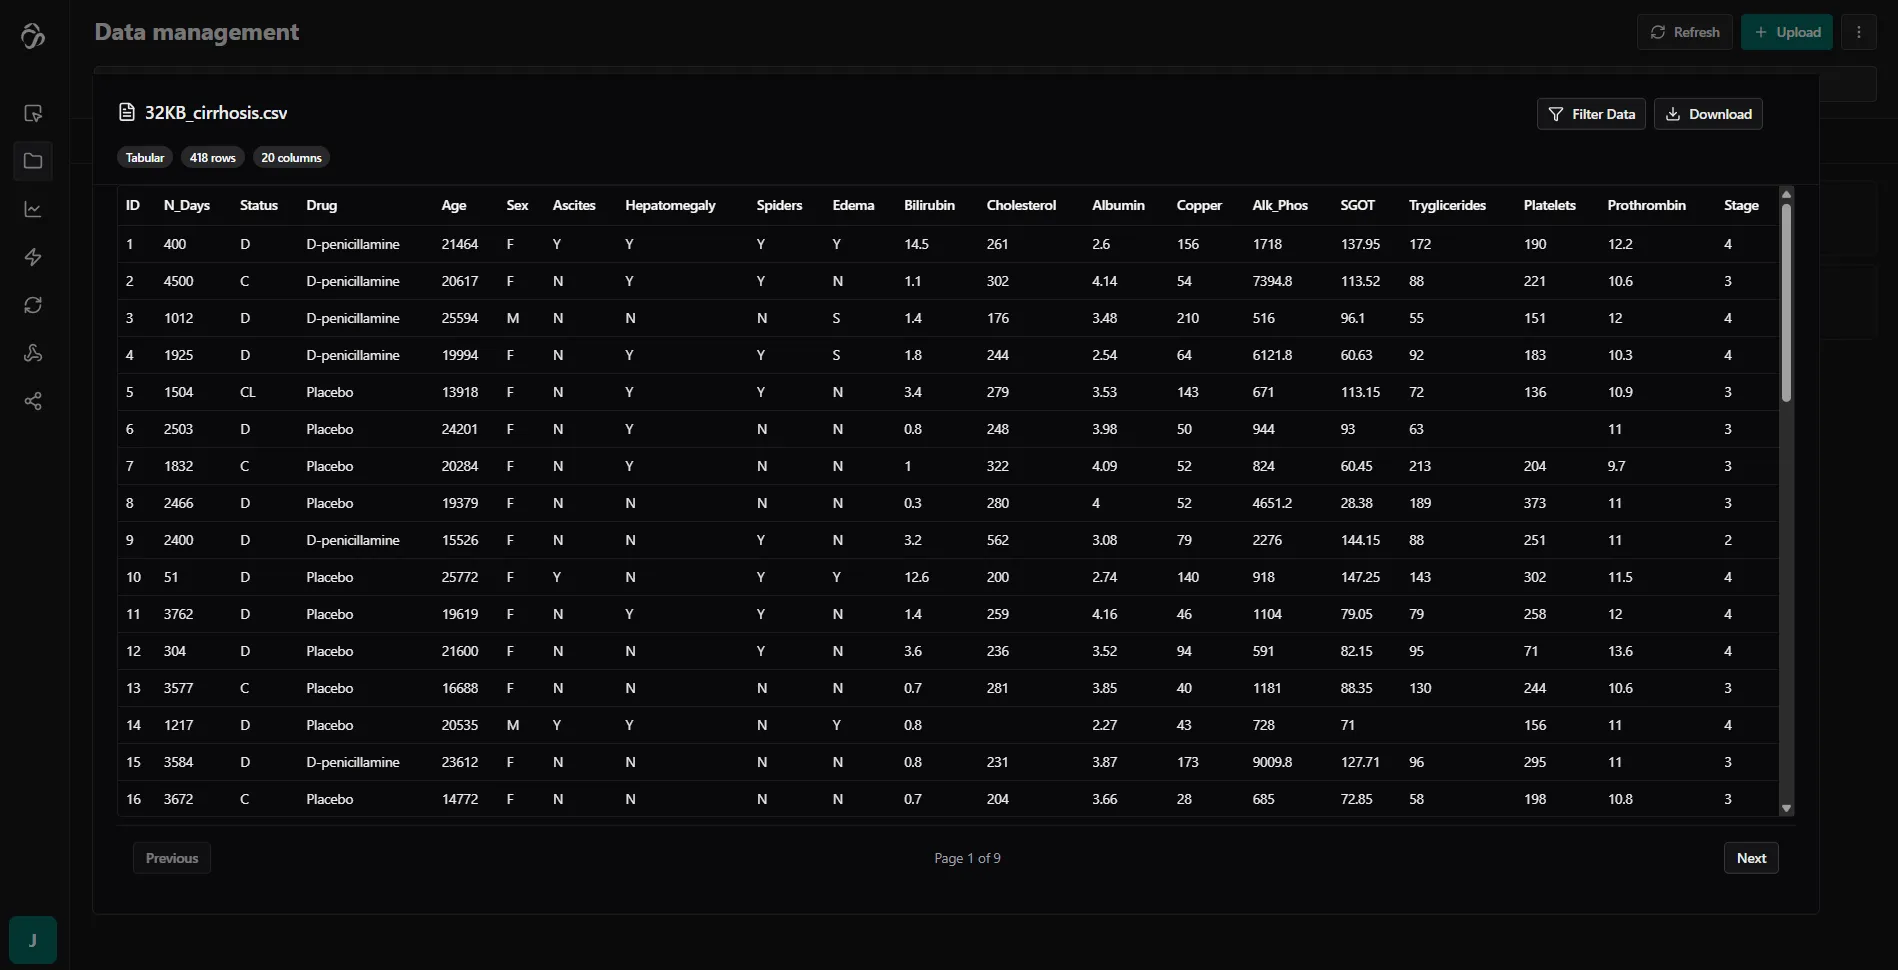
The preview appearance varies depending on your file type.
Data Integrations
Need to connect external data sources? Learn how to set up connectors, sync jobs, and monitor data imports in our dedicated Data Integrations guide.
Use Cases
- Data Preparation: Clean and prepare data for algorithms of any kind
- Data Integration: Connect multiple data sources into a unified tool
- Search & Discovery: Use semantic search to find relevant data quickly
- AI Training: Prepare and organize training datasets for AI models
- Plots: Create interactive dashboards with your data
Responsible Developers: Julia, Maxim, Finn, previously Shivam.