Deployment of Flows
Deploy your flows and integrate them into applications using API endpoints
Overview
Deploy your flows to make them accessible via API endpoints. Once deployed, you can integrate your flows into your own applications, services, or trigger them from external systems.
Deployment Steps
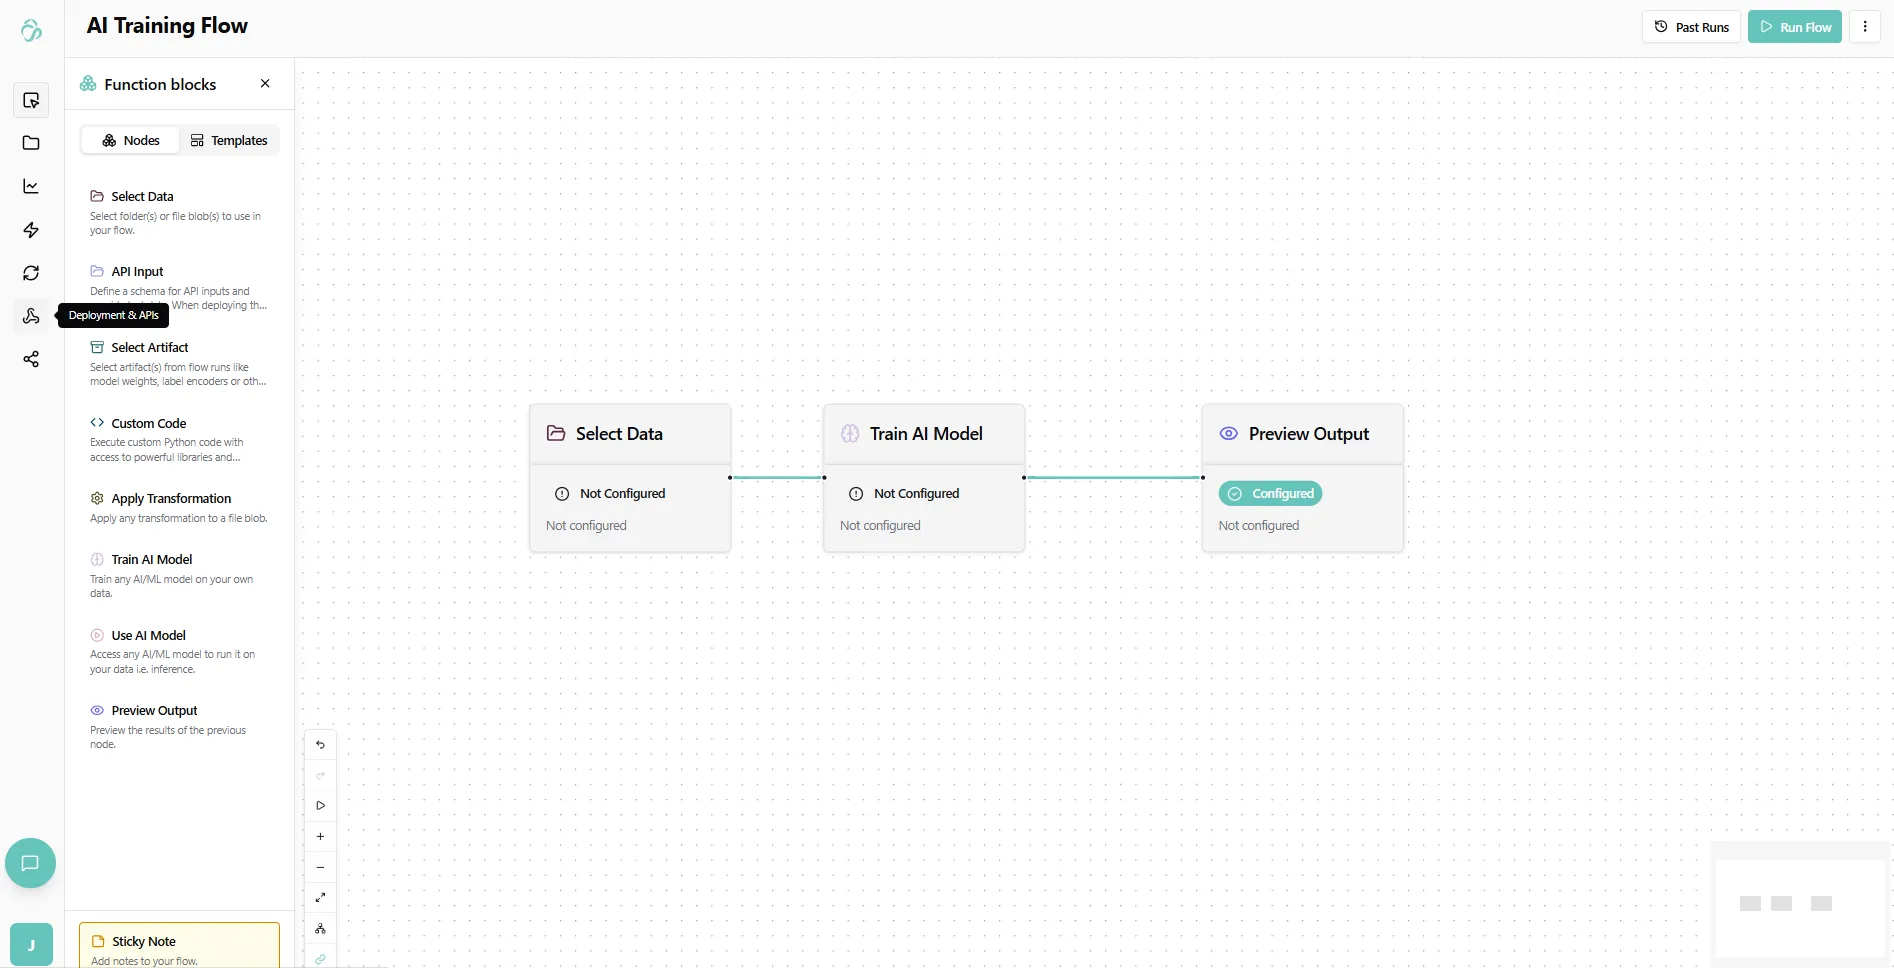
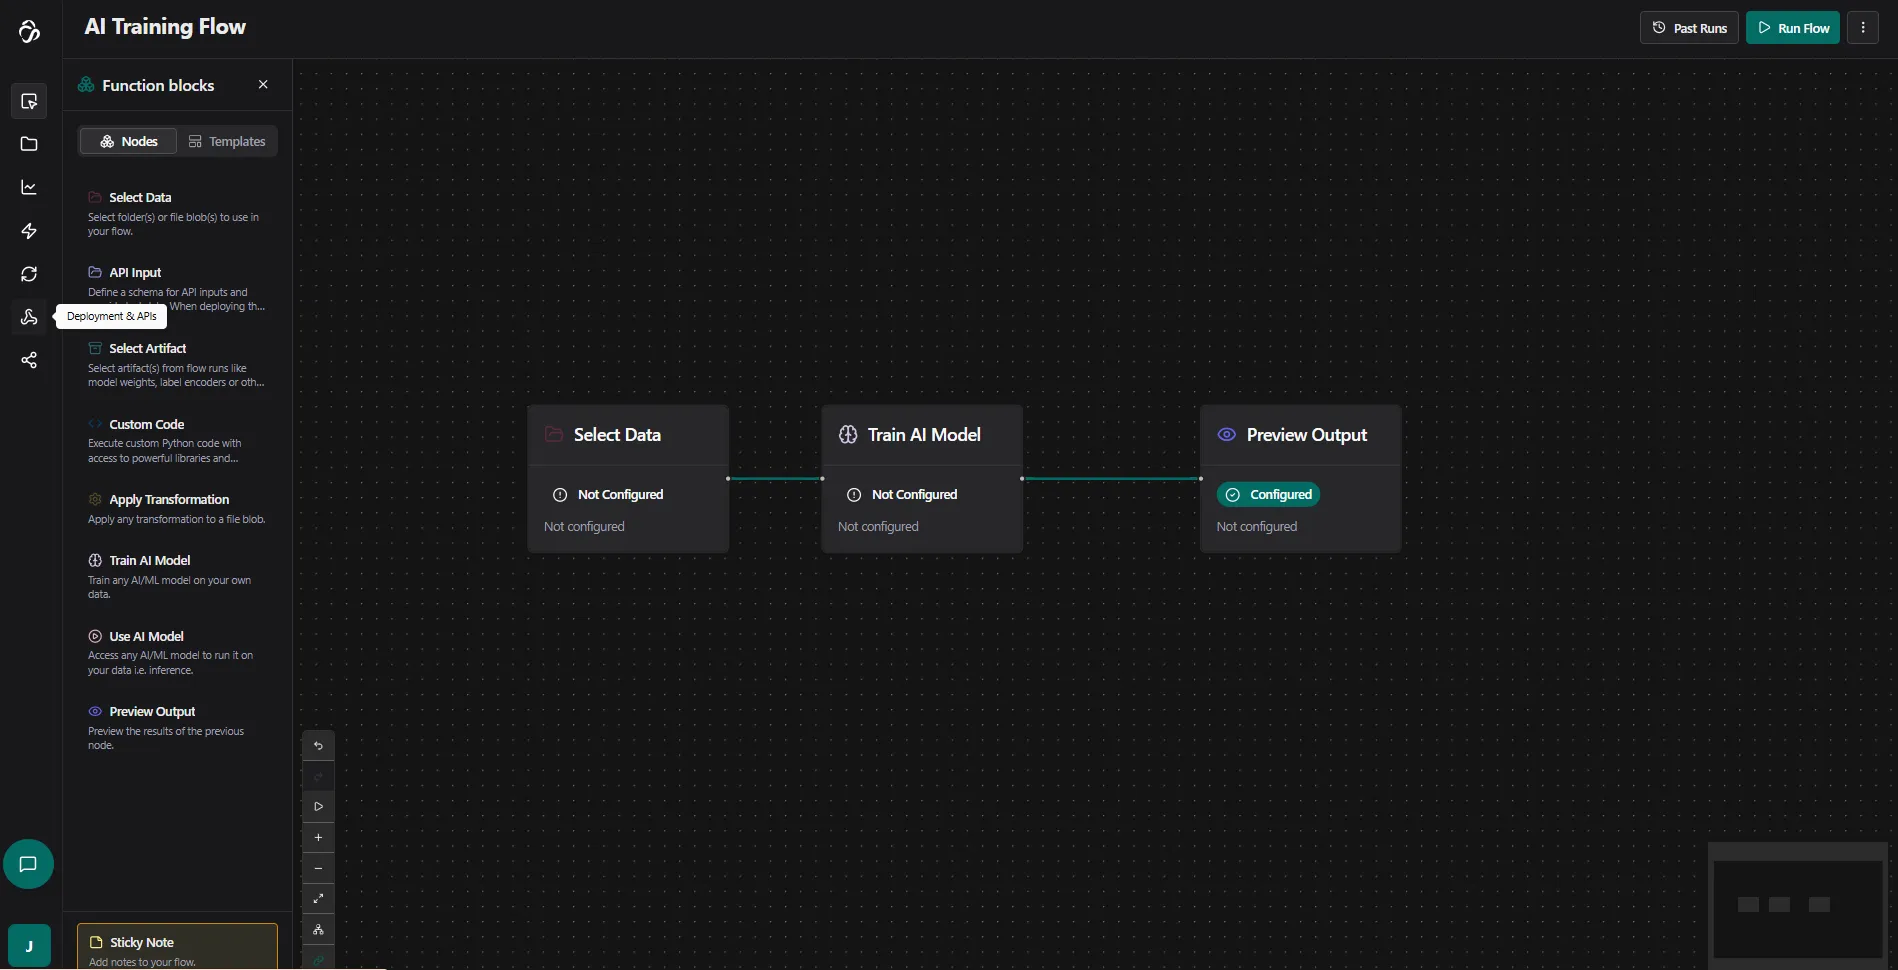
1. Navigate to Your Flow
Navigate to Flows and select the flow you want to deploy. Open the flow editor and switch to the rocket (deployment) section.
If you are unsure about the icon, hover over it to see the description.
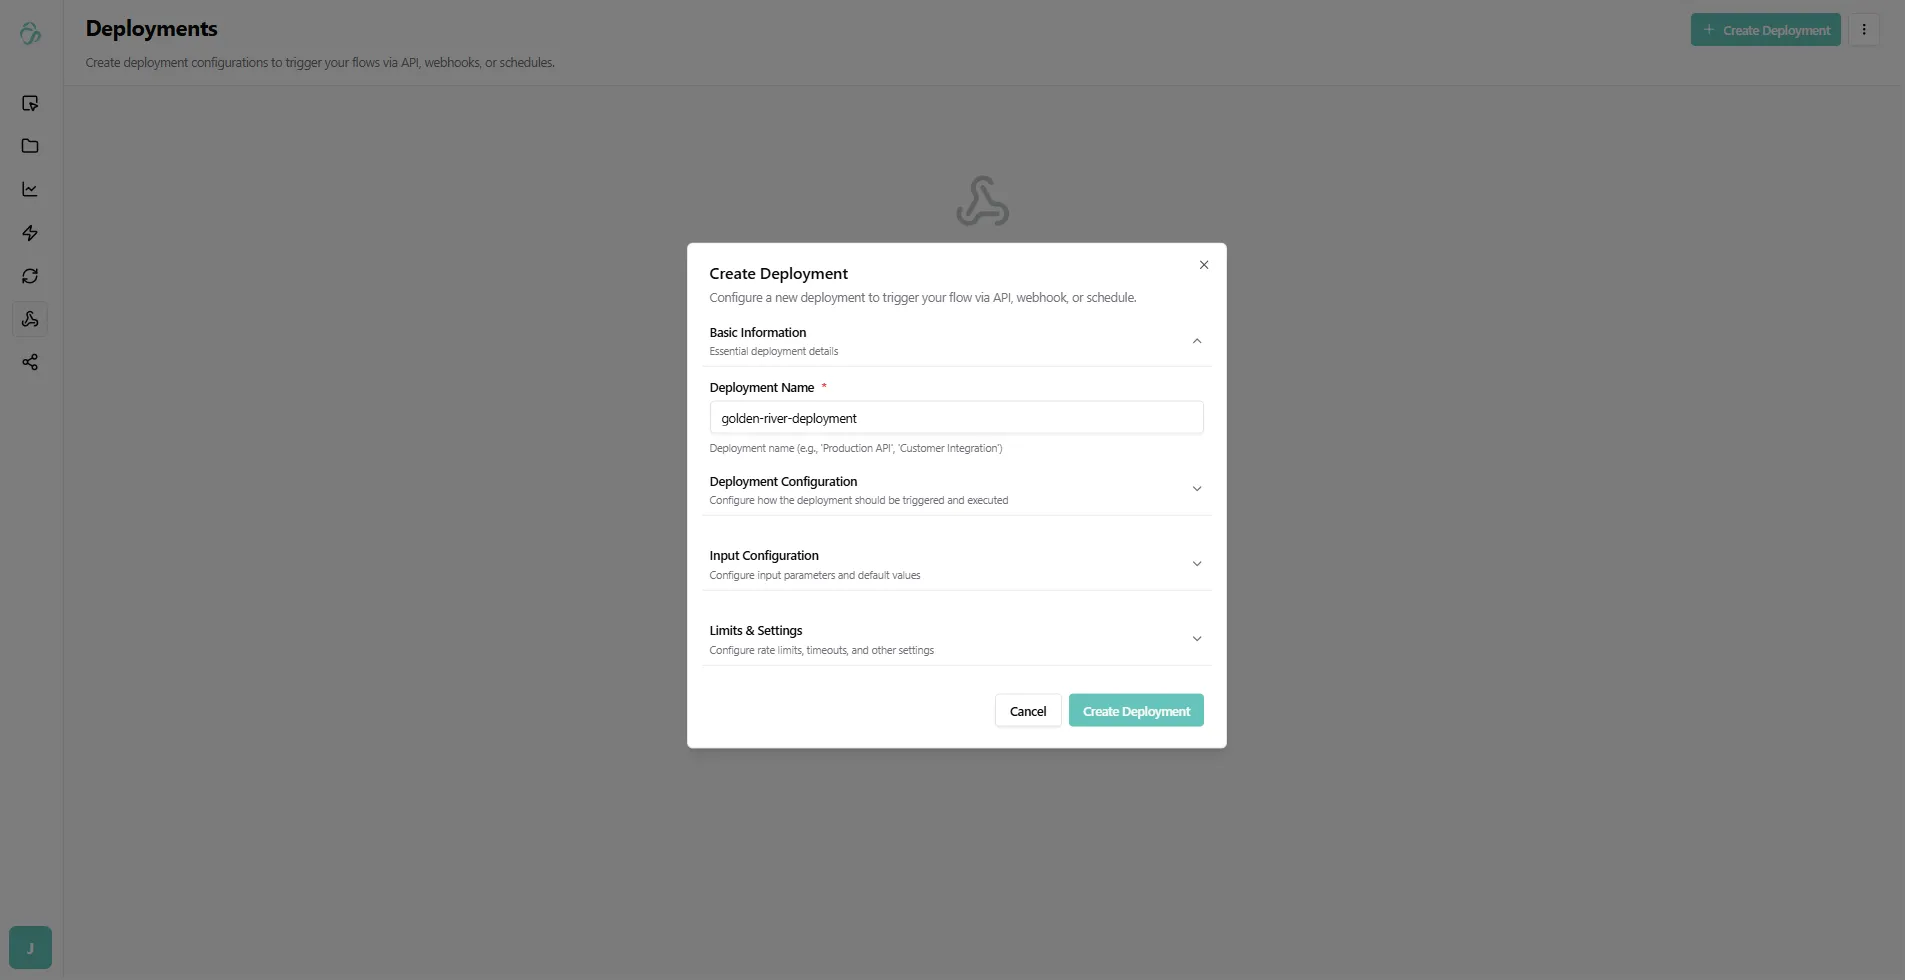
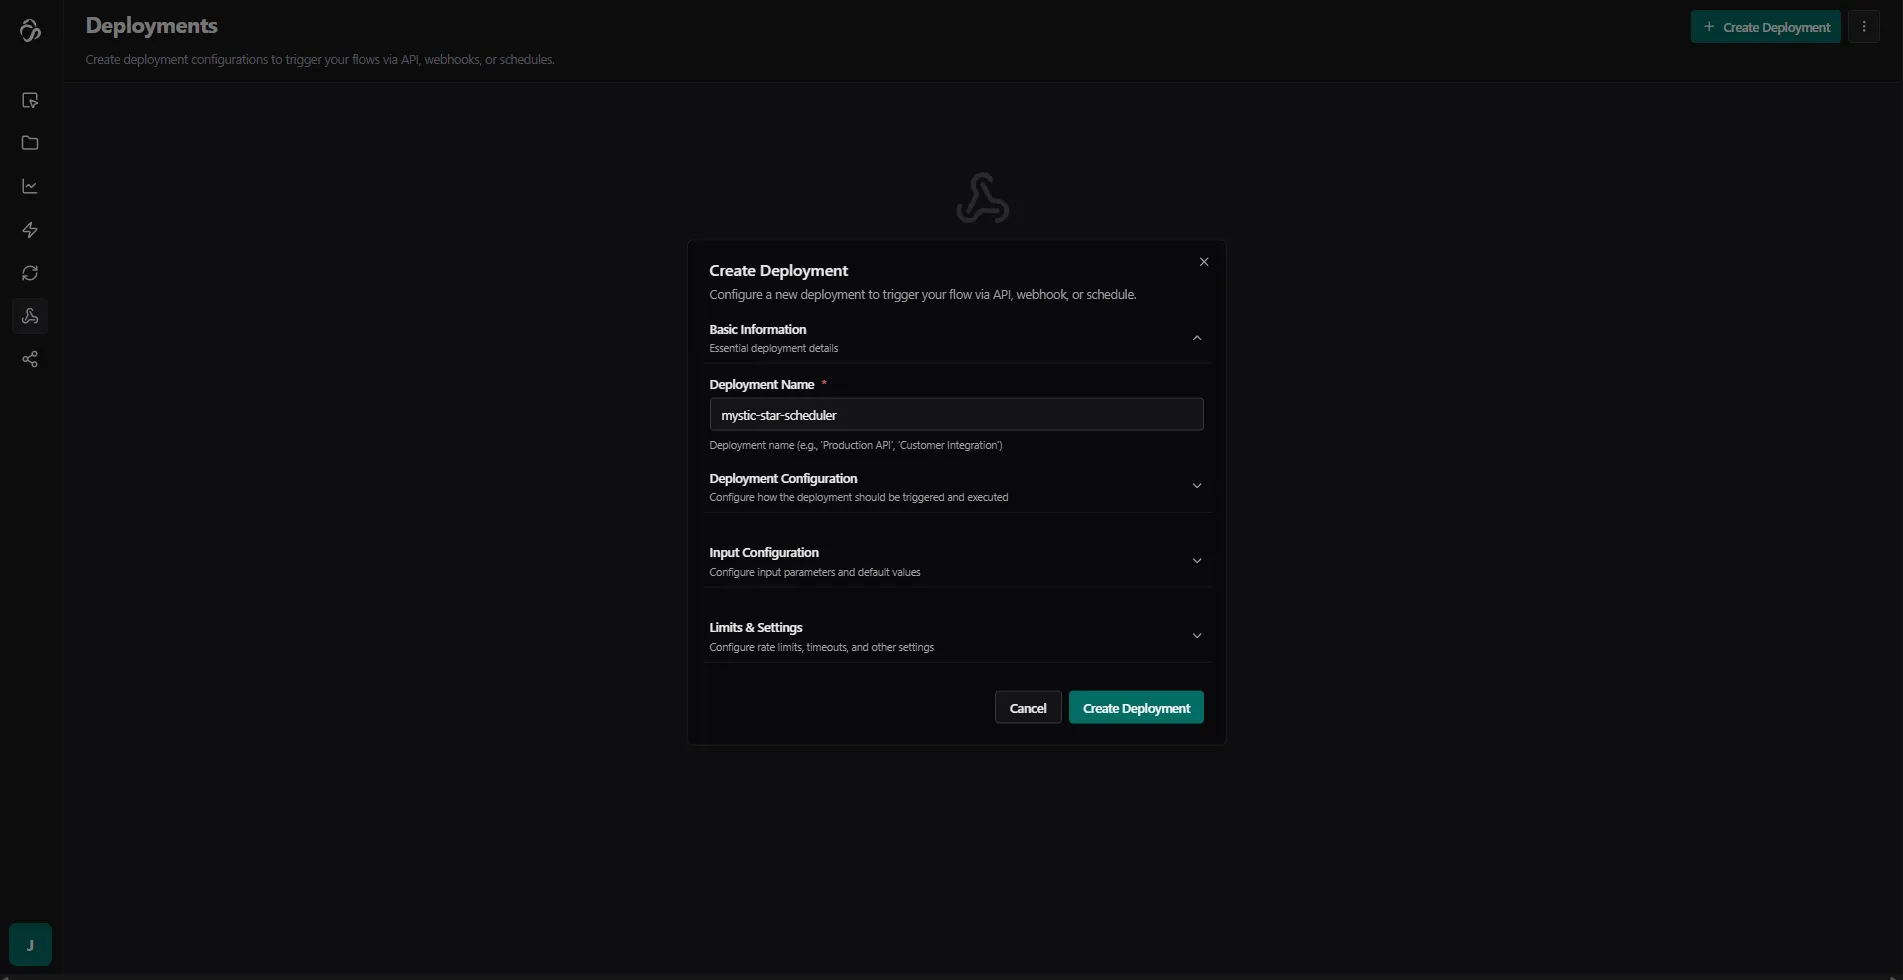
2. Create Deployment
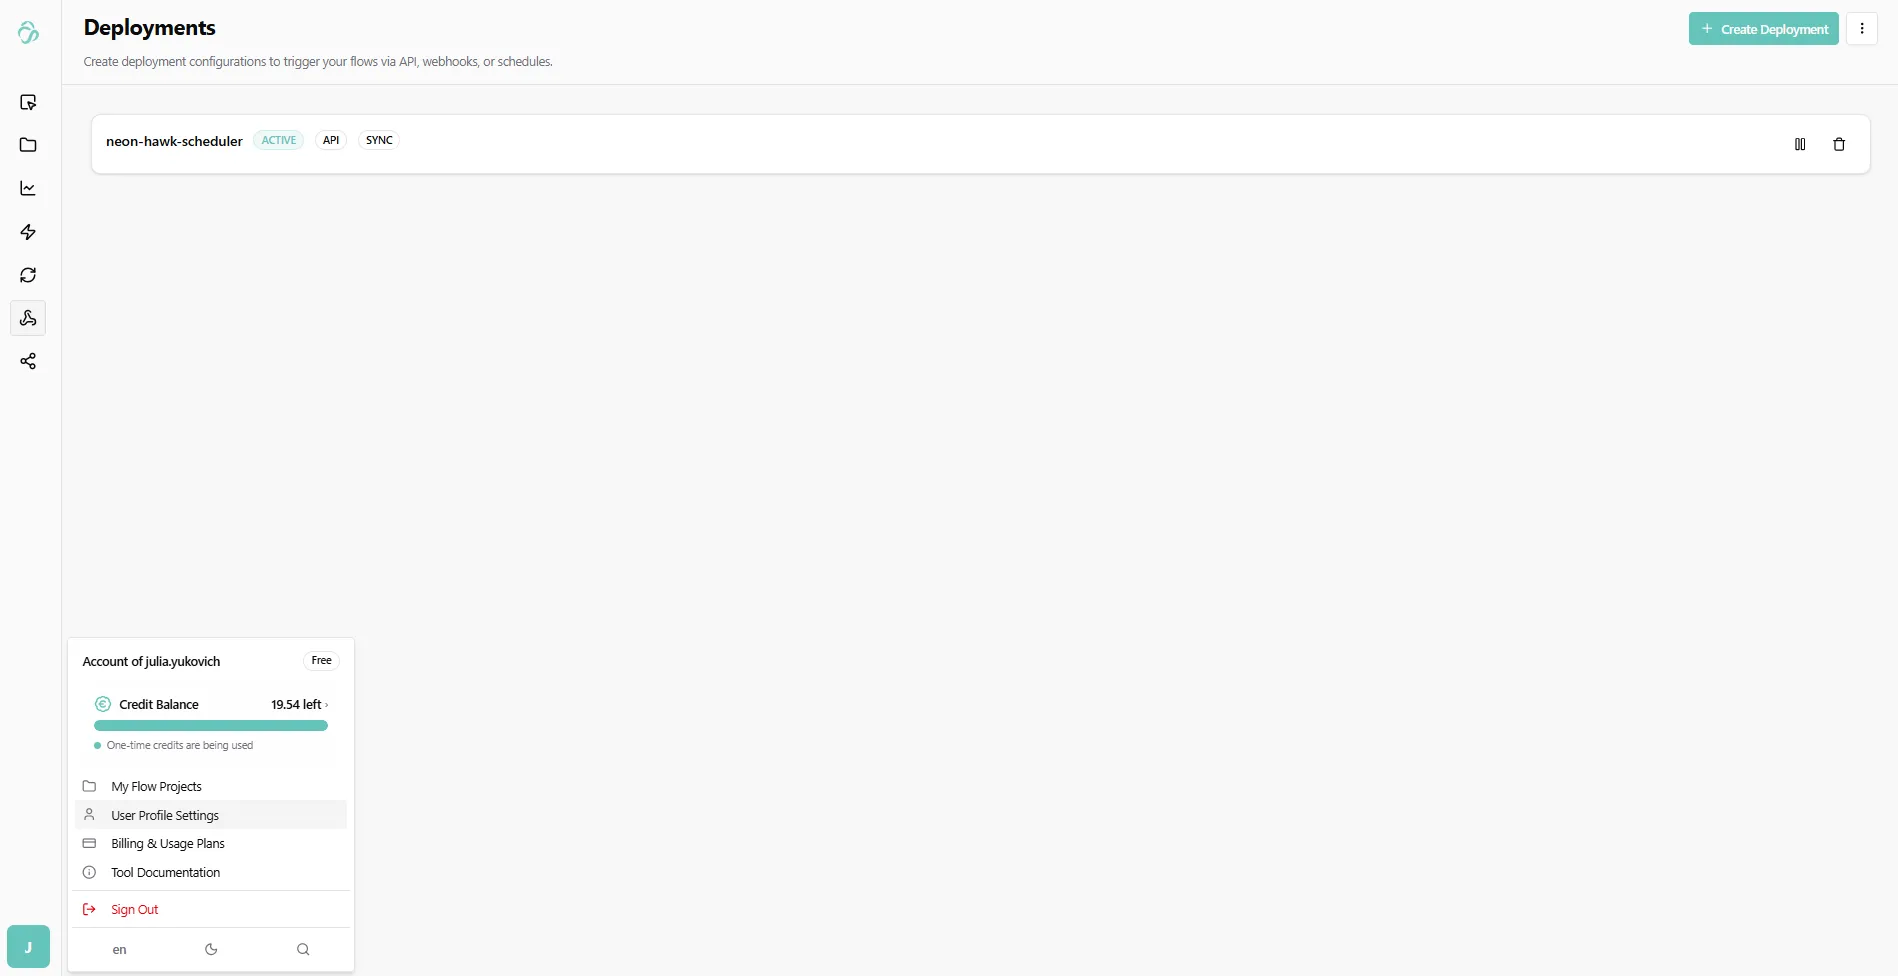
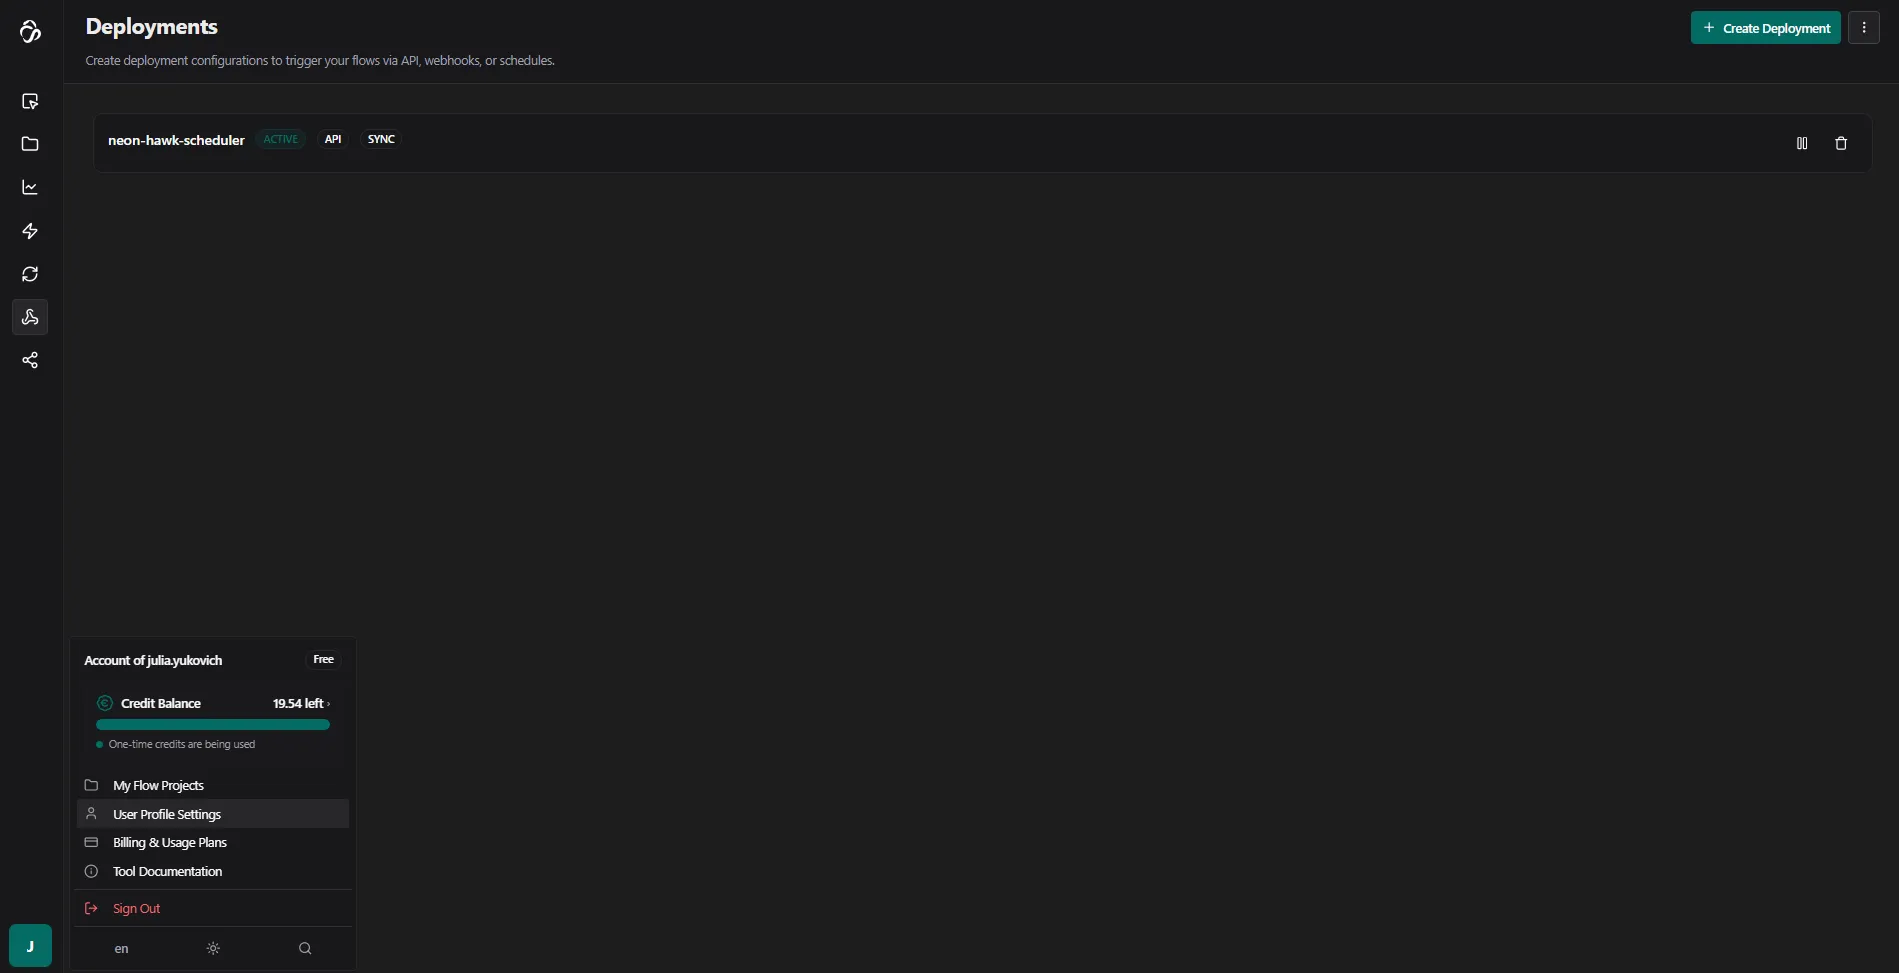
Here you will see an overview of all deployments that you currently have. For us this page is empty.
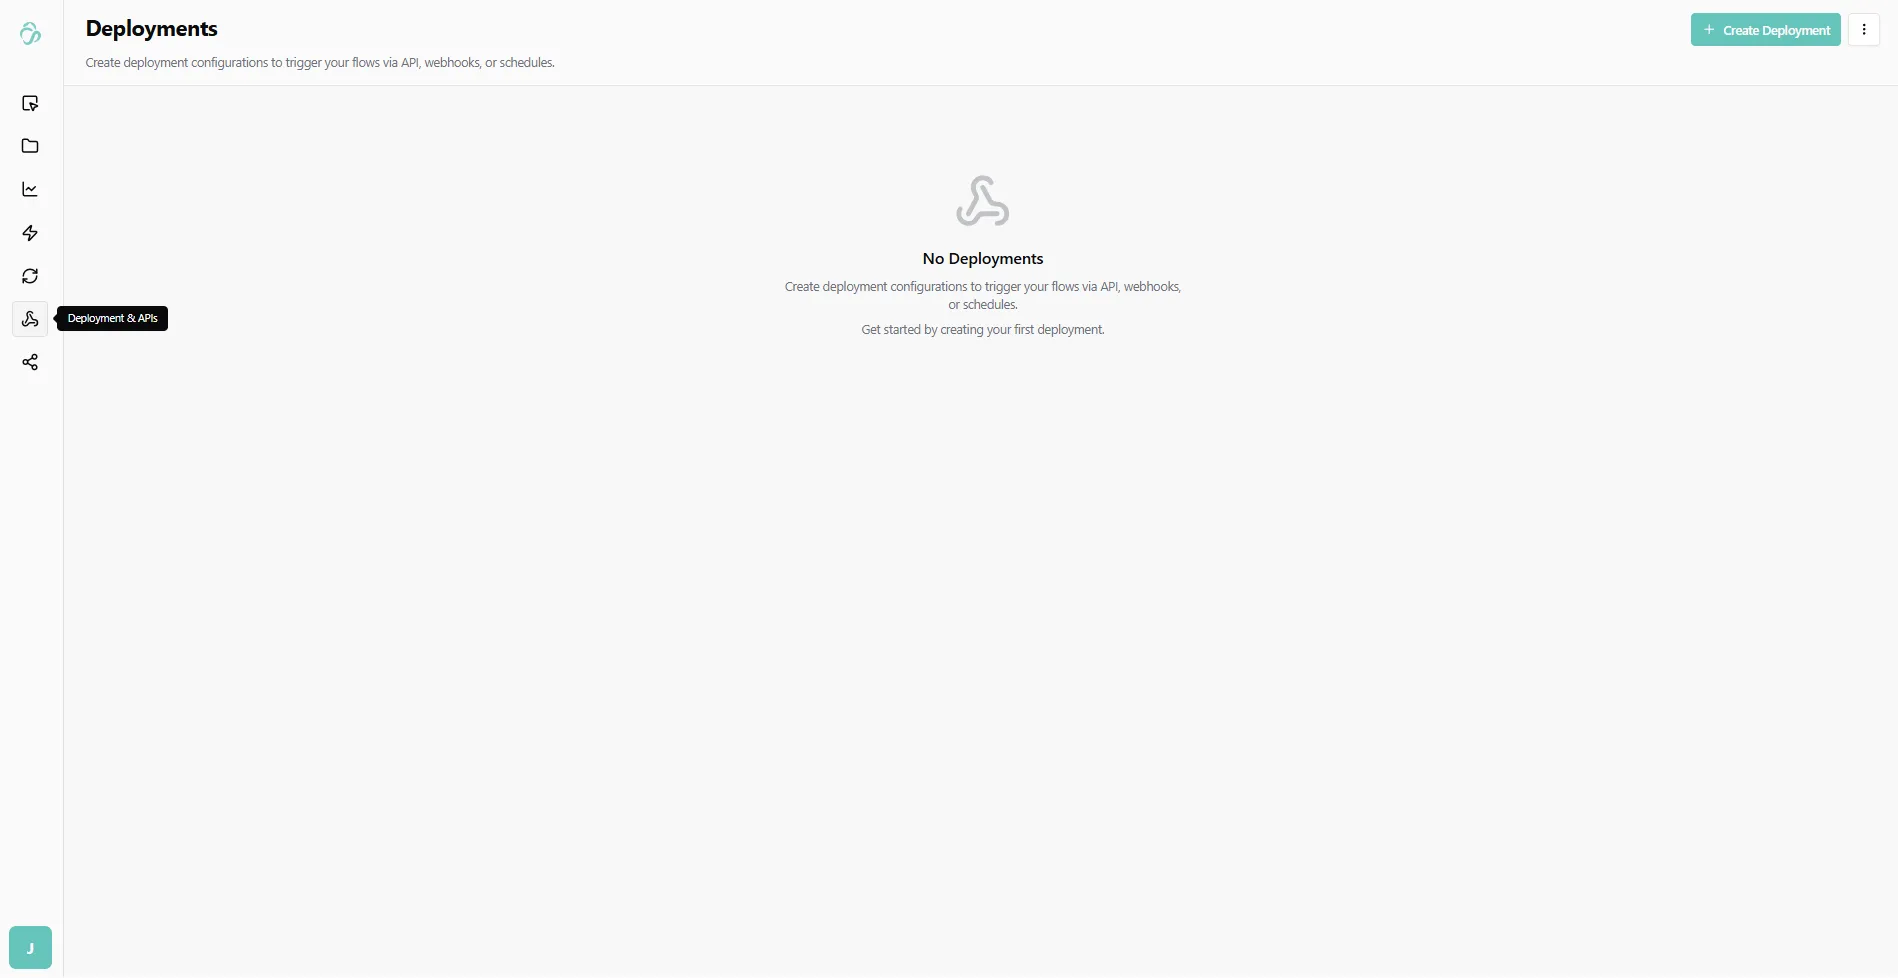
Click Create Deployment to open the deployment dialog and confirm. If you want to change the default settings then expand the different sections of your deployment.
3. Save Your API Key
The first time an API key will be generated automatically. If you need a neew one then expand Deployment Configuration and select generate API Key. We recommend to use different API Keys for each deployment. Make sure to save the APi Key immediately - you won't be able to see it again.
The API key starts with sk (secret key). Do not share it with anyone.
To see an overview of your api keys navigate to the settings section.
Here you can deactivate, delete or create API Keys for your profile.
4. Get Example Code
After deployment, click on the created deployment to view example code.
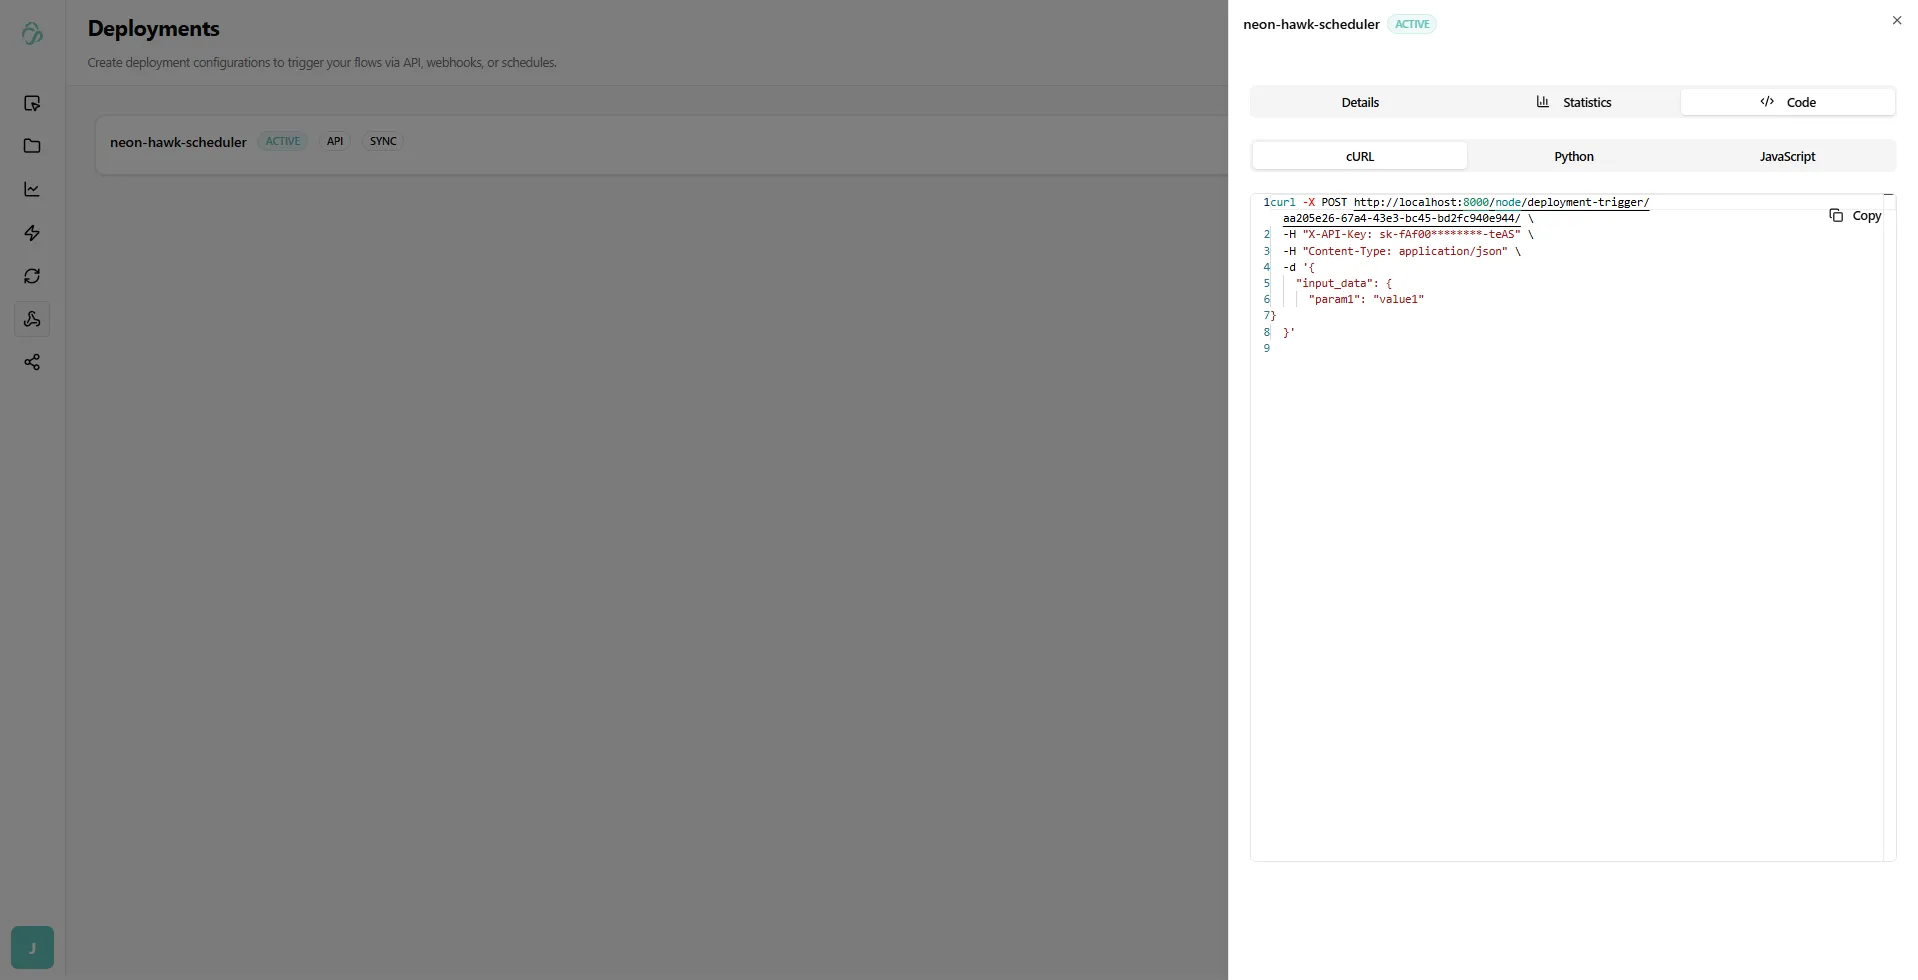
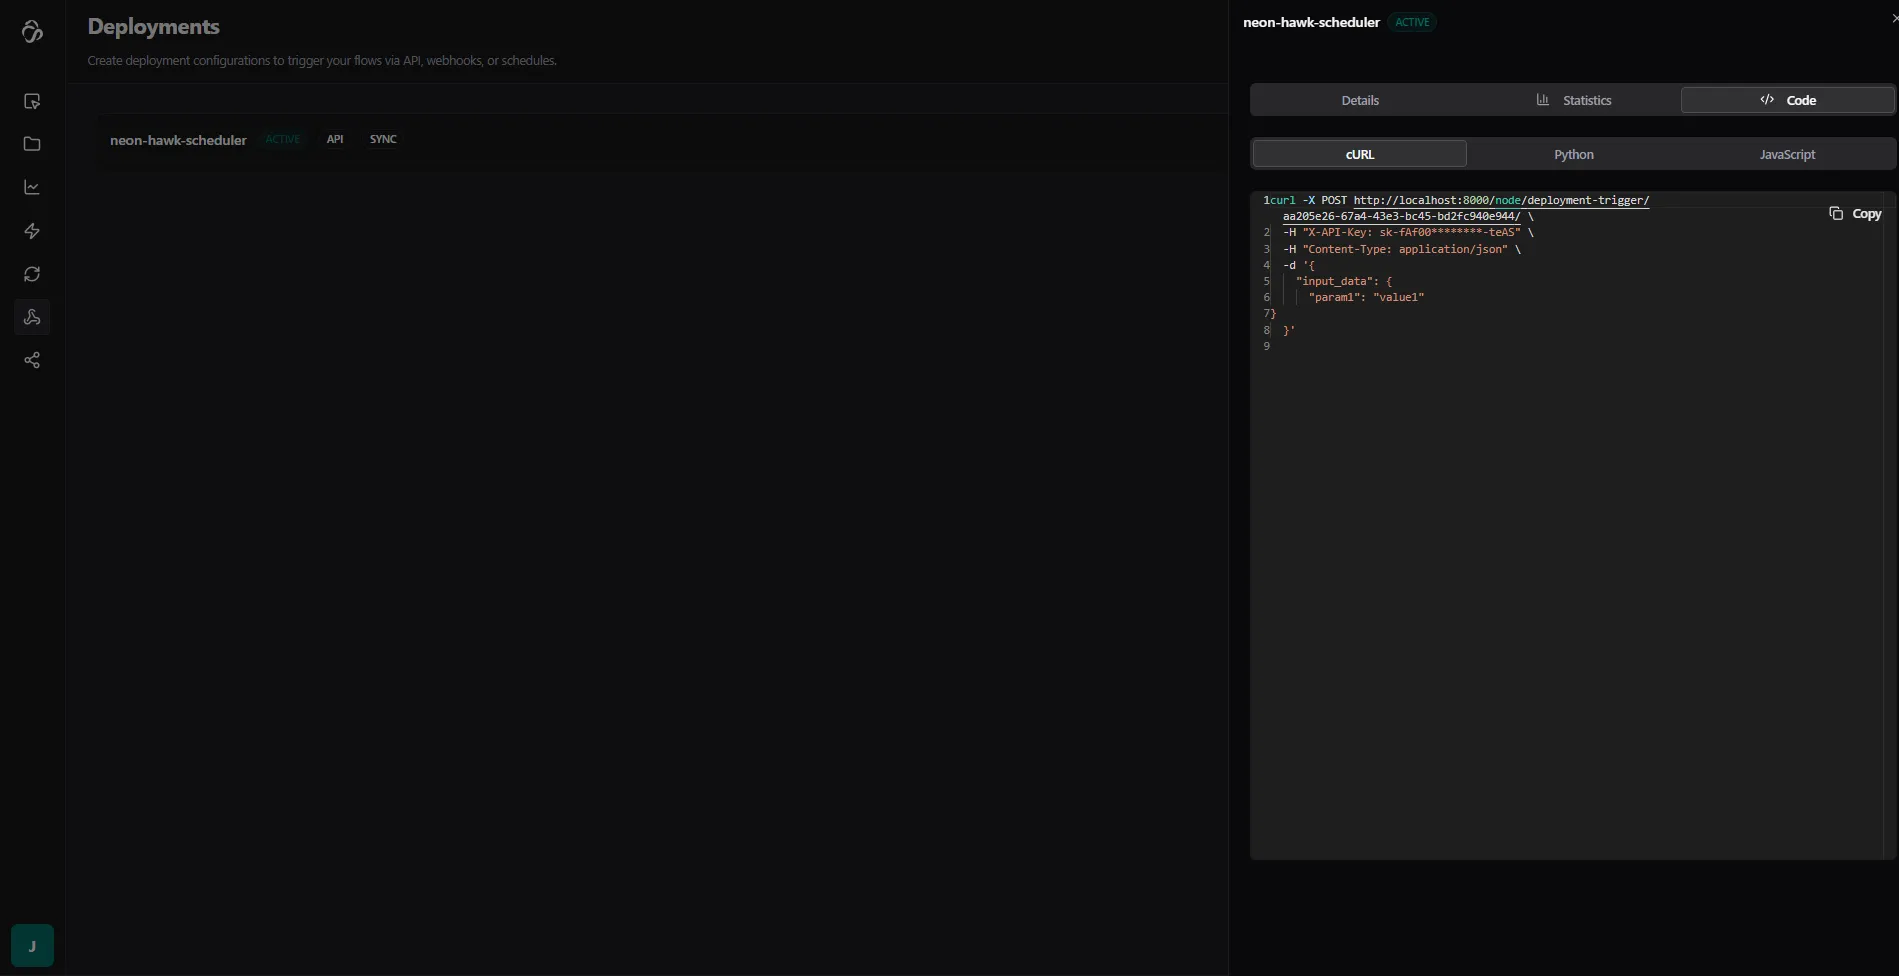
You can use this code to integrate the flow API into your own application or service.
Deployment Types
Every deployment has two independent settings that control how it behaves: Execution Mode and Deployment Type. Understanding the difference helps you pick the right configuration for your use case.
Execution Mode
Controls how the API responds when you trigger the deployment.
Sync (default)
Waits for the flow to finish and returns the full result in the same HTTP response.
- Response: HTTP
200withoutput_dataandnode_outputs - Use when: Your client needs the result immediately and your flow completes in under a minute
- Timeout: Configurable per deployment (default: 1 hour)
{
  "status": "completed",
  "output_data": { ... },
  "duration_seconds": 4.2
}
Async
Returns immediately with a flow_run_id. The flow runs in the background - your client polls for the result.
- Response: HTTP
202withflow_run_id - Use when: Your flow takes a long time, or you want to fire-and-forget without waiting
- How to get results: Poll
GET /node/flow-runs/{flow_run_id}/with your API key
{
  "flow_run_id": "abc123...",
  "status": "queued",
  "message": "Flow execution started. Use the flow_run_id to check status."
}
Fast Mode
Skips the flow engine entirely and calls the inference server directly. Only works when your flow has an active server-mode inference running.
- Response: HTTP
200with the prediction result - Use when: You have a trained ML model deployed in server mode and need the lowest possible latency
- Requires: An active server-mode inference for the flow
- Note: If the inference server is still booting, you'll get a
503. Wait ~1 minute and retry.
{
  "status": "completed",
  "output_data": { ... },
  "fast_mode": true
}
Deployment Type
Controls where the flow execution runs.
API (default)
The flow is executed via the Celery task queue. This is the standard mode for most integrations.
- Works with all execution modes (sync, async, fast)
- Handles load well since tasks are distributed across workers
- First request on an inactive worker may have a short cold-start delay
Server Mode
The flow runs directly in-process, bypassing Celery entirely. Used for production deployments where consistent low-latency response is required.
- Suited for flows that are always active
- No Celery overhead
- Requires the server to be running and warmed up
Notification Method
Independently of the execution mode, you can configure a webhook callback to receive results after completion.
| Setting | Behaviour |
|---|---|
| None (default) | Results are returned in the API response only |
| Webhook | After the flow completes, results are POSTed to your callback URL, signed with HMAC using your webhook secret |
Webhook events you can subscribe to: run.started, run.completed, run.failed
Choosing the Right Configuration
| Situation | Deployment Type | Execution Mode |
|---|---|---|
| Short flow, need result inline | API | Sync |
| Long-running flow, fire-and-forget | API | Async |
| ML model, need lowest latency | API | Fast |
| Always-on production server | Server Mode | Sync |
| Development / PoC | API | Sync or Async |
Cold starts: The first API call to an inactive deployment may fail with a
503while the worker spins up. If this happens, wait ~1 minute and send the request again. Production (Server Mode) deployments do not have this delay.
Testing with Postman
Before integrating into your application, it's recommended to test the API using Postman.
1. Create a Collection
Create a new collection or use an existing one. For example, name it "Test Flow API", then add a new HTTP request by clicking on New.

2. Paste the cURL Command
Simply paste the complete cURL command in the URL section of Postman (highlighted in blue below).
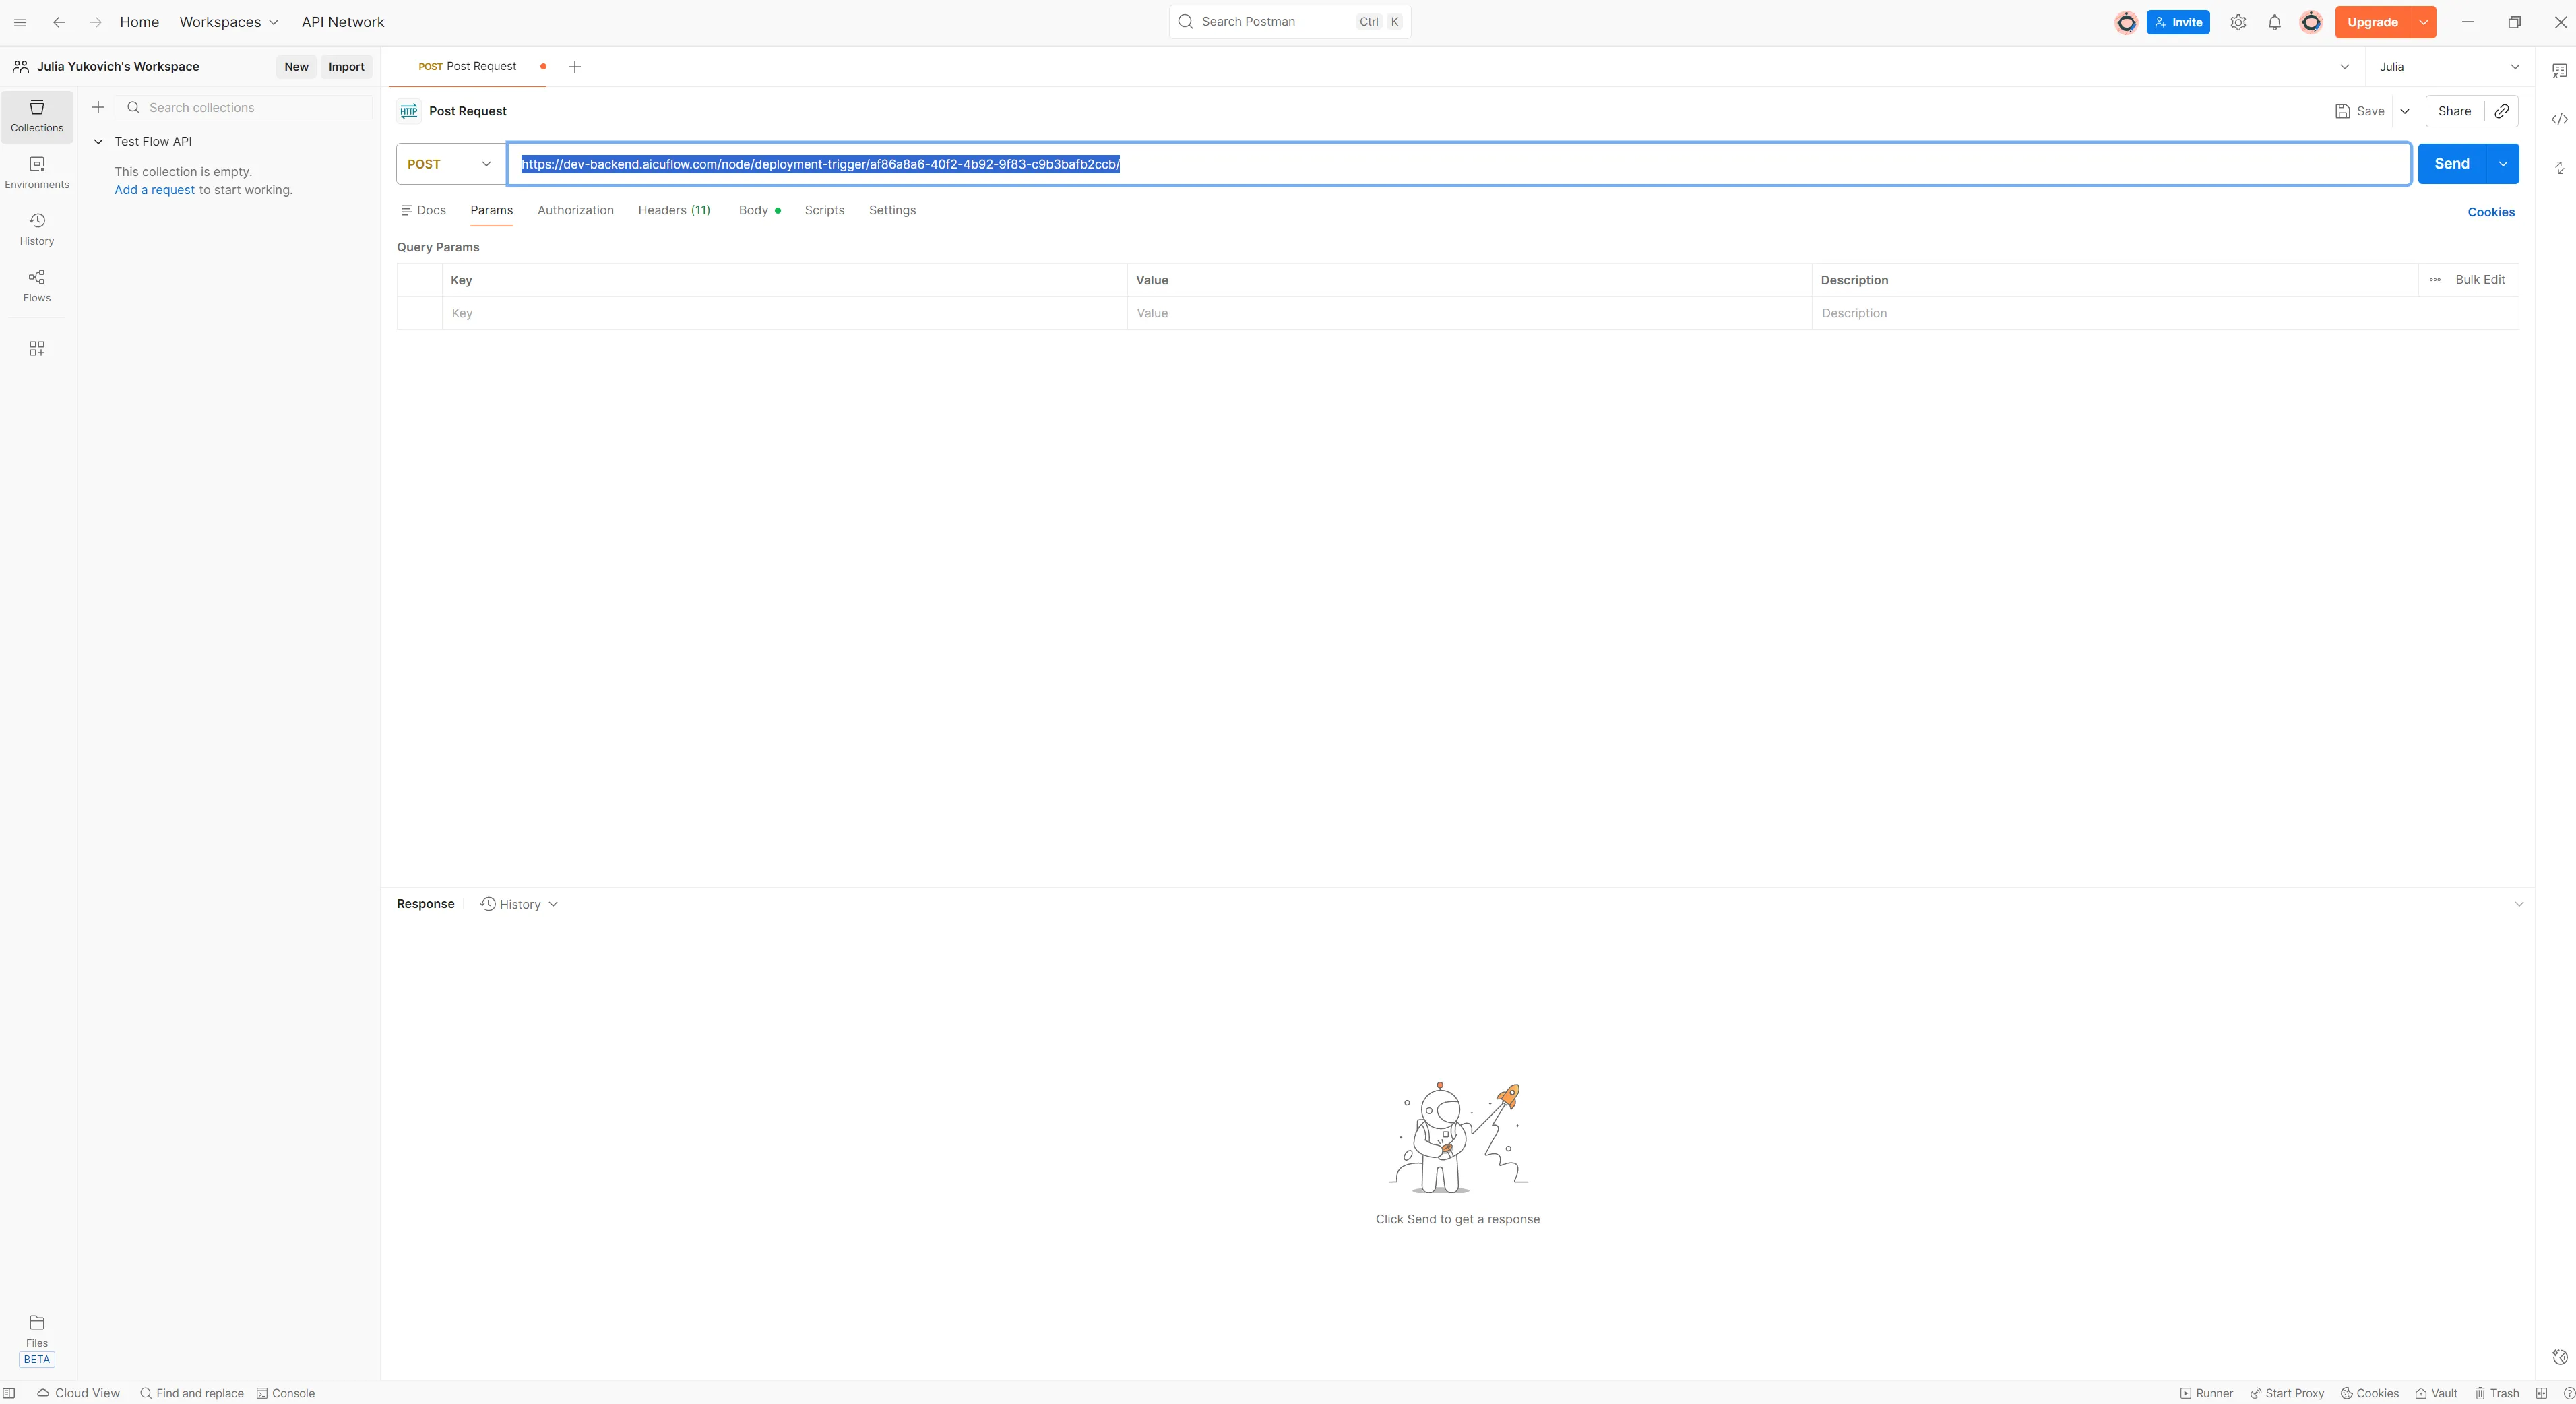

Postman will automatically fill in all the request details from the cURL command.
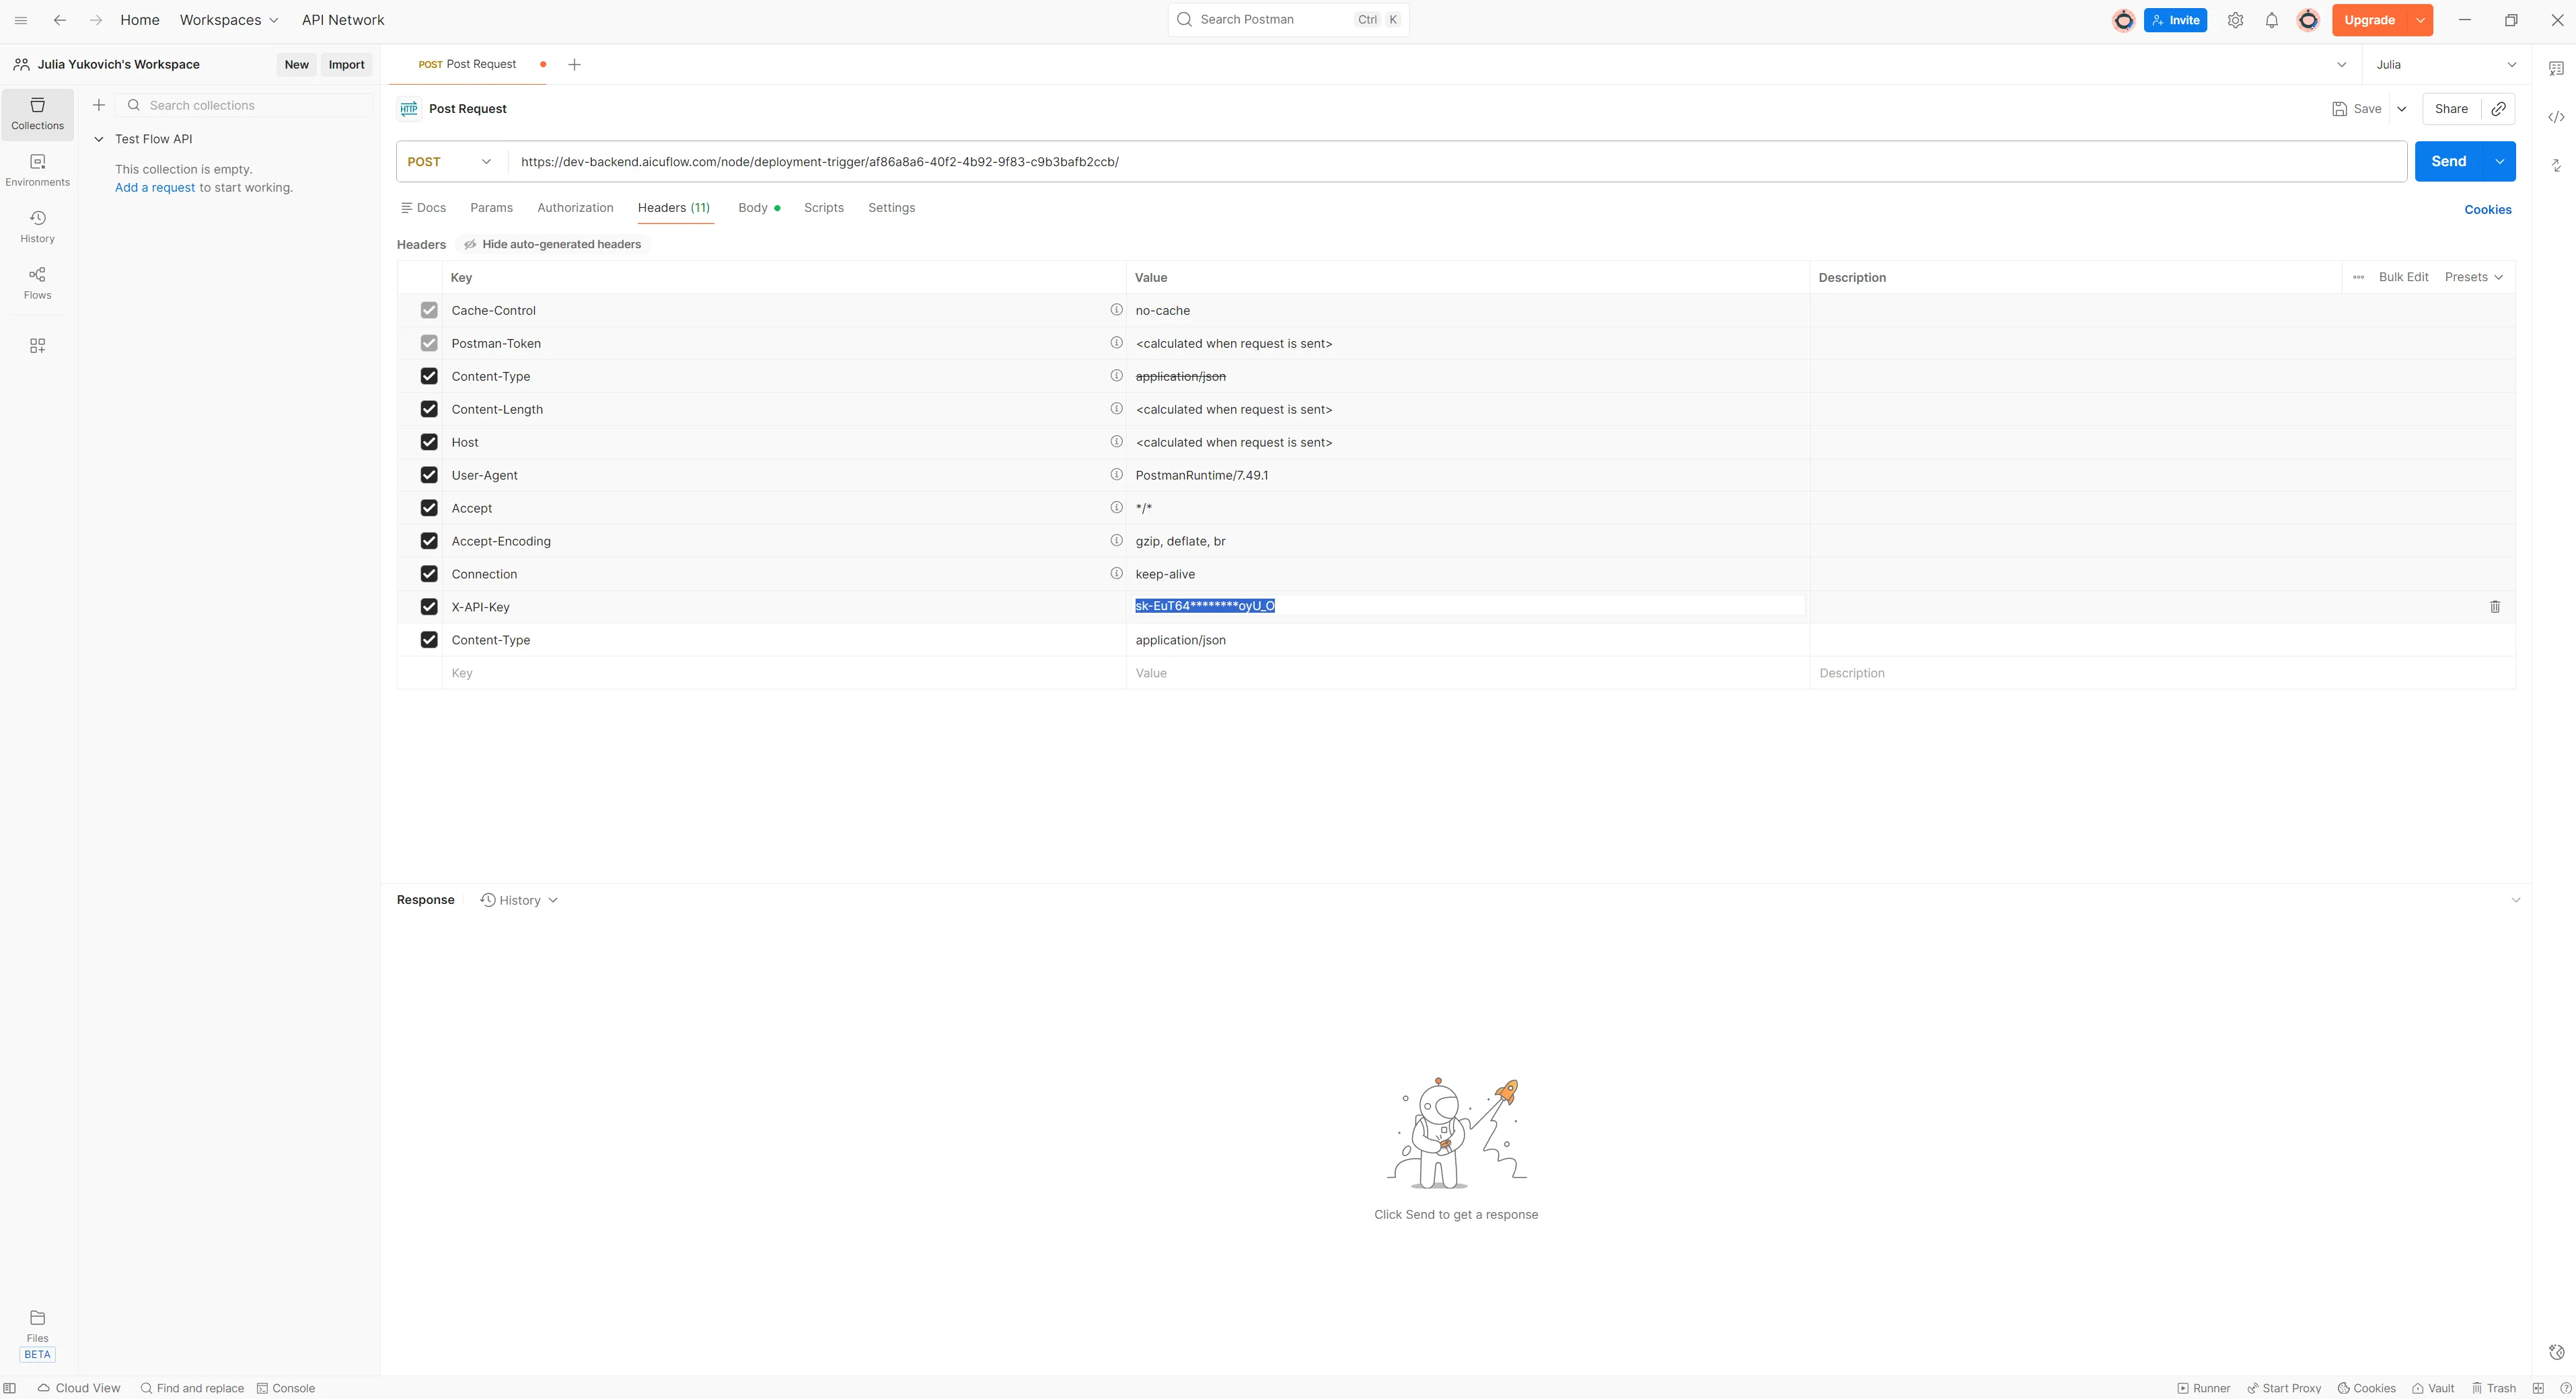
3. Add Your API Key
Click on the Headers tab, where you'll find x-API-Key. Paste your full API key that you saved earlier, replacing the masked version (the one with stars).

4. Configure Request Body
If your flow accepts input data, you can modify the data under the Body tab. The default structure is:
{
  "input_data": {
    "param1": "value1"
  }
}
Replace the parameters with your actual data. If your flow doesn't require input data, you can delete this or leave it as default. The code snippet is automatically filled with input data that you store in the test data section of teh APi Input Node.
5. Send the Request
Click Send to test your deployed flow. You should receive a response with your flow's output. Depending on your Deplyoment tpye the repsonses work differently: Async or Sync. Also the Deplyoment types may vary in terms of response time.
We have test deployments that you usually use for development or PoCs and that needs some time to get active when you call the API teh first time. In thsi case send teh first APi call and wait 1 minute to send the second if teh first one fails.
If you have a production deplyoment then teh response time is immeadiate depending on your flow type. Some deplyoment types only tell you that your flow was triggered successfully but do nto give you a result. If you expected a result then try different settings for teh deplyoment.
Integration Examples
cURL
curl -X POST https://backend.aicuflow.com/node/deployment-trigger/af86a8a6-40f2-4b92-9f83-c9b3bafb2ccb/ \
  -H "X-API-Key: sk-EuT64********oyU_O" \
  -H "Content-Type: application/json" \
  -d '{
    "input_data": {
      "param1": "value1"
}
  }'
Python
import requests

API_KEY = "sk-EuT64********oyU_O"
API_URL = "https://backend.aicuflow.com/node/deployment-trigger/af86a8a6-40f2-4b92-9f83-c9b3bafb2ccb/"

def trigger_deployment(input_data=None):
    """Trigger Chat Workflow Deployment - waits for completion and returns results"""
    response = requests.post(
        API_URL,
        headers={
            "X-API-Key": API_KEY,
            "Content-Type": "application/json"
        },
        json={
            "input_data": input_data or {},
        }
    )

    if response.ok:
        result = response.json()
        return result["data"]
    else:
        raise Exception(f"API Error: {response.text}")

# Usage example with test data
result = trigger_deployment({'param1': 'value1'})
print(f"Status: {result['status']}")
print(f"Output: {result['output_data']}")
print(f"Duration: {result.get('duration_seconds')} seconds")
JavaScript
const API_KEY = "sk-EuT64********oyU_O";
const API_URL =
  "https://backend.aicuflow.com/node/deployment-trigger/af86a8a6-40f2-4b92-9f83-c9b3bafb2ccb/";

async function triggerDeployment(inputData = {}) {
  // Waits for completion and returns results
  const response = await fetch(API_URL, {
    method: "POST",
    headers: {
      "X-API-Key": API_KEY,
      "Content-Type": "application/json",
    },
    body: JSON.stringify({ input_data: inputData }),
  });

  const result = await response.json();

  if (result.status === "success") {
    return result.data;
  } else {
    throw new Error(`API Error: ${result.message}`);
  }
}

// Usage example with test data
const result = await triggerDeployment({
  param1: "value1",
});
console.log("Status:", result.status);
console.log("Output:", result.output_data);
console.log("Duration:", result.duration_seconds, "seconds");
Best Practices
Security
- Never commit API keys to version control
- Store API keys in environment variables
- Rotate API keys periodically
- Use different API keys for development and production
Error Handling
- Always handle API errors gracefully
- Check response status codes
- Implement retry logic for transient failures
- Log errors for debugging
Performance
- Cache responses when appropriate
- Use batch requests if available
- Monitor API usage and latency
- Set appropriate timeout values
Managing Deployments
- View Deployments: See all active deployments in the deployment section
- Update Deployment: Redeploy to push changes to your flow
- Delete Deployment: Remove deployments you no longer need
- Monitor Usage: Track API calls and performance metrics
Association Rules
Recommend items frequently co-purchased or co-interacted with
Artificial Intelligence Dictionary
AI is very popular. But most people don't really know whats going on under the hood. Read these guides to understand and apply every concept related to Artificial Intelligence. Your learnings will help you build better flows too!