Arduino Beginner Tutorial
This is a beginner tutorial. It takes about 2 minutes to read and 10 minutes to understand. Get ahead quickly with learning arduino from scratch. After this, you are ready to start connecting Microcontrollers to Aicuflow.
This is a basic tutorial written during the AICU GmbH Team Retreat Q1-2026.
If you want to set up the Aicuflow Arduino Library, visit this setup guide instead.
What is Arduino?
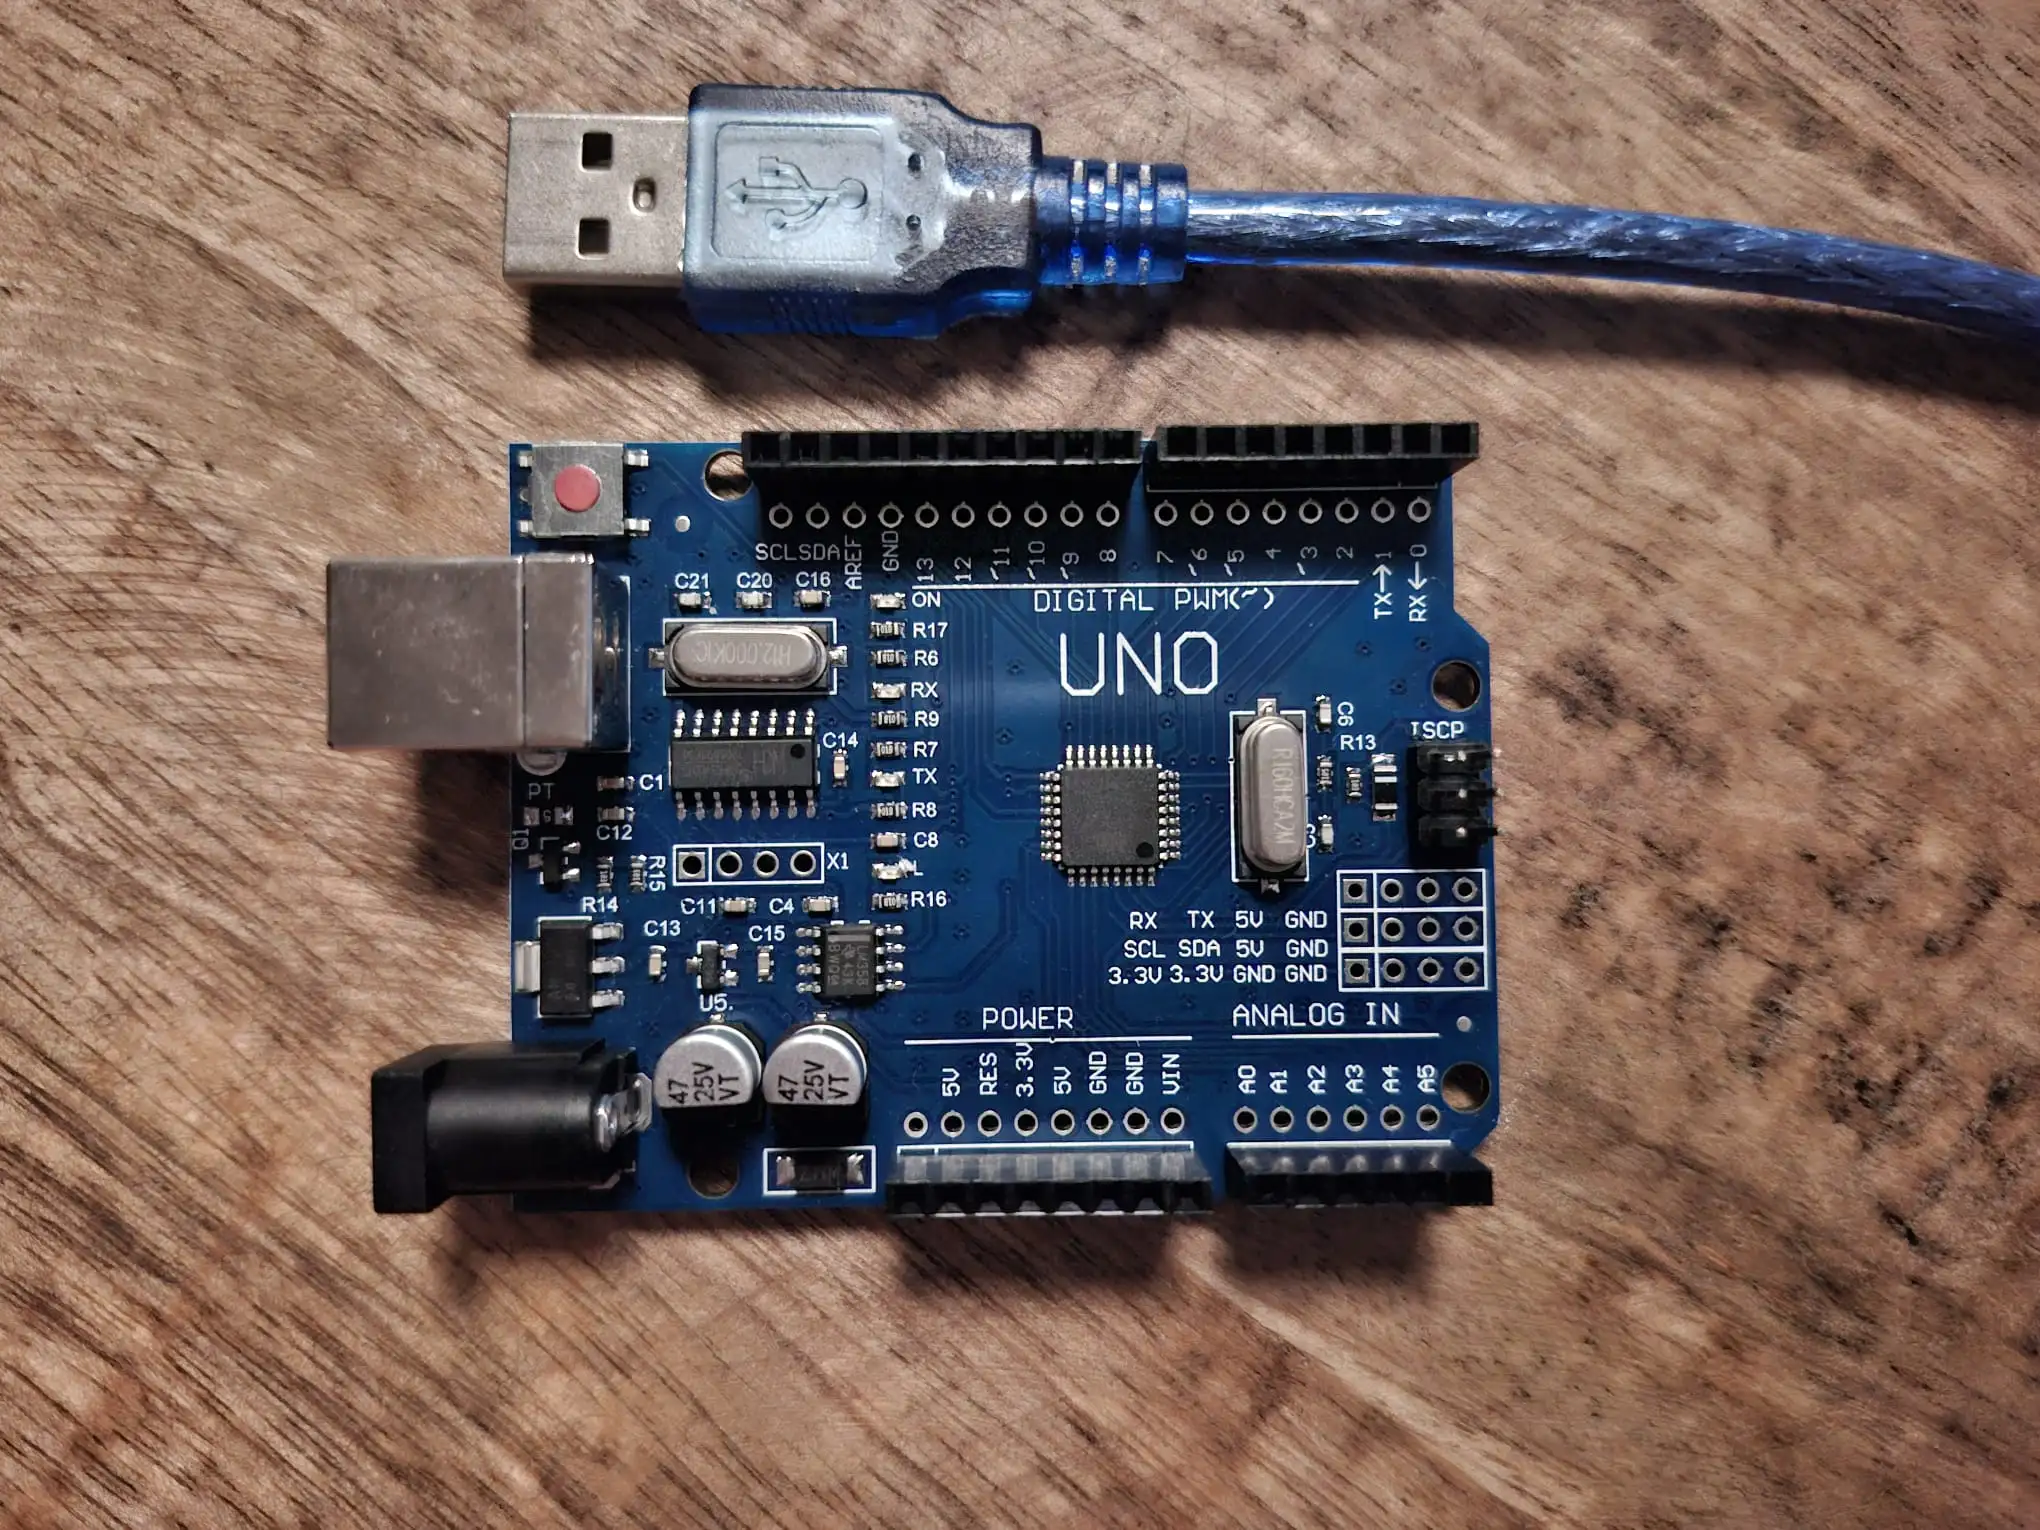
Arduino is a platform for Microcontroller programming.
It is pretty simple to set up and can support quite complex custom projects.
There are multiple microcontroller boards available, aswell as a code editor.
However, we recommend using a separate IDE (Text Editor) like VS Code.
You then use Arduino IDE for compiling and uploading your code to the device you are using.
Microcontroller basics
- They usually have only 1 or 2 CPU cores (ESP32)
- They're slow, between a few kilohertz to
240 MHzon ESP32 - They can't run regular computer code (mac or x86)
- They're cheap and used to control voltages, sensors and motors
- You usually have low-level control of the processes
How to get started?
Learn how to set up and work with Arduino.
Arduino code basics for you
Arduino files have the ending .ino and need to be placed in a folder with the same file name (before the .ino).
Except from that, Arduino uses regular C/C++ code that can be imported.
It does not contain all functions of regular C++ though, especially everything System-related.
C++ files have the ending .cpp and "header files" which usually define function signatures have the ending .h.
The .ino file is also called Sketch, and the totality of your code files (in folder) is called repository (or repo).
The base code structure is like the following:
// 1. imports before everything
// 2. global variables
// 3. function definitions

void setup() {
  // 4. put your setup code here, to run once:

}

void loop() {
  // 5. put your main code here, to run repeatedly:
}
In simple code examples, you would just add some code in there.
For more complex setups, like our Aicuflow-Arduino repository,
you would put code in separate files and import it afterwards, for a more clean module structure.
Use Libraries!
You usually use libraries to extend functionalities of your projects. This saves you time and effort compared to coding everything yourself.
First you install them from the arduino library tab.
Then they can be imported like #include <Library.h>.
Serial Monitor for debugging!
Arduino talks to your computer using the Serial port (also called COM-Port).
This is a protocol, usually transmitted though a USB connection (Mostly USB-C or USB-A).
You usually use the serial monitor for debugging purposes.
In Arduino IDE, you can open this communication channel by clicking on the top-right lens icon. Then it will show up in the bottom panel.
The most important thing to know here is the Baud Rate.
That is the connection speed between your computer and the Microcontroller.
Popular rates are 9600 for slow devices like the Arduino Boards,
and 115200 for faster boards like the ESP32 or ESP8266.
If you receive some gibberish in the serial monitor, you can fix that by setting another baud rate.
Here's how you use the Serial connection in your code:
void setup() {
  Serial.begin(9600); // baud rate
  while (!Serial) { } // needed for some boards (e.g. Leonardo)
  Serial.println("Hello world");
}

void loop() {
  if (Serial.available() > 0) {
    char c = Serial.read();
    Serial.print("Received: ");
    Serial.println(c);
  }
}
Wi-Fi Connections aren't magic!
Most arduino boards do not support wifi. But boards like the ESP32 do.
Here's how you use it:
#include <WiFi.h>
// #include <ESP8266WiFi.h> // or on ESP32

const char* ssid     = "YOUR_SSID";
const char* password = "YOUR_PASSWORD";

void setup() {
  Serial.begin(115200);

  WiFi.mode(WIFI_STA);
  WiFi.begin(ssid, password);

  while (WiFi.status() != WL_CONNECTED) {
    delay(500);
    Serial.print(".");
  }

  Serial.println();
  Serial.print("Connected, IP: ");
  Serial.println(WiFi.localIP());
}

void loop() {
  Serial.println("hello world");
  delay(1000);
}
Ask AI and use Sample Projects
LLMs help you ship code faster, also here.
Basic example Sketches can be found in the Arduino File menu.
More complex sample projects can be found on github.
How to continue?
Check Library Setup and continue from there.
Advanced: Arduino Alternatives
Alternatives with equal or more functionalities are usually harder to set up.
Simpler alternatives can not be recommended, as they are often just not so useful.
- Low Complexity, upload only: ESP Web tool for upload from the browser
- Low Complexity: Micropython (Arduino / ESP32) is a port of the python programming language to the board.
- Low Complexity: Lua on the ESP8266 (some models have it preinstalled)
- Low Complexity: BASIC on the ESP32 or 8266 (some models have it built in)
- High Complexity: AVR / Atmel Studio can be used to program AVR Controllers (the chips on the Arduino boards) also in plain assembler language
- High Complexity: ESP32 or ESP8266 Custom espressif IDF setup with esptool (docs) for flashing
While we do not support other platforms natively, you may be able to port code over. In that case, tell us about it :)!
Arduino+ESP32 Library Setup
We created an open-source client library to help you connect from embedded / IoT projects. Like this you can easily integrate AI training, inference and data flows into your applications.
Basic Sensor Plots with Arduino
Learn how to use Arduino/ESP32 with the Aicuflow library to create plots on a connected SPI TFT Display.